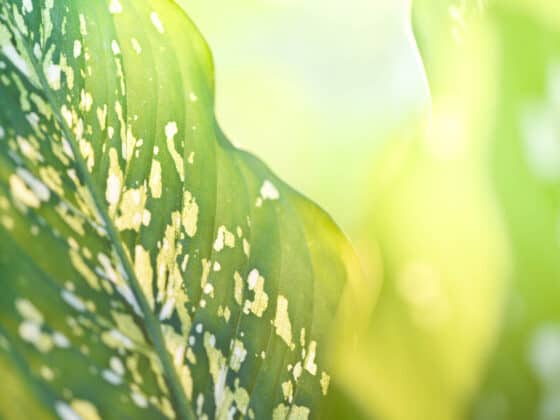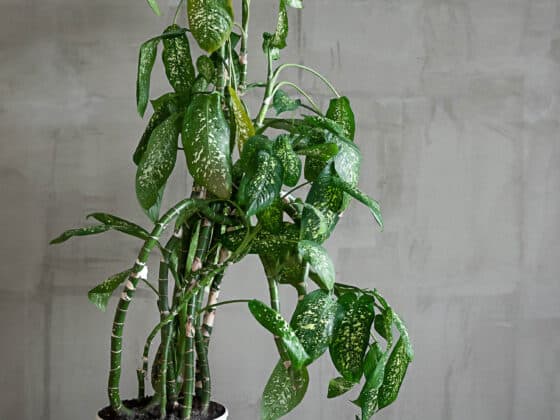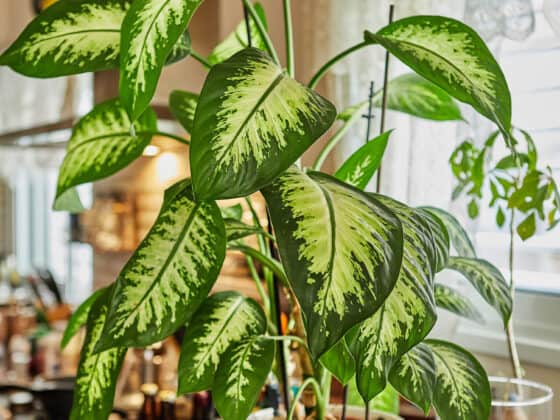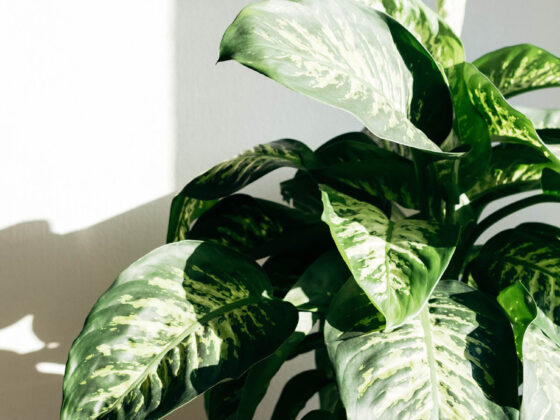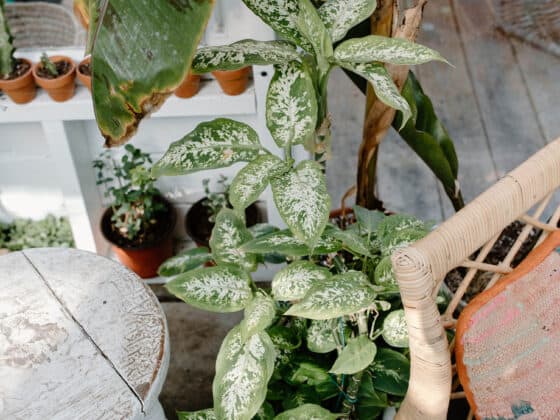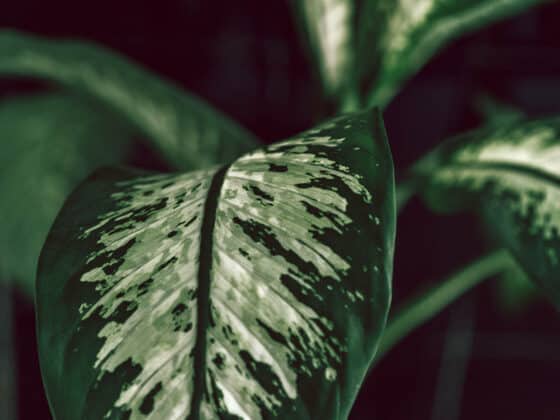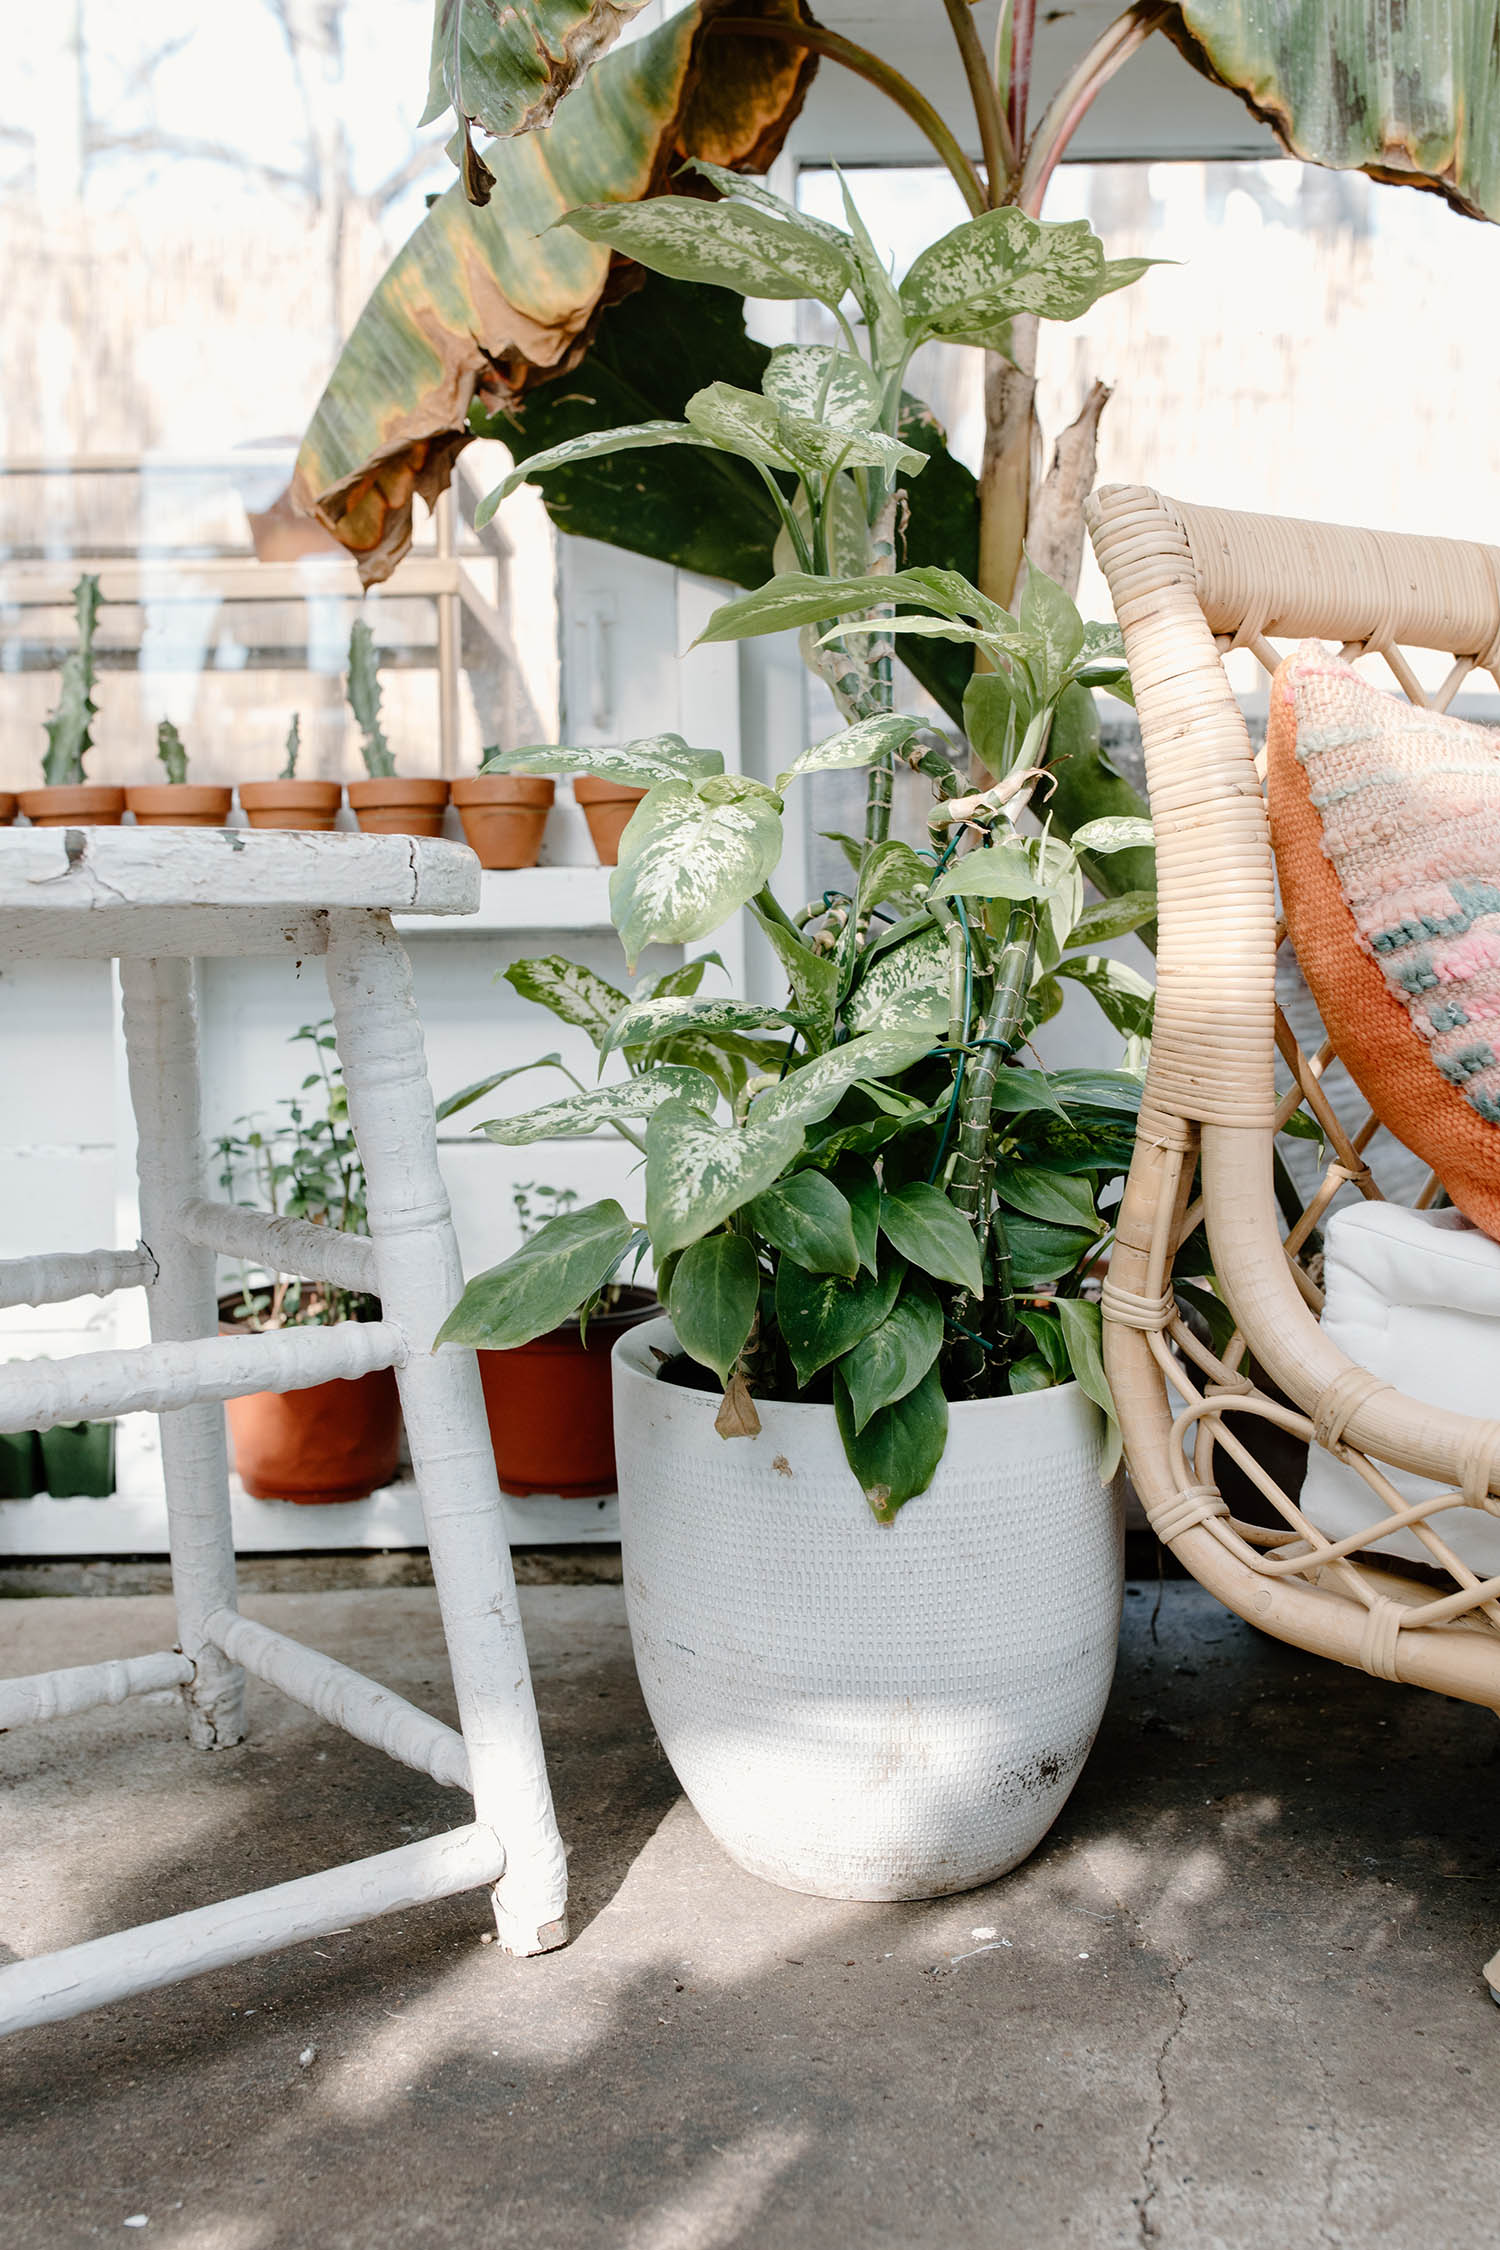
Houseplants aren’t usually the biggest fans of change, but sometimes it’s important to move them into a new pot to allow for healthy growth. So how do you know when your Dumb Cane has reached that point? We’ll review the main indicators that it’s time to repot your Dieffenbachia, and share some pointers on how to do it successfully.
Slow growth, persistent dehydration, and roots that push their way out of the container’s drainage hole can all be signs that your Dumb Cane is pot bound. You should also potentially repot your Dieffenbachia if the soil is taking a long time to dry out after being watered – that could be a sign that the potting mix is too dense.
Whenever you repot your Dumb Cane, make sure you use a soil blend that drains well and a pot with holes to let the water escape. Keep in mind that even if the new container is perfect for your Dieffenbachia, the plant is likely to wilt for at least a few days due to the stress of transplanting. With all that in mind, let’s review the 4 signs that it may be time to repot your Dumb Cane.
Number 1: Your Dumb Cane Isn’t Growing
As your Dieffenbachia stretches taller and wider above the ground, its roots are also spreading out through the soil. But every thriving houseplant eventually reaches the limits of the space in its pot. When the roots begin bumping up against the container walls, they’ll start curling back on themselves or snaking around the edges.
This isn’t a problem at first, but eventually, the roots wrap around each other so tightly that they block each other’s access to water and nutrients. This condition is called being root bound or pot bound. When it gets bad enough, your Dumb Cane won’t be able to create new growth.
Healthy Dieffenbachias can increase their height by as much as two feet each year. So if your plant’s growth grinds to a halt, it should clue you in that something isn’t right.
There are some exceptions, of course. It’s normal for your Dumb Cane’s growth to slow or stop during the winter months due to lack of sunlight. The plant also won’t grow if you’re not giving it enough water or fertilizer. But if it’s in a well-lit room with plenty of nutrition and hydration, it should be getting taller and producing big, healthy leaves.
Small, stunted foliage, a skinny trunk, and a failure to gain height are all possible indicators of a root bound Dumb Cane.
Number 2: Your Dieffenbachia’s Pot Can’t Hold Water
Another possible clue that your plant might be pot bound is that its container seems to be unable to hold water. This happens because the root system has crowded out almost all of the soil, so there’s nothing to soak up and retain moisture.
You might notice that the water starts running out of the base of the pot almost as soon as you start pouring, or that your Dumb Cane is drooping and wilting even though you just watered it a day or two earlier. Other signs of persistent dehydration include leaf tips and edges crisping up and turning brown.
By themselves, none of these symptoms are definitive. For instance, a Dumb Cane that’s wilting despite a recent watering could actually be suffering from an excess of moisture, so check to see if the potting mix is still wet. It’s also possible that the soil contains too many mineral salts left behind by tap water or fertilizer, which can interfere with root function.
If you’re uncertain whether your Dieffenbachia is root bound, there’s an easy way to check: just slide it out of the pot. Grip the trunk near the bottom and tip the container over. If the plant is really wedged in there, you might need to tap firmly on the base of the pot to dislodge it. Pot bound roots form a single knotted mass in the shape of the container, with very few gaps for soil and air.
Number 3: The Roots Are Pushing Their Boundaries
Sometimes, roots that get cramped enough will start to snake out of the holes in the pot in search of more space. That’s not the only possible reason for this behavior, though. Sometimes this happens because you’ve been forgetting to empty the saucer below your Dumb Cane’s pot, and the plant is growing toward the moisture it senses there.
Still, when you see roots poking out from the bottom of the container, it’s a good idea to check whether your Dieffenbachia is root bound. You can use the same technique we described above to take it out, though you may need a chopstick or pencil to gently poke the emerging roots back through the drainage holes.
Number 4: Persistently Soggy Soil
This is essentially the opposite of Number 1, and it indicates a very different problem. If your Dieffenbachia’s potting mix remains wet for more than 4-5 days after each watering, there’s a good chance that you have a drainage problem.
Dumb Canes like water, but if the soil is too wet for too long, the roots will suffer from a lack of oxygen. They may also develop root rot because the marshy, airless conditions allow fungi and bacteria to reproduce like wildfire.
To some extent, you can avoid this problem by making sure to water only when the top two inches of soil are dry. However, even perfect watering habits can’t make up for a potting mix that’s too dense and moisture-retentive. It’s probably best to repot your Dumb Cane in a coarser, looser growing medium. (Find more on Dumb Cane soil here.)
Note that this problem can also be caused in part by a pot that’s too big for your Dieffenbachia’s root system. When the volume of soil is much higher than that of the roots, it can take a lot longer for any moisture to evaporate or be absorbed by the plant. The result is the same – waterlogged soil and malfunctioning roots.
Pots and Soils for Dieffenbachia
Once you’ve determined that it’s time to move your Dumb Cane to a new living space, you’ll have to choose a container and a potting mix for it.
As we hinted earlier, the best soil for a Dieffenbachia will be loose and chunky enough to let water drain out fairly quickly. If you’re going to use a standardized, store-bought potting mix, choose one formulated for African violets.
You’ll usually be better off mixing up a blend of your own, though. Try the following recipe: 40% coarse perlite, 25% coconut coir, 25% orchid bark, and 10% vermicompost. (Those percentages are by volume, not by weight.) This should hold enough moisture to keep a Dumb Cane’s roots well-hydrated without suffocating them.
Don’t forget that the pot needs drainage too! A vessel without holes in the base will bottle up water and risk drowning your plant even if you have the perfect soil mix. Take a look at our article on pots and soils for Dumb Canes for more information.
If you’re repotting due to overcrowded roots, choose a pot that’s around two inches larger in diameter than the current one.
How Often Do Dumb Canes Need Repotting?
So far, we’ve mainly discussed the problems that can arise if you leave your Dieffenbachia in the pot for too long. But if you’re proactive about repotting, you can often avoid these issues entirely.
In general, it’s best to repot your Dumb Cane every 2-3 years. When you’re doing so, take the opportunity to give the plant fresh potting soil – over time, the organic ingredients in the mix decay, reducing the drainage and lowering the nutrient content. As we mentioned above, you should increase the pot size by around 2 inches to leave room for your Dieffenbachia’s root system to grow.
When and How to Repot a Dumb Cane
Any time you move a Dumb Cane into a new container, its roots will need time to spread out and settle in. This is easier to do when the plant is taking in lots of energy to fuel the root system’s growth. Repotting in early-to-mid spring gives your Dieffenbachia the entire growing season to get used to its new living situation.
A root bound Dumb Cane should have no problem surviving until the following spring unless the problem is so severe that the foliage is starting to die off. However, if you’re repotting because the soil won’t drain, don’t delay. The plant is actually at greater risk from overwatering during the winter months.
Once you’re ready to repot, follow this step-by-step guide:
- Lightly moisten your potting mix and place some into the new container. Fill it ⅓ to ½ of the way up.
- Prune away any dead or dying leaves on your Dieffenbachia so that the roots don’t have to waste energy maintaining them.
- Uproot the plant gently. If it is stuck in its container, you can run a butter knife around the inside rim or tap on the sides and bottom to help release it. Clear away the soil, breaking up clods with your fingers and rinsing the root system if necessary. If the roots are tightly pot bound, work them gently apart with your fingers.
- Check for root rot. Any roots that are soft, slimy, or discolored are infected. Trim them off with a set of pruning scissors, disinfecting between cuts with rubbing alcohol or a 10% bleach solution. You can also prune back any roots that are too long to fit in the new poot.
- If you had to remove more than ⅓ of the root mass in step 4, trim off the same proportion of the foliage to conserve energy.
- Set your Dumb Cane in the new pot, fill it in with damp (but not soggy) soil until the roots are covered, and gently pat it down to get your plant firmly in place.
Your Dieffenbachia will need several weeks, at minimum, to recover from the shock of being transplanted. During this time, keep it warm and humid, and be very careful to avoid overwatering. Don’t let the plant get any direct sunlight while it recovers. Once it starts producing new shoots and leaves, it’s out of the woods.
Final Thoughts
The best way to keep your Dumb Cane from getting root bound is to give it a slightly bigger pot every couple of years. Pay attention to your plant’s growth rate – an unexpected slowdown can alert you to a problem before more urgent symptoms develop. Your Dieffenbachia should flourish into a robust and healthy plant if you give it enough room to grow.