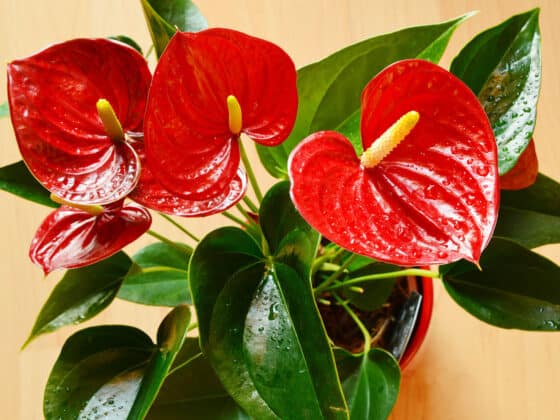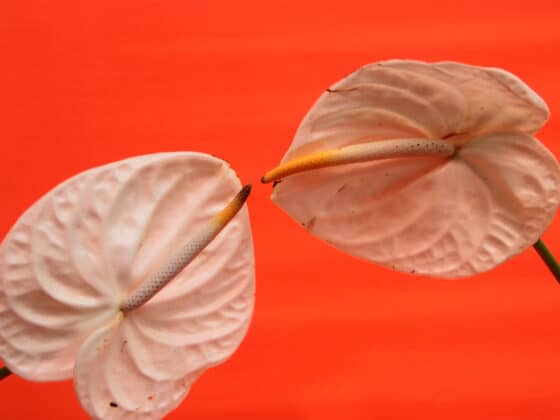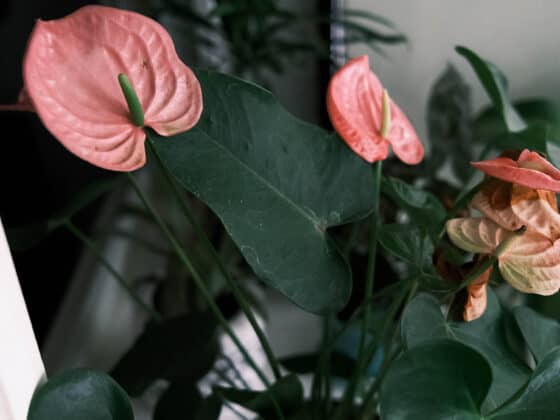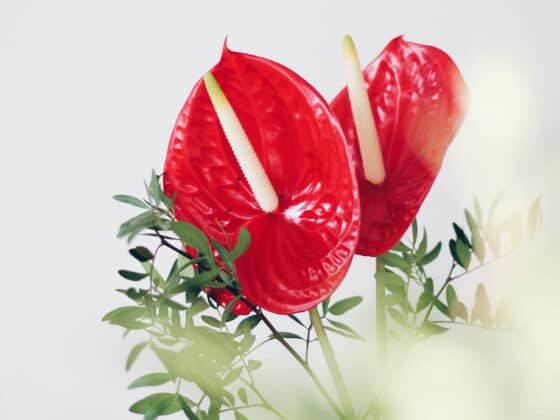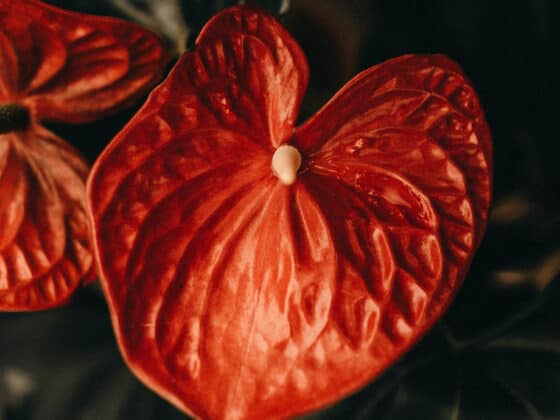
Many houseplant growers who fall in love with Anthuriums find that it’s hard to stop at just one. For a fun and low-cost way to grow your collection, you can propagate your Flamingo Flowers from cuttings. This guide will explain how to use even small sections of Anthurium stems to produce brand-new plants.
How do you take Anthurium cuttings? Slice away a segment of the stem that includes at least two nodes, and for best results, pick a section that’s already sprouting aerial roots. Anthuriums can’t be propagated from leaves alone, but stem cuttings are hardy and resilient. You can root them in water or perlite, or transplant them directly into potting mix.
Growing Anthuriums from cuttings is not for the impatient. These plants are in no hurry to get bigger, and cuttings will usually take at least several months to grow back to adult size. Read on for more detailed instructions on propagating Flamingo Flowers.
Anthurium Stem Cuttings
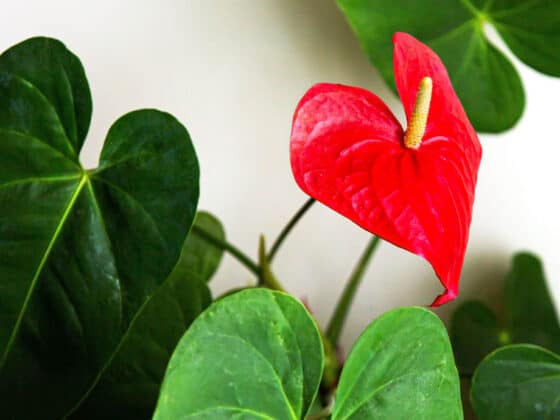
Most Anthuriums available for sale are climbing plants in their natural habitats. As they mature, they send out aerial roots from their stems to grip other objects and absorb moisture from the air.
These clinging tendrils are part of the reason it’s so easy to propagate Anthuriums from cuttings. In the right substrate, a Flamingo Flower’s aerial roots can adjust easily to growing underground. Even a bare slice of stalk, with no roots or leaves at all, can usually turn itself into a full-grown plant in time.
This is one of the odd contradictions of Anthuriums. They can seem quite fragile when you’re struggling to find the correct levels of sunlight, water, temperature, humidity, and soil aeration to keep them alive. But if the conditions are right, you can chop them into bits, and they’ll grow back into perfectly healthy plants.
More mature Flamingo Flowers will give you a better chance of success at propagating from cuttings because you’ll be able to slice their stems into longer lengths. The more nodes, leaves, and roots on a cutting, the better its odds of survival.
A larger mother plant will also be more likely to bounce back after you take cuttings from it. And if your Anthurium is old enough that it’s no longer flowering like it used to, trimming it down can actually revitalize it. Still, even a fairly young Anthurium can be propagated from cuttings as long as each segment includes a few nodes.
Can You Propagate Anthuriums From Leaf Cuttings?
Some types of houseplants can take root from a single leaf, or a leaf with its petiole – the slender stem that attaches it to the main body of the plant. Sadly, Anthuriums are not in this elite club. At a minimum, you need a chunk of the actual stalk that includes two or more nodes – one to produce roots and another to send out leaves.
You should be able to tell fairly easily which part of the plant you’re looking at. The petioles of Anthuriums are slender and bright green, while the stalk is thicker and looks more like a woody vine. It’ll be obvious where the nodes are if they already have roots or leaves emerging, but if not, look for the thin, lighter-colored bands around the stem.
Growing Media and Containers for Anthurium Cuttings
Propagation takes preparation. And the most important thing to get ready is the substrate that you’ll use to root your new cuttings. The simplest option is to plant your Anthuriums right in the containers where you plan to grow them to adulthood, using the same potting mix that you’d give a full-grown plant.
That means a coarse mixture with good drainage and plenty of air pockets. As climbing plants, Anthuriums are accustomed to plenty of breathing room. Soil, or potting mixes with lots of fine particles, won’t provide enough oxygen.
A dense growing medium also runs the risk of overwatering because it will stay damp and soggy for longer. Wet soil is fertile ground for bacteria and fungi, and the fleshy roots of Anthuriums can easily succumb to infection.
If you want to use a store-bought potting mix, find one that’s made for orchids – these plants, particularly Phalaenopsis varieties, flourish in the same environments as Anthuriums do. You can also make your own blend. One simple but effective recipe uses equal parts coconut coir, chunky pine bark, and coarse-grade perlite.
Don’t use a vessel that’s too large. A big container will make overwatering more likely and could stress the plant. It shouldn’t make much difference what your pot is made of, but make sure it has a hole to drain excess water.
For more info on pots and potting mixes, you can read our article “What Types of Soil and Containers are Best for Anthurium Houseplants?”
Rooting Anthurium Cuttings in Perlite or LECA
Another option is to start your cuttings in a sterile, absorbent substrate, and wait until they start putting out new roots before transplanting them into their permanent containers. The main benefit here is that there’s less risk of your Anthuriums getting an infection while they’re in their delicate transitional stage.
This method should also help ensure your cuttings get the right amount of water. The growing medium wicks up moisture so that it stays damp enough for the plants to sip without getting drenched.
The most popular substance for this method is perlite. These light, porous kernels of volcanic glass create an airy environment that’s great for Anthurium roots.
Another common choice is LECA. This growing medium is also sometimes referred to as expanded clay pellets because, well, that’s what it’s made of: spheres of clay that have been heated to make them swell up and become porous.
Both substances have similar properties. LECA spheres are larger than perlite kernels, so they provide a little more aeration, but perlite is a bit lighter and cheaper.
Fill a tall glass jar or vase with your chosen substrate. Moisten the medium first, so your cutting has something to drink right away. Then pour some water into the vessel until the waterline is a quarter to a third of the way up the jar. That last part is important. If the cutting is touching standing water, it will be more likely to rot than to take root and thrive. Be careful not to over-fill the container.
Can You Root Anthurium In Water?
Some houseplant growers add a twist to the above strategy. They eliminate the middleman and place their cuttings directly in water. Can you do this with Anthuriums? The short version is: yes, you can. The longer version: it’s possible, but it has drawbacks as well as benefits.
The first pro to rooting in water is simplicity. You won’t need to worry about overwatering your Anthurium; in a fully aquatic environment, it will develop specialized roots that will only absorb what they need. And the kinds of pests that cause root rot can’t generally live in water alone. It also means that you don’t need to worry about humidity. The plant’s bath will keep it plenty moist.
However, you’ll need to clean the jar and change the water frequently to aerate it and keep algae from growing. Cuttings rooted in water may also find it harder to adapt when you move them into potting mix later on.
Some owners get around that second problem by keeping their Anthuriums in the jar permanently instead of moving them to pots, growing their Flamingo Flowers hydroponically. If you’re interested in this method, we have a whole article on the subject.
How To Take Cuttings from an Anthurium
Start by assembling your materials. Along with enough containers and potting mix, perlite, or water to hold all your cuttings, you’ll need:
- Pruning shears. If you don’t have a set already, we’re a fan of the Fiskars Steel Bypass Pruners. Pretty much any sturdy set of shears should be fine, though. You can also use a sharp knife in a pinch.
- Disinfectant. Whenever you trim your plants, you should sterilize your tools to reduce the risk of spreading germs from one section of the plant to another. Wipe your shears down with isopropyl alcohol, a household cleaner like Lysol, or a dilute bleach solution with 9 parts water to 1 part bleach.
- Gardening gloves. Anthuriums release a sap that can cause skin irritation, so you’ll probably want to glove up. Disposable latex or nitrile gloves will work perfectly well, but if you’re looking for a sturdier pair, we recommend this inexpensive and breathable set from Pine Tree Tools.
- An old towel or some newspaper if you’re working indoors. All this potting mix can get very messy, so lay something down to save yourself a headache later.
Now we’ll go step by step through the process of taking and rooting cuttings from Anthuriums.
Step 0 (Optional): Encourage Preliminary Root Growth
You can prepare your plant ahead of time by building up a loose pile of sphagnum moss or coconut coir around the plant’s stem. Wrap some shrink wrap around this material to hold in the moisture.
Leave it that way for a few weeks, and the plant will begin extending its aerial roots into the growing medium. That means the portions you’re cutting off will have a head start on developing their own root systems. Before you take cuttings, just unwrap the plastic and brush away the substrate.
Of course, having a bunch of plastic wrap around the base will reduce the decorative value of your Anthurium a bit. If that’s a concern, feel free to skip this step – it’s not actually necessary.
Step 1: Cut the Stem Off
Snip the stem of your Anthurium to separate it from the roots. It’s up to you how far down you want to go – it mostly depends on how many new plants you want to create and how much of the mother plant you want to leave in place.
You can cut right down to the surface of the potting mix if you want to. There should still be plenty of life left in the roots, and over time they’ll start sending up new leaves again.
Step 2: Clean and Prune
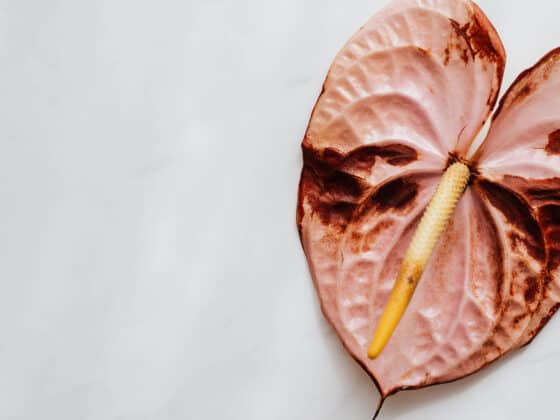
Take the cut portion of the stem and peel off the brown, leaf-like husks clinging to it. These are called stipules, and their only function is to protect emerging leaves; at this point, they’re just dead weight. Clearing them away will make it easier to see where to cut. Prune away any leaves that are getting yellow or shriveled.
If there are any flowers on this part of the stem, you should take them off too. Forcing yourself to do that might be the hardest part of this whole process, but it’s a necessary step. Flowers take a lot of energy for a plant to maintain, and your Anthurium cuttings need to focus on building up their root systems. They’ll produce new flowers again in time.
Step 3: Cut the Stem Into Sections
The number of cuttings you take is mostly down to your personal preference, but make sure that each one has at least two nodes.
The longer each segment is, and the more aerial roots it’s already sprouted, the more likely it will be to survive and grow. If it’s already sporting a couple of leaves, that’s even better.
Snipping right at the level of the lower node will encourage rooting, though this may not be necessary if there are already some roots emerging from the stem.
Step 4: Treat the Cut Ends
This is another optional step, but many houseplant growers like to give their cuttings a boost by applying a rooting hormone. These chemicals are available in powdered form; you can dip one end of the stem section into the powder and then place that side into the growing medium.
If you’re rooting in water or perlite, you could add a drop or two of liquid rooting hormone to the container instead of using powder.
Another trick is to brush a little cinnamon onto the cut end. This spice has antimicrobial properties that can help protect your new Anthuriums from fungal infections.
Step 5: Plant the Cuttings
Now it’s time to actually place your cuttings into their containers. Whether you’re using water or a solid substrate like perlite or potting mix, you’ll want to bury or submerge as many of the aerial roots as possible.
If you have a section of stem with no roots or leaves, make sure at least one of the nodes is below the surface – more is better, since they’ll provide additional places for roots to emerge. At least one node should be above the surface to produce leaves.
Step 6: Cover Them Up
Place a clear plastic bag over the pots where you’re rooting your cuttings. This helps increase humidity – always important for Anthuriums, but especially crucial when encouraging cut sections to put down roots.
Another option is a clear plastic tub with a locking lid. This will still keep moisture contained, but it removes the need to bag each individual plant, so this works well if you’re rooting several cuttings at once.
Covering Anthuriums isn’t necessary when you’re propagating them in water.
Step 7: Wait
Here’s where we remind you once again that Anthurium propagation takes patience. Expect to wait at least five or six weeks before you see new growth emerging from your Anthurium cuttings. Once new leaves begin to poke out, you’ll know the roots have grown enough that you can move the plants to their permanent containers.
If you’re using a clear jar, this step requires less guesswork since you can see the progress of the roots without pulling up the plant. Bear in mind that cuttings rooted in water should be moved to solid substrate sooner rather than later – the longer you wait, the harder it will be for them to get their land legs back. Transplant once the roots have grown out an inch or two.
In the meantime, keep your new plants in the kind of environment that Anthuriums crave: someplace warm but not scorching, with lots of indirect light.
Water them occasionally, waiting until the top inch or two of potting mix has dried out before giving your cuttings more to drink. If you’re propagating in perlite, make sure there’s always some water in the base of the jar, but not so much that it’s touching the roots.
Final Thoughts
Propagating your Anthuriums from stem cuttings is a great way to turn an overgrown plant into several new ones. It can also revitalize an older Flamingo Flower that’s lost its enthusiasm for blooming.
As always, feel free to experiment! Since you can usually get at least a few cuttings from each plant, you can try rooting some in potting mix, some in perlite, and some in water, to see which method works best for you.
But be careful – plant propagation can be an addictive hobby. You might find that your home has transformed into a thriving plant nursery before your very eyes.