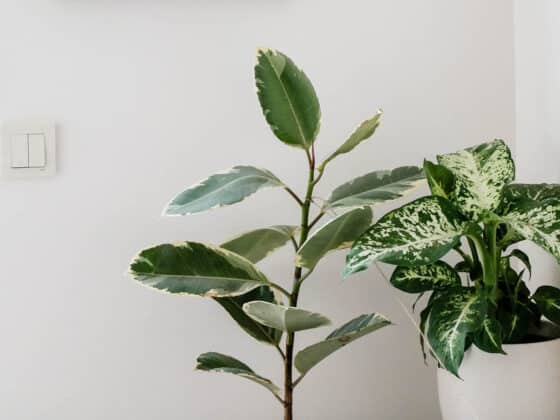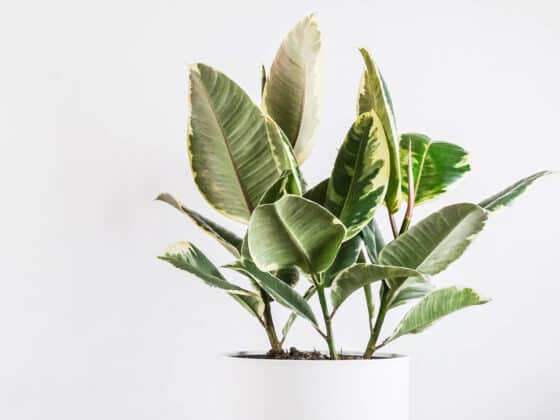
Lots of folks who have owned a Rubber Tree plant (Ficus elastica) for a while love their beauty, their fast-growing nature, and their tendency to be low-maintenance and easy to care for. In fact, people love these plants so much that they want to know the best way to have more of them in their lives. Outside of a visit to your local plant store or nursery, what are the options to propagate Rubber Tree plants at home?
While it is true that Rubber Trees are easy to propagate, certain techniques work better than others. Rooting cuttings in soil or water, or a technique called “air layering,” are the most common and successful methods. Propagating by seed or with single leaves rarely, if ever, work and are not recommended.
Propagation is a topic that many people seem to be curious about, but either aren’t familiar enough with or are too intimidated to try on their own. Plus, it seems like there are so many different theories of what works “best” it’s easy to get confused on where to even begin.
The good news is that Rubber Trees are actually quite simple to propagate as long as you understand what is needed to be successful. In this article, I lay out the different propagation methods, explain what works and what doesn’t, and then walk you through the common methods so you can try to create new Rubber Tree plants at home.
What is Propagation?
Let’s start with the basics. Propagation is a term used in horticulture referring to the breeding of plant specimens using natural processes from parent stock. Essentially, it is creating new plants from a parent plant you already have.
There are many ways this happens, all of which you can observe in nature, depending on the plant species. A pollinated flower creating seeds that get dispersed and then grow into a new plant is an example of propagation.
In terms of houseplants, including cultivated Rubber Trees, propagation most commonly refers to taking a piece of a mother plant and using techniques to root it out and grow into an entirely separate plant.
If you do an internet search on how to propagate Rubber Trees, you will find many different methods. Most commonly, you’ll find articles about taking cuttings and rooting them out or “air layering” (more on both of these in a bit). You’ll also find less reliable methods like rooting out a single Rubber Tree leaf or growing a new plant from seed. I’ll go over all of these methods and what you can realistically expect from each of them.
Can You Grow a Rubber Tree from Seed?
One common question that gets asked a lot is whether or not you can grow a Rubber Tree plant from seed? The short answer to this is, theoretically, yes you can.
Realistically, however, I would never recommend this method. Rubber Trees are part of the Ficus genus, a group of plants that actually have a unique relationship to a single pollinator, the fig wasp. Ficus plants rarely, if ever, flower, and when they do, it is very understated because they don’t need to attract an array of pollinators with something showy.
Instead, they focus their energy on creating small fruits, which attract the fig wasp. The wasp burrows in to these fruiting structures to deposit eggs, inadvertently fertilizing the fruit with pollen from the plant the wasp originally came from.
A pollinated fruit produces fertile seeds that eventually fall from the plant and are deposited on the ground some feet away to potentially germinate into a new plant.
As it turns out, most Ficus plants don’t even develop the flowers or fruiting structures in areas outside of the fig wasp’s natural range. Cultivated varieties of Rubber Trees tend to be grown and eventually are kept in homes outside of this range, as well, so the likelihood of having a Rubber Tree houseplant that ever develops flowers or fruit is highly unlikely.
Perhaps you can find a supply of fertile Rubber Tree seeds collected from their native range, which you can germinate and pot up, but again, this is very unlikely. A quick search for Ficus elastica seeds on the internet shows some dubious sources with tons of reviews about how the seeds just rotted away, most likely because they were sterile.
So, while it is possible to grow a Rubber Tree from seed, this propagation method is unavailable to most of us, and there are much easier ways to go about it.
Can You Grow a Rubber Tree from a Leaf?
Another method of propagation that seems to have gained some traction on the internet is to grow a new Rubber Tree plant from just a single leaf. While some plant varieties only require a small amount of tissue to grow into an entirely new plant, the Rubber Tree, unfortunately, is not one of them.
Now, it is possible to propagate a Rubber Tree leaf in water or soil to the extent that you’ll see new roots beginning to grow. However, without any stem material that contains a node (a dormant bundle of tissue capable of creating new growth), all you’ll ever have is a rooted leaf. These leaves can be sustained by their roots for months or, in some cases, even years, but that’s all it will ever be.
You can read more about this topic in an article I wrote HERE.
Can You Grow a Rubber Tree from Division?
So, propagating Rubber Trees by seed or by leaf are out. How about a relatively common method of plant propagation like division?
I want to spend some time clarifying a couple definitions around this method because I think a lot of people try to research it but might not have the accurate terms to find what they are looking for.
Plant division is a relatively common method of propagation, in which a plant can be dug up and literally cut into smaller sections, with each new piece containing all parts of the plant (roots, stems, and leaves). Many perennial plants out in your yard are great candidates for division and often benefit from being divided every few years.
Some houseplants can be easily divided, as well. Snake plants, ferns, peace lilies, and cast iron plants are all excellent examples of this. Rubber Trees, however, are most commonly seen as plants that cannot be divided due to the fact that they almost always grow from one single stem, making division impossible.
“Separating” Rubber Trees
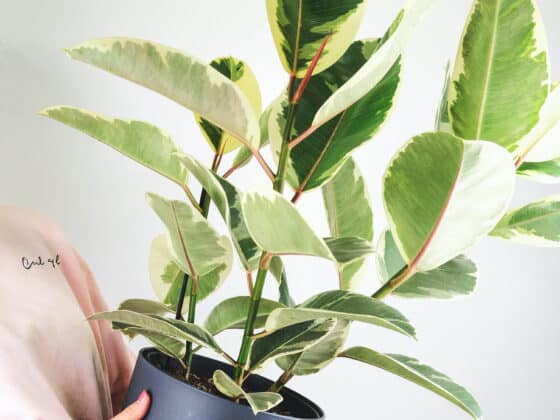
But, hold on a second!? You might be wondering about the Rubber Tree you have at home that clearly has three or four stems protruding from the soil, wondering why those can’t be “divided.”
Well, they can be, because they are actually separate Rubber Trees that were planted together in the same pot. A little trick of the nursery industry for single-stemmed houseplants is to pot multiple starts together to create the illusion of a bushier or fuller plant rather than its normal tree-like appearance.
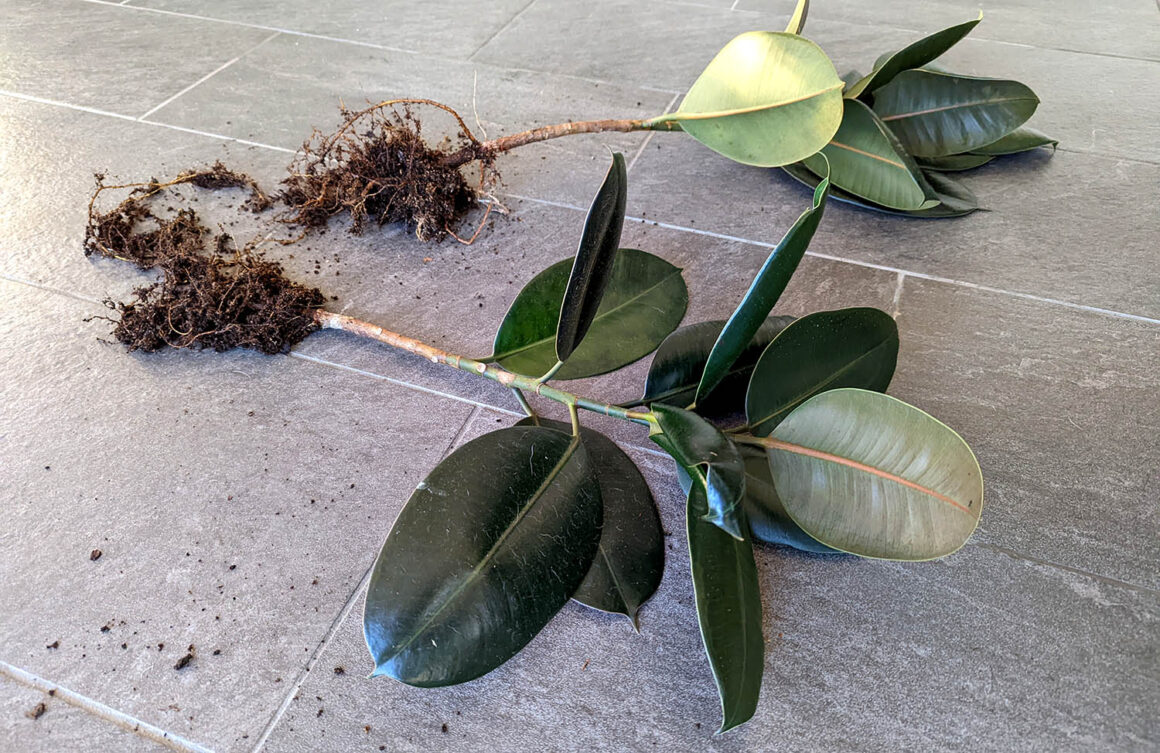
These individual plants all grow together in the same pot, where their root systems can get tangled into one large root ball. If you pull the whole thing out of the pot, it’s easy to mistake it for just one plant.
So, while division, the actual cutting of one plant into separate sections, is not a viable option for Rubber Trees, you can definitely “separate” these multi-stemmed specimens into individual pots quite easily.
I’ll admit, the vocabulary is similar, but it is important to understand the difference between “division” and “separation,” so you don’t try to cut your single-stemmed Rubber Tree in half. It would most likely kill your plant, and I don’t want the blame for that to fall on my shoulders.
To separate a multi-stemmed Rubber Tree, you should remove the plant from its pot and wash away as much soil as possible so you can see what you’re doing. The roots of the individual plants will be very much entwined into one root ball at this point, so the goal is to tease out the individual plants, trying to keep as much of their root systems intact.
Start with one plant and gently tease apart its roots, strategically cutting out tough knots. Try to keep several inches of roots attached to each plant. Repeat this process for each of the other plants.
Once they are all separated, you can choose appropriately sized pots to plant each individual into, taking care to allow enough room for their roots. Gently bury the roots in the soil and make sure the plant’s stem is aligned and secured in the center of the pot before watering the plant in.
If you’d like to learn more about Rubber Tree separation, you can read an article about it HERE.
Can You Grow a Rubber Tree from Cuttings?
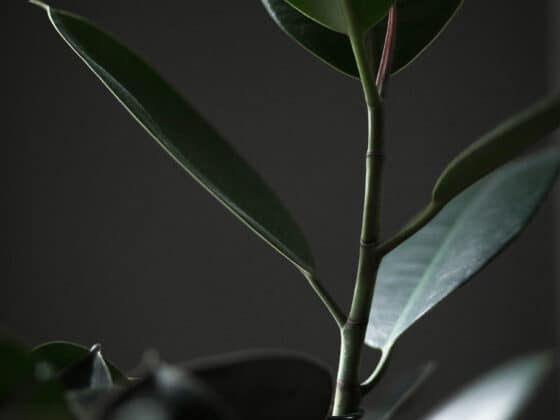
Ahh…now we’re getting into the good stuff. As I mentioned at the beginning of this article, taking cuttings from your Rubber Tree plant is one of the most effective ways to propagate new plants.
Rubber Trees are hardy and resilient houseplants that tend to root out well. As long as you go about it correctly, cuttings taken from a healthy mother plant will eventually root out and start to push new growth in the form of a stem within a matter of months.
What Makes a Good Cutting?
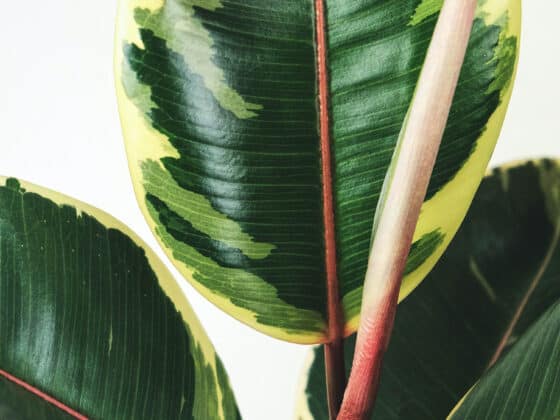
The important thing to remember is that you need to take cuttings in such a way that each piece has a portion of the stem with at least one leaf and one node. Anything short of that won’t amount to much, just like the rooted leaf that won’t ever grow into a full plant.
Regardless of whether you propagate these cuttings in water or soil, the stem will eventually form new root growth while the node will be activated to create a new growth tip, or apical meristem, that will eventually form into the new plant. The leaf attached to the cutting will help provide essential plant functions like photosynthesis and gas exchange while the cutting roots out.
You can either take a stem tip cutting or a leaf node cutting.
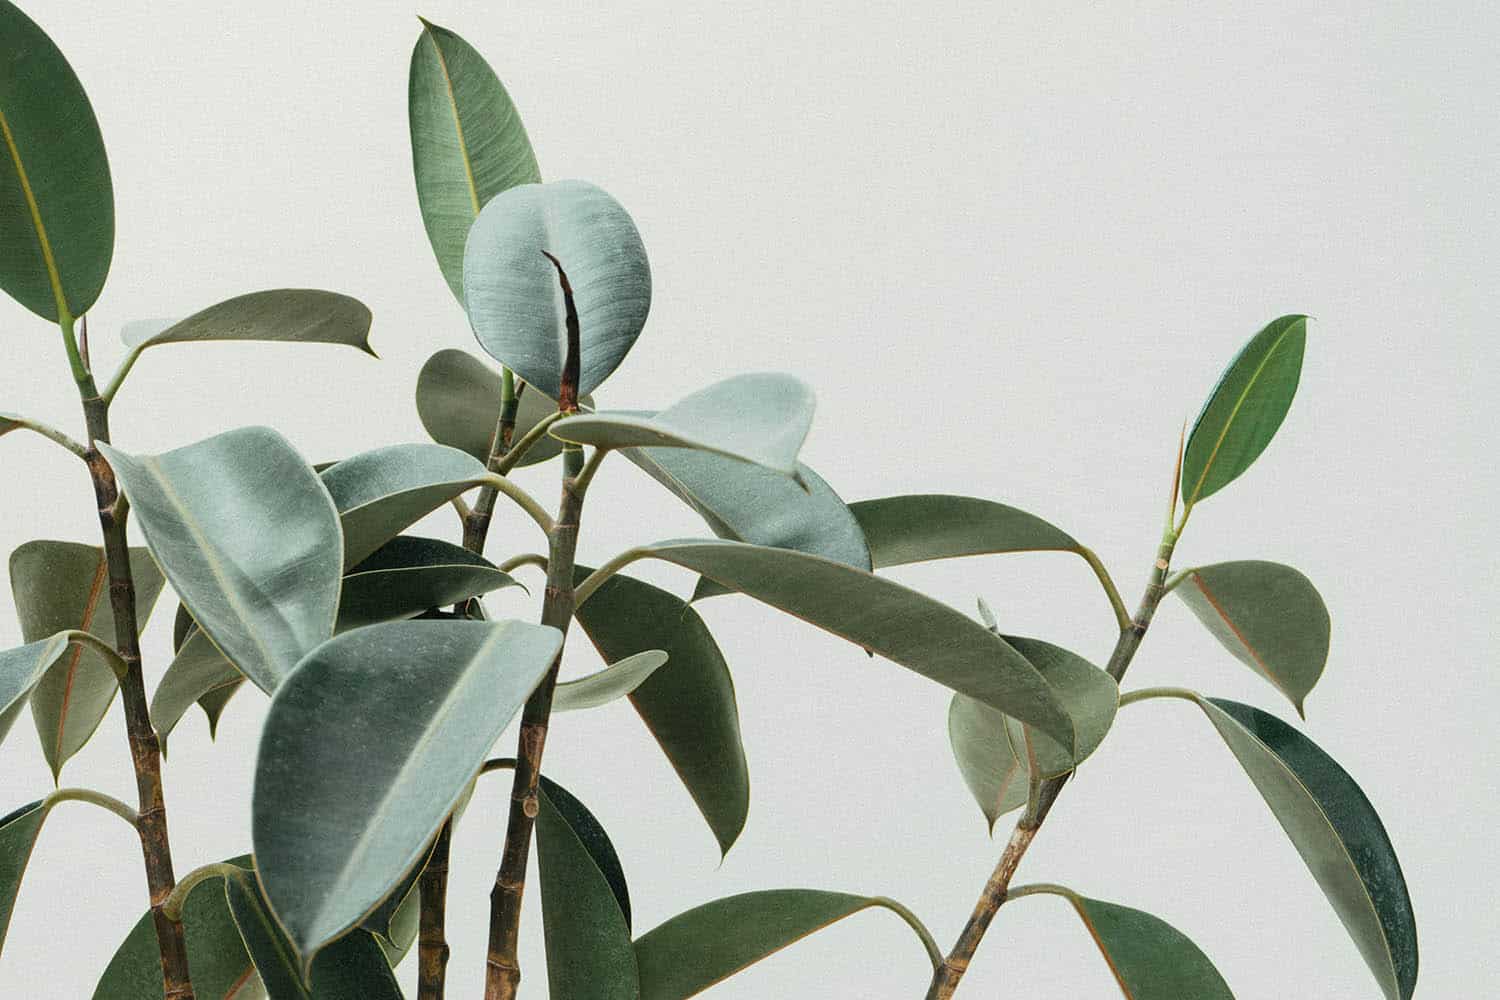
A stem cutting comes from the growing tip of your original Rubber Tree plant. Typically, you should aim to cut these about six inches long and make sure there are at least 2-3 leaves on them. This type of cutting is great because you already have a developed growth tip on it, so the stem just needs to root out before normal growth can resume. The downside is you only have a handful of growth tips on your Rubber Tree, so you might be limited to how often you can take this type of cutting.
A leaf node cutting is an alternative that offers you more cuttings from the same amount of stem. By making cuts along the length of a pruned stem at the internodes (the place between the nodes), you can create a cutting about two inches long, with one leaf and one node located at the center.
These cuts should be made with a pair of sharp, clean gardening shears. Cuts are typically taken at a 45° angle right above a leaf node. This will ensure that your original plant will send signals to activate the nodes below the cut to begin producing new branches with growth tips.
Propagating Cuttings in Water
Rubber Tree cuttings can be propagated in water, initially. This is an excellent method because it requires little beyond a few propagation jars or glassware and clean water. Essentially, you leave the cuttings in the water until new roots begin to develop. Once they reach about one to two inches in length, you can transplant the rooted cuttings into pots of soil to fully root out.
For stem cuttings, all you need to do is place the cut end of the branch tip into a jar of cool, clean water and set it in a bright window with lots of indirect light. For leaf node cuttings, you do something similar, making sure the entire stem portion is submerged in water with the leaf sticking out.
Water propagation takes a while, typically up to two months before you see much happen. Plan on changing the water weekly to avoid any mold or rot and look for small white bumps to appear along the submerged stems. These are the beginnings of new root nodules and will continue to grow longer as time goes on.
Propagating Cuttings in Soil
Rubber Trees seem just as happy to root out in soil as they do in water. This method is slightly more hands-on, in that you’ll want to make sure you are keeping your cuttings warm and moist to encourage them to root out, but the nice thing about it is they’ll establish right in their pots, and you won’t have the added step of transplanting water-rooted cuttings into soil.
You’ll want to prepare your supplies ahead of taking the cuttings. Make sure you have small propagation pots (typically 4” or smaller) or seedling trays on hand. You can use seedling soil or cactus mix to fill your pots, as they tend to be airy and well-drained. If you don’t have either of those soils on hand, potting soil mixed with perlite in a 1:1 ratio will work just fine.
For both stem and leaf node cuttings, you will want to make sure the cut ends of each piece are fully embedded in the soil. I typically dip the ends in a rooting hormone powder to encourage faster root growth before sticking the cutting down in the soil. It’s not totally necessary, but I find it helps shave a couple weeks off the process.
Once you have the cuttings planted, water them in so the soil is moist and place them in a bright window. You want to create a moist, humid, and warm environment for the cuttings as they begin to root out, so wrapping each pot into a Ziplock bag partially zipped closed or putting a plastic lid on a seedling tray will help maintain moisture.
You will want to monitor your cuttings closely for the first few weeks, occasionally adding water if necessary and making sure they are warm. After about a month, you can remove any plastic covers or bags. At about six weeks, you can gently tug on your cuttings. Any resistance should indicate that roots are beginning to form.
You will want to wait until the rooted cuttings have fully established in their small pots before transplanting them to anything larger.
I have written an article covering the best practices for taking Rubber Tree cuttings and the different methods you can use to root them out HERE, if you want to dive deeper into the process.
Propagation of Rubber Trees Using Air Layering?
There’s one more good method to propagate Rubber Trees that is a little more advanced than taking cuttings, but it is pretty cool. It is called “air layering.” This process involves making a cut midway up the plant’s stem and removing the outer layer of bark, wrapping the wound to encourage root growth, and then separating the top portion of the plant to be potted on its own.
This may sound invasive and scary, but as long as you use the proper supplies and techniques, this method is pretty straightforward.
This process is best used for a tall Rubber Tree you’d like to cut down in height. For best results, you want to select a branch that you can take anywhere from 12-20” off of, so for single-branched specimens, wait until your plant has grown past the height you desire. For pruned or shaped Rubber Trees, consider air layering a side branch or tall stem ahead of when you plan another pruning session.
What Do You Need to Air Layer?
The first step to air layering is to make sure you have all your supplies on hand. Because you are making a substantial wound in your Rubber Tree, you’ll want to work quickly to avoid disease exposure or stressing your plant out.
First up, you’ll need a healthy Rubber Tree that you plan to make your cuts on. There is no point in propagating a plant suffering from health issues, so inspect your plant to ensure it is well-watered, well-cared for, and not exhibiting any signs of stress.
You’ll need a sharp florist or pocket knife to make your cuts. The sharper, the better, as it will minimize the damage. I prefer to soak my knife in a diluted bleach bath for five minutes and allow it to air dry before use to make absolutely sure it’s clean.
In addition, you’ll need some rooting hormone, a small paintbrush to apply it, peat moss or coconut coir to soak and wrap your cut, a small plastic bag or sheet to wrap around the moss, and twist ties or twine to secure the plastic.
How to Air Layer Your Rubber Tree
Once you have all your supplies ready, you can begin the process of air-layering:
- Soak the Peat Moss – Start by soaking the peat moss for about a half-hour before you begin. You’ll want this nice and moist by the time you wrap the wound in the Rubber Tree.
- Identify Where to Make Your Cut – Find a spot along a growing stem about 12-20” from the tip. The cuts you will be making will be in between two nodes, along an internode section.
- Remove Leaves – Once you identify where you want to make your cuts, remove the two or three leaves around that area to give you room to work. This won’t hurt the plant.
- Make the First Cut – The easiest way to air layer is to remove a band of bark on an internode, so you will make two separate cuts all the way around the stem. The first cut should be ½-1” below a node. Cut into the outer layer of bark, but try not to cut all the way through the stem. Depending on the thickness, the bark should only be a ¼” thick or less.
- Make the Second Cut – The second cut should be made the same as the first but about an inch lower on the stem, just above the lower node. Eventually, when you remove the air-layered portion of stem from the mother plant, you’ll do so right above that node to encourage new branching.
- Remove the Bark Layer – Now that you have your two horizontal cuts made around the stem, you can make a vertical cut to join them and gently peel the outer bark layer from the stem. You’ll be left with a wound that exposes the white tissue, called the cambium, below it.
- Paint on the Rooting Hormone – Now, use a small paintbrush dipped in rooting hormone and gently coat the raw bark layer. This will encourage your new roots to grow more quickly.
- Wrap the Wound with Moss – Once you remove the bark, you can rough up the cambium tissue slightly with the edge of your knife. This will help facilitate root growth. Then, wrap the wound with the moist peat moss, being careful to fully enclose the exposed tissue. As roots form in the cut, they’ll grow out into the moss, so you want to make sure you use enough to cover the entire wound.
- Wrap the Moss with Plastic – Grab the plastic bag or sheeting and wrap around the moss ball you’ve created. You want to make sure it’s wrapped fairly tight to help retain moisture. Use twine or twist ties to secure the plastic at both the top and bottom.
- Care for your Rubber Tree and Monitor Your Air Layering – Once you’ve got your cut wrapped up nicely, care for your Rubber Tree, as usual, making sure it has plenty of bright, indirect light and that it’s watered properly. Occasionally, you’ll want to check your moss ball to make sure it is retaining moisture, so you can gently unwrap the plastic and add a bit of water, if necessary.
And then, you wait! Within a few weeks, you may notice that some small roots are forming, although it might be hard to see through the plastic wrap. Typically, this process can take anywhere from 2-3 months before an air layered branch fully roots out into the moss ball.
Once you get to the point where a substantial number of roots have formed and are growing throughout the moss, you can then make the final cut to separate the top, air-layered portion of stem from the original plant. Again, make that cut just below the new root ball and above the first leaf node where the air-layer wound was made, cutting it off horizontally.
Your new plant is now ready to be potted into its own container. Gently place the root ball into your pot and fill it in with soil so that the plant is secure and the stem is centered. Water the plant in well, ensuring it has good drainage. Allow the plant to establish in its new container for a few weeks.
As you wait for your new Rubber Tree plant to root out in its new pot, you should see your original plant pushing new growth from the nodes below the air-layered cut you made. These should eventually turn into new branches, each with their own growth tip.
Final Thoughts
Rubber Trees are beautiful and vibrant plants that are actually quite easy to propagate. Remember, though, stick to taking cuttings or air layering if you want to try your hand at propagation. Don’t bother with trying to root out just the leaves and save your money for more houseplants rather than buying Rubber Tree seeds off the internet.
As long as you know which methods work best and the correct ways to go about it, there’s no reason you shouldn’t be successful in creating many new Rubber Tree plants for your home or to give away to your friends.