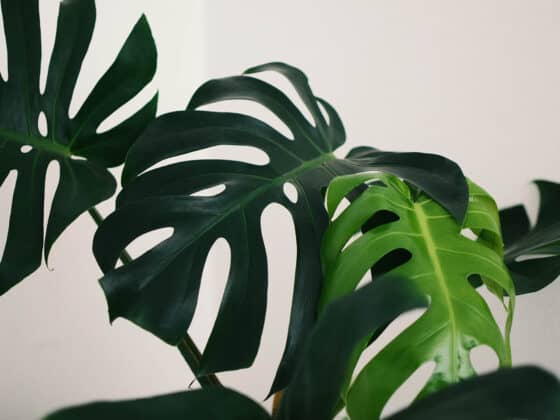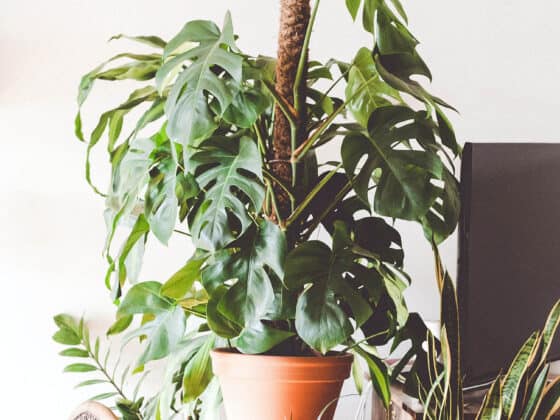
Monstera Deliciosa, the coveted Swiss Cheese Plant, is known for its rapid and aggressive growth. For people interested in keeping a small and movable Monstera, this isn’t ideal. Monsteras can quickly take over a planter if given the right conditions. Fortunately, with a bit of pruning, you can slow the process down.
How can you trim the underground roots of your Monstera? Remove your Monstera from its pot, brush away the soil, and gently break up the root ball. You can cut back up to one-third of the plant’s roots without risking damage. After pruning, repot your Monstera in its old container with fresh potting soil.
If you have a plant that has gotten a bit of control, or you simply want to make sure that it can keep living in your favorite pot, pruning back underground roots is easy. The first time you do may be a bit scary, but thankfully, Monsteras are hardy plants that can withstand up to 1/3 of their root systems being removed without damage.
Why You May Want To Trim Your Monstera’s Roots
Monsteras are not small plants despite starting out that way. They become more vine-like as they get older and bigger, growing massive aerial roots that are connected to a thick trunk. In the Central American rainforests, they can have leaves that measure up to two feet long and grow higher than 50 feet.
Obviously, an indoor Monstera will never be as large as a wild one, but that does not mean that they cannot grow to be massive. In our own homes, these evergreen plants can reach about eight feet in height.
If you’ve had your Monstera for a while, you may be finding that the plant is growing more quickly than you can accommodate. While we can trim back new leaves and aerial roots, there is actually something more you can do beneath the surface to keep your Monstera at a more manageable size.
Besides keeping your plant on the small(ish) side, pruning underground roots can revive a Monstera that has become rootbound. A plant becomes rootbound when the roots outgrow the current container and start to spiral in on themselves. This will eventually harm your plant because the ratio of root to soil will be heavily weighted to one side. When a container does not have enough soil for a plant, it will not retain water, and the Monstera cannot absorb nutrients as well as a healthier plant.
When plants are rootbound, we usually just size them up one container and transplant them. But what if you love the pot your plant is it? Or what if you can’t house a Monstera that keeps getting bigger and bigger? Whether your Monstera is root bound or you just want to try to hold back its growth, pruning underground roots is an easy solution.
Before We Get Started: The Different Types of Monstera Roots
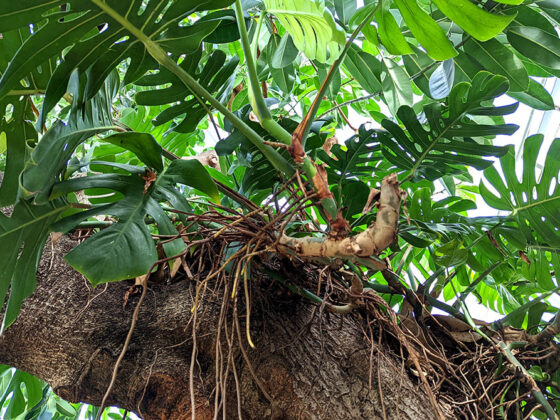
Monsteras have three different types of roots: aerial roots, aerial-subterranean roots, and lateral-subterranean roots. While the names sound complicated, they’re actually very simple. I’m going to explain each of these quickly before we move on to the “how-to” section of this article.
Aerial roots are roots that grow above the soil. They usually extend from the nodes and stem of a well-established plant (typically one that is old enough to develop fenestrations.) Aerial roots are usually a light brown but may be white or green. They can grow to be very long, especially in an older plant.
Aerial roots are thought to absorb moisture from the air, increasing the Monstera’s access to water. But this isn’t their primary purpose. Mostly, these structures provide a sort of anchor as they climb up trees in the wild and help them reach higher and higher in search for sunlight that is not available along the forest floor.
Aerial-subterranean roots are a combination of aerial roots and subterranean, or underground, roots. These roots begin as aerial roots and eventually grow into the soil, turning into a combination of the two. In addition to likely absorbing water and nutrients, these roots’ purpose is to help further support the growing plant.
Lateral-subterranean roots, the final type of Monstera roots, are what most people picture when they think of true roots. These roots grow beneath the soil and help to stabilize the plant and absorb both water and nutrients underground. These roots, more often referred to as underground roots, extend off of the main stem root.
How To Keep Your Monstera Growing In The Same Pot Year After Year
To keep your Monstera at a manageable size and growing in the same size pot, you’ll need to prune the plant both above and below ground. This involves pruning new and old growth, as well as the aerial and underground roots. Don’t worry. Pruning doesn’t generally harm a plant and is important to the overall health of a Monstera.
While we often think of pruning back large growth from the top of the plant, it may slip our minds that what is going on underneath the soil is just as fast-growing. Unless you want to pot up to the next size container, you’ll have to do some underground maintenance as well.
Get Your Supplies Together
To prune your Monstera roots, you will need a pair of sharp scissors, shears, or a knife, as well as a way to sterilize your utensils. Additionally, you may want to spread out some newspaper to make the cleanup process easier.
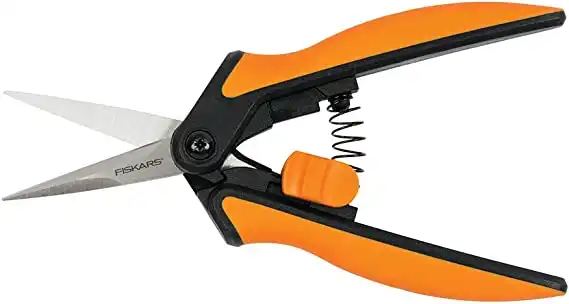
Sterilizing your tools is essential in preventing the introduction of diseases and pests that might harm your Monstera. I like to use a diluted bleach mixture of one part bleach to nine parts water to sterilize my tools before pruning.
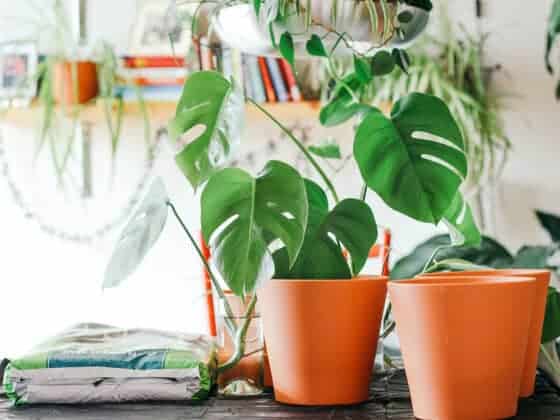
Lastly, you’ll need some fresh potting soil to repot your Monstera after you’ve cut back the roots. It is always best to use new, fresh soil as it is fortified with nutrients your Monstera will use to grow and recover.
How To Prune Back A Monstera’s Underground Roots
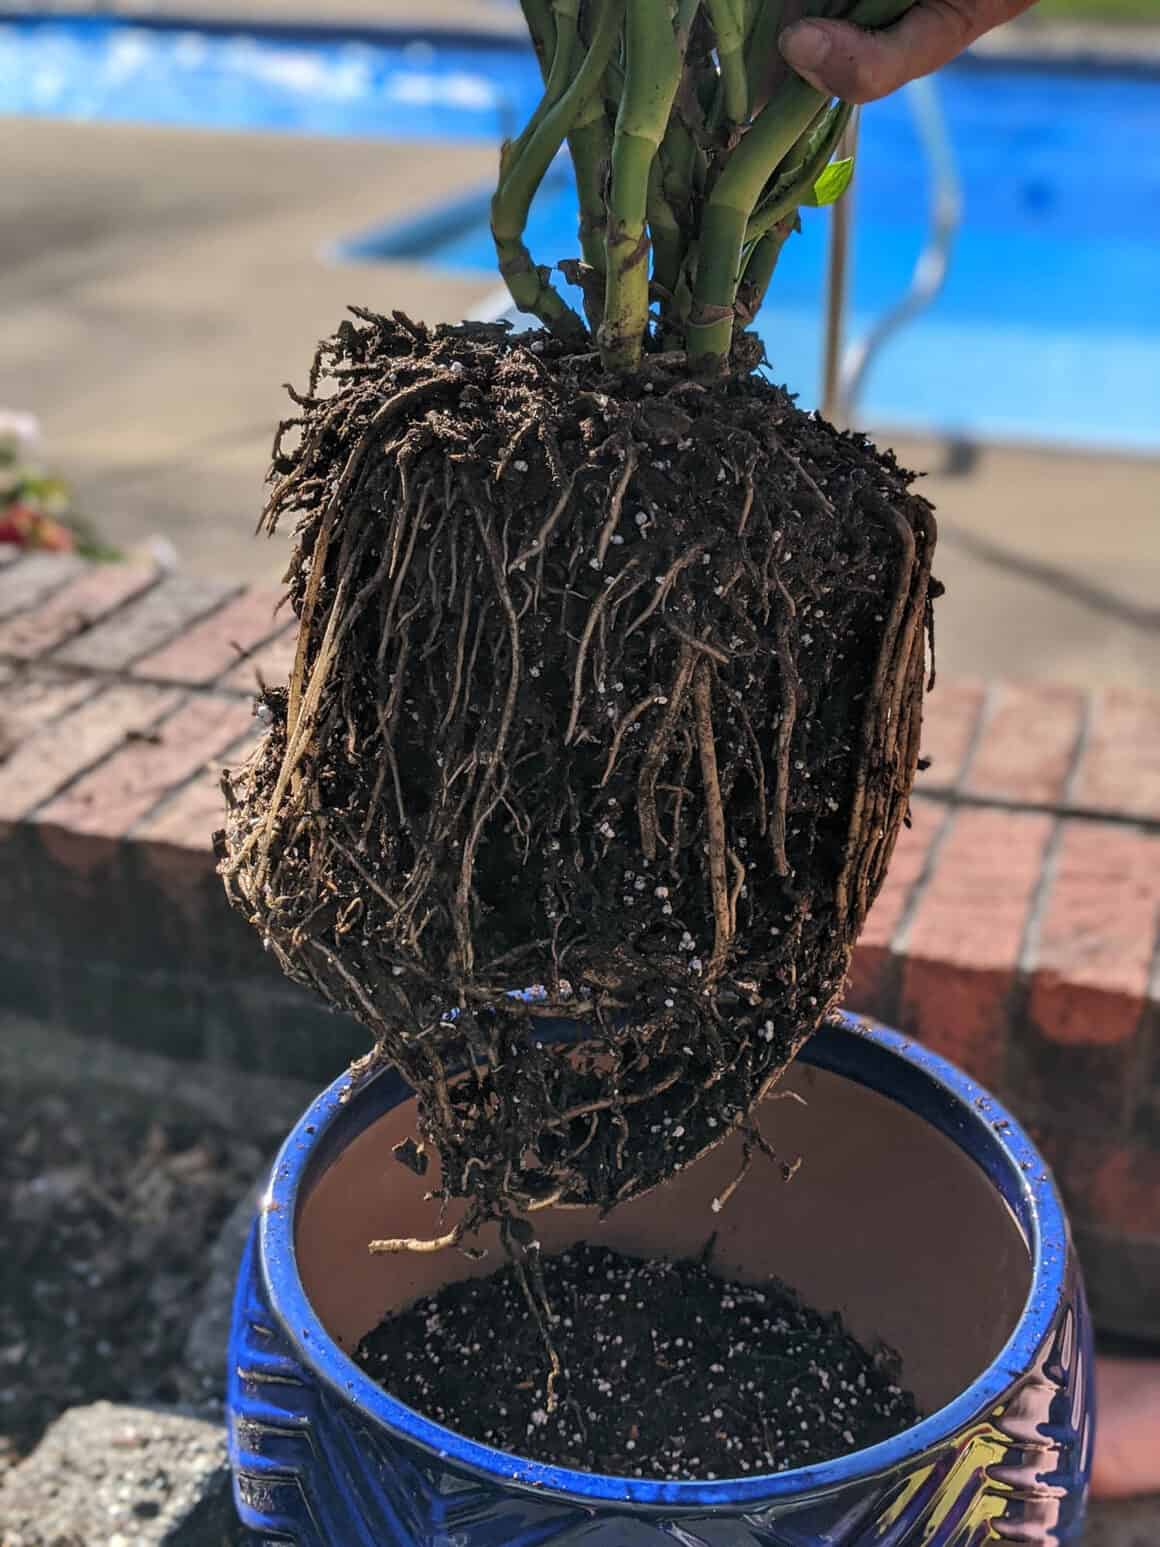
Gently remove your Monstera from its pot. Do not tug or pull at the plant but rather tip it to its side and try to slide it out. If your Monstera isn’t budging, grab a butter knife and run it along the inside rim of the planter to help break your plant’s grip on the pot. Once you’ve loosened up the edges, you should be able to slide your Monstera out.
If roots are growing out of the drainage hole in the bottom of your planter, keeping your plant firmly in place, go ahead and cut those off first. After removing these roots, your plant should allow you to pull it from its pot.
If you are dealing with an especially large Monstera, enlist a friend to help you. Full-grown Monsteras can be heavy, and it would be better to ask for help than to take a chance of breaking, dropping, or damaging your mature plant.
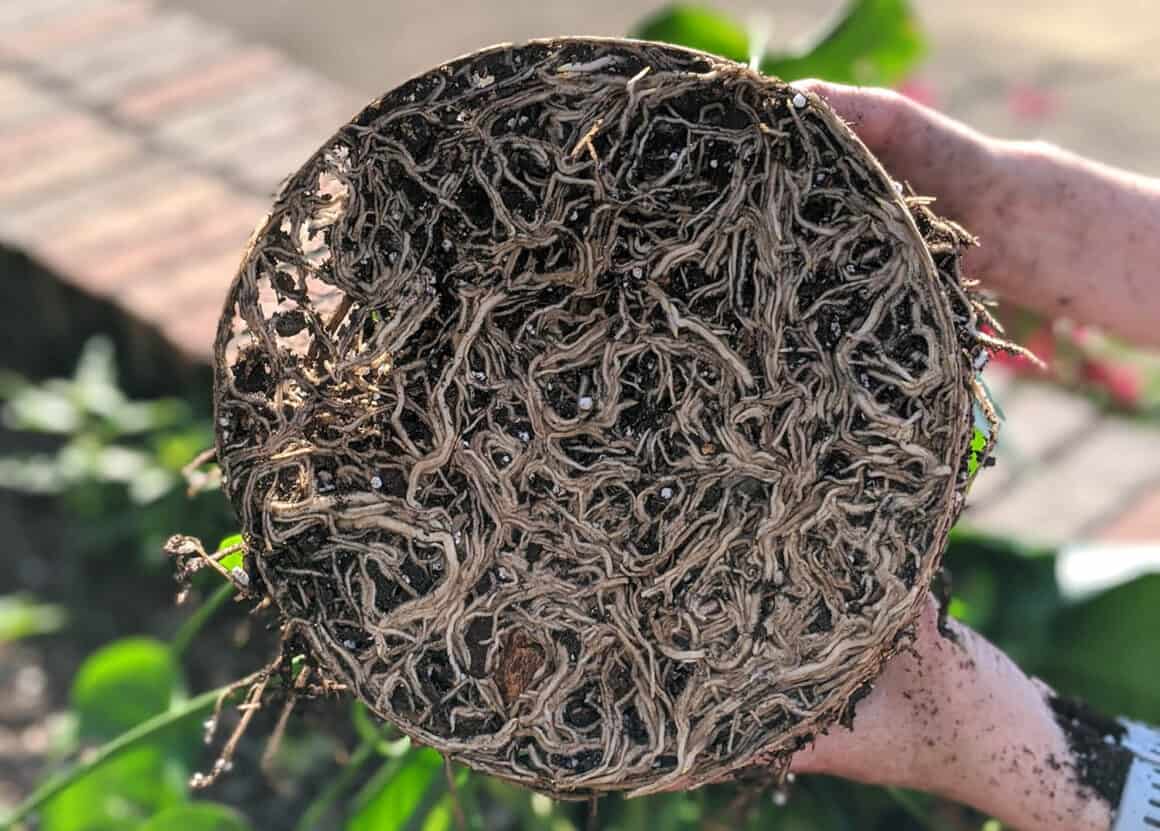
Once the plant is out of the container, flip it over, and look at the roots. Gently break up the root ball with your hands. Brush the soil from the roots and untangle them as best you can. Now you’re ready to start trimming.
If the roots have spiraled into a tightly wound coil, you’ll need to make a few cuts before you can even begin to break up the ball. While this may seem terrifying to cut the roots of a healthy plant, don’t worry. Your Monstera is a hardy plant, and it can handle the pruning.
Now you’re ready to start trimming. You can cut back both small and large roots and can actually remove up to 1/3 of the Monstera’s root system without risking damage to the plant. The goal of this trim is to give your plant continued room to grow inside of its planter, so don’t be shy.
While you have your Monstera out of its container, now is a good time to check for any signs of root rot. Healthy roots are white and crisp. Unhealthy roots can be black, brown or gray and mushy. If you find any roots in the latter condition, go ahead and trim those back as well.
Repotting a Trimmed Monstera
Now that you’ve trimmed back your Monstera’s roots, you are ready to repot it back in its old container. I use the same diluted bleach mixture for sterilizing pruning shears as I do to clean out my container before repotting. This ensures I’m not reintroducing any bacteria or fungus to the newly trimmed plant.
Add enough fresh soil to your clean container to fill the pot about a third of the way up. (If you are adding a moss pole or stake, now is the time to insert it.) If your Monstera is small enough for you to handle alone, all you need to do is place the plant into the pot and spread out the newly untangled roots. Add soil all around, evenly distributing it, and gently pat it down so that it is packed in.
Water your Monstera until the excess flows out through the drainage hole in the bottom of the container and set it back in its old spot. Your plant should recover nicely.
Over the next few weeks, keep a watch on your plant for any signs of transplant shock. If no leaves are drooping or yellowing, take that as a sign that the roots are healing beneath the soil. But do be careful not to overwater during this time. Too much water can damage even the healthiest of roots.
Can I Trim Back Aerial Roots?
Aerial roots can be pruned just like every other part of the plant. This won’t necessarily keep your plant from outgrowing its pot, but trimming aerial roots helps to keep a plant looking tidy and neat.
Much like pruning underground roots, all you need to trim aerial roots is a pair of sharp shears and a sterilizing product, like a bleach mixture or rubbing alcohol.
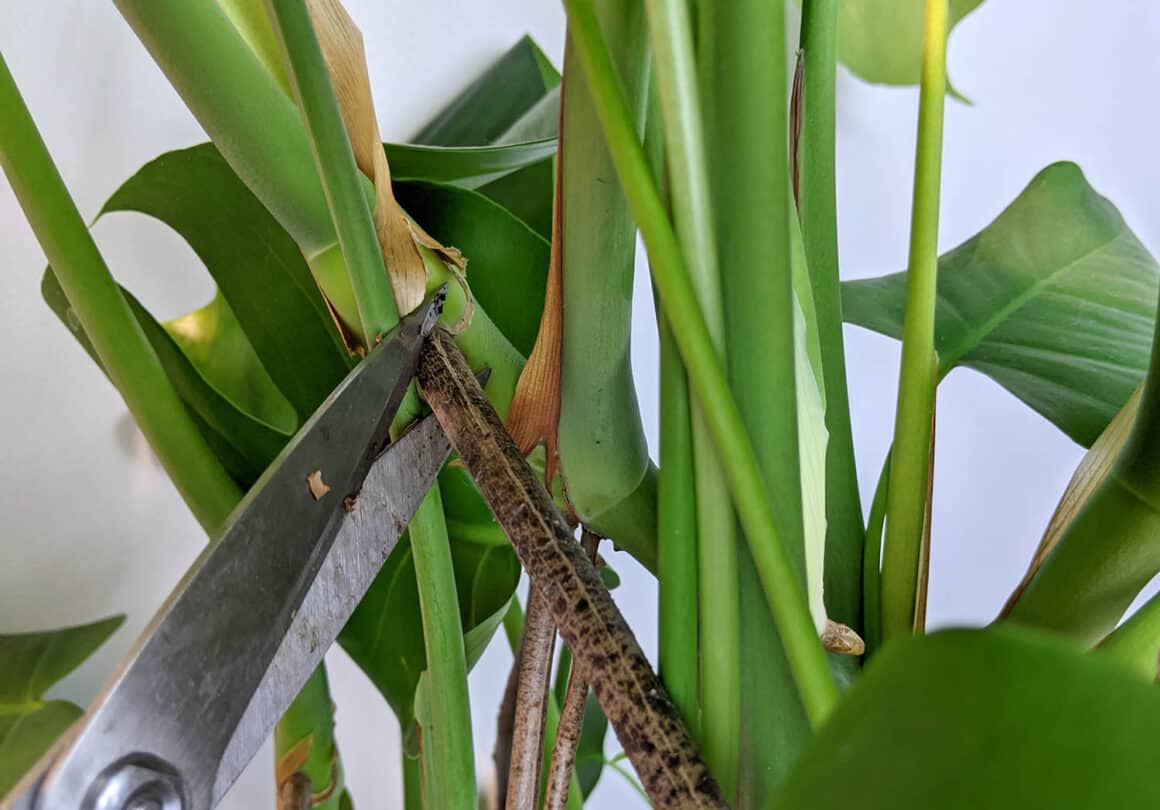
When you’re ready, trim the selected aerial roots down to just before they meet the stem or node. Be careful not to nick the stem. Pruning too close can weaken your Monstera, making it susceptible to diseases and pests.
Don’t be surprised when the aerial roots grow back! Healthy Monsteras will continually put out new roots. In fact, sometimes, two aerial roots will emerge from a location where you have cut one back. For more information on aerial roots, what they are, and how to deal with them, read this article.
The Best Time of Year to Cut Back Roots
Pruning of any sort yields best results in early spring, just before your Monstera enters into its growing season for the year. This is when your plant will have the most energy and resources available for healing the root system.
If you have missed the early spring window, you can still trim up your plant any time during its growing season from spring to early fall. If you’re reading this in winter, consider bookmarking the page and returning once it warms up. Trimming during dormancy is not recommended.