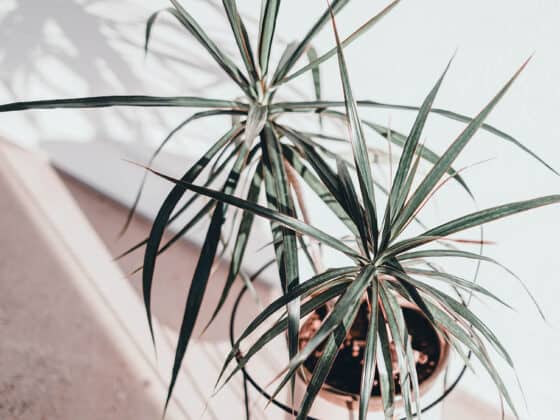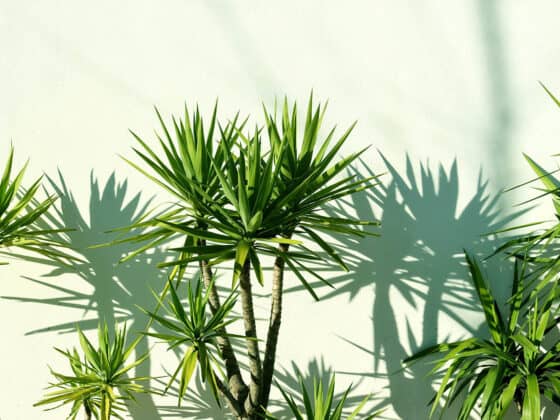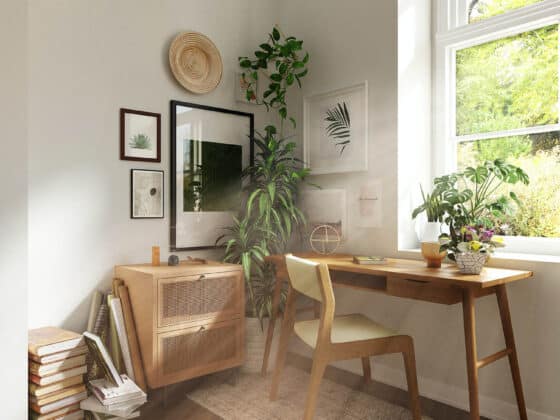
If you’re looking for a tropical plant that’s easy to care for and brings a jungle vibe to a room at a reasonable price, Dracaenas are a great option. Dracaenas are low-maintenance, tolerant of a wide range of conditions, and slow-growing. And since they grow so slowly, it usually takes a while before you need to repot a Dracaena. Luckily, whenever that time comes, you should find it to be an easy process.
Repotting a Dracaena is like repotting any other container plant. Just make sure to choose the right soil and container so that your Dracaena will get proper drainage and avoid root rot. Once you have those, simply remove the plant from its original container and repot it into fresh soil in the new one.
Dracaenas don’t often need replanting, but like all plants, they will eventually outgrow their pots and need to be transplanted into something bigger. This article will guide you through all the steps to successfully repotting your Dracaena so it can stay happy and healthy and grow even bigger!
What Time of Year is Best for Repotting Dracaena
Before you get started, you will need to assess whether the timing is right to transplant your Dracaenas and whether or not your specific plant actually needs to be moved yet. Although Dracaenas are hearty and will probably survive being transplanted in less-than-ideal circumstances, getting the timing right will minimize stress on your plant and give you the best chances of success.
The ideal time of year to repot Dracaenas is in the spring or early summer. This gives them an entire growing season to use the supply of nutrients provided by the new potting soil and expand their roots into the larger container.
It’s best not to repot these plants in fall or winter. Their roots can be sensitive to cold air and might suffer from being exposed to it. Disturbing the roots during the period of slow growth can also cause a condition known as transplant shock. Repotting in mild temperatures is the best way to avoid this. This gives the plant plenty of time to recover during the time of year when it has the most nutrients and sunlight available.
How Often to Replant Your Dracaena
You’ve probably already noticed that Dracaenas grow more slowly than many other houseplants, and so they won’t need to be transplanted very frequently. In general, a Dracaena can grow in the same container for about 3 or 4 years before it needs to be repotted. During this time, they will most likely need a bit of added nutrition, so click here to read about fertilizing Dracaenas.
Of course, some Dracaenas grow more quickly or slowly, depending on the conditions they’re growing in, so it’s best not to rely on a strict timeline to decide when to repot. Instead, you can use the section below to evaluate whether or not your plant is ready to be transplanted.
Signs Is Time to Transplant to a Bigger Container
The best way to determine when your plant needs repotting is to check its roots. A rootbound plant will need to be watered more frequently since the roots have taken up so much space in the pot that there isn’t as much absorbent soil to soak up the water. You might also see roots coming out of the drainage holes or out of the top of the soil.
A finger or chopstick inserted into the soil can also gauge how much space the roots are taking up in the pot. You could also try removing the whole plant to check out the root situation, although this may be difficult for larger Dracaenas.
If there is still a good amount of soil surrounding the root ball and the plant generally seems to be doing well, you can get away with waiting another year before sizing up to a larger container. It is better to avoid transplanting Dracaenas too soon since there is a risk of root rot with too much excess soil around the roots.
Do Dracaenas Like to be Root-Bound?
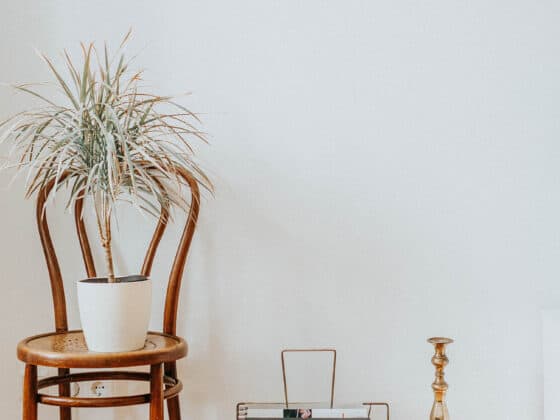
Some houseplant owners say that Dracaenas prefer to be rootbound, but truly no plant likes to be properly rootbound. Dracaena roots are surprisingly dense and shallow, so they do not take up a lot of space in a pot.
The small size of the root system can be misleading when you look at the pot size compared to the plant size. Dracaenas may tend to look unbalanced or top-heavy compared to their pot. However, this does not harm the plant.
A mildly root-bound Dracaena will have a few roots coiling around the inside of the pot but will still have a good amount of soil visible among the roots. The Dracaena is unlikely to demonstrate any ill effects from this scenario.
A highly root-bound Dracaena, on the other hand, has a large number of roots tightly-packed together and almost no soil remaining in the pot. If your Dracaena reaches this level, it could have stunted growth, dry out quickly, and look generally wilted. Lower leaves can turn yellow and fall off. The roots can even distort or break pots in some cases.
Dracaenas can tolerate being rootbound for a while, but they will ultimately need more space to spread their roots and grow. Being rootbound for too long causes the plant to suffer, and it will eventually die due to a lack of nutrients and an inability to take up water.
Supplies For Repotting a Dracaena
You won’t need any special materials for repotting a Dracaena (you might already have everything on hand!). See the sections below for more details on which types of potting medium and pots work best. I’ve also included a list of some optional supplies that can make the task easier.
Required
- New pot with a drainage hole
- Free-draining potting medium (DIY or store-bought)
- Water
Recommended
- Gardening gloves
- Something to protect floors – a tarp or newspapers, for example
- Sterilized garden shears for pruning roots or foliage
How to Repot a Dracaena
If you have repotted other plants in the past, you probably have a good idea of how to repot a Dracaena. One thing that can be challenging about repotting them is that some specimens can be tall and unwieldy. If yours is one of these, an extra set of hands can assist with moving and positioning your Dracaena during the process.
Set up all of your supplies before starting so you don’t have to stop midway through the process to get something. Make sure they are all within easy reach and go ahead and spread out your tarp on the ground.
Put a 2” to 3” layer of the new potting medium into the bottom of your new container. Remove your Dracaena from its original container and use this chance to check the condition of the roots. They should be light in color and firm, with no soggy or rotting parts. If you see any roots that look unhealthy they may be affected by root rot, trim them off with your garden shears.
You can also remove old soil that is clinging to the roots at this time if it is easy to do. They do not need to be totally clean, but it’s a good idea to knock off old clumps of potting mix that is probably depleted of its nutrients. After that, place your Dracaena into the new pot.
The highest roots should sit about 2” below the rim of the pot. If they’re too low, you can add some more soil to the bottom layer. Then, fill in around the root ball with fresh potting mix. It should be compact enough that the plant can stand upright but not tamped down or overly compressed.
Water your Dracaena thoroughly until water drains from the pot. Add more potting mix if needed due to compaction. Then return it to its regular location, and you’ve finished repotting your Dracaena!
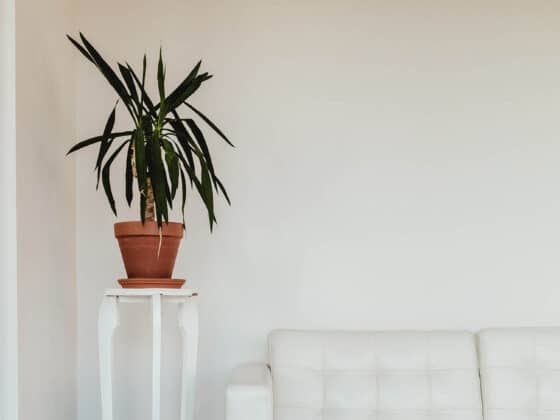
What Type of Pot is Best for Dracaenas
When choosing a container for transplanting your Dracaena, the most important consideration is ensuring that the pot allows for adequate drainage. The pot should have at least one drainage hole but preferably more than one. Dracaenas are sensitive to being overwatered, so excess water must have somewhere to go.
I prefer to purchase pots that come with a matching saucer or that have a drainage tray built-in. This keeps your furniture and floors safe and looks better (in my opinion) than mismatched or plastic saucers. Some people will not provide their plants with enough water if they are concerned about it leaking from the bottom of the pot.
If the ideal decorative pot comes along but is the type without drainage holes, it is possible to add some. You’ll need a drill and the proper type of drill bit. Use a masonry bit for unglazed ceramics (including terra cotta) or a glass and tile drill bit for glazed pots. Just make sure you go slowly and don’t apply too much pressure.
Dracaenas are not picky about what material the pot is made from – terracotta, plastic, and glazed ceramic all work just fine.
What Size Pot Should You Select?
If drainage is the most important consideration in pot selection, then size is definitely the second most important. If you move your Dracaena to a pot that’s much larger than its original one, there is a risk of overwatering the plant.
This can happen because container plants can only thrive if they have an appropriate ratio of roots to soil. This seems counterintuitive since they grow in basically unlimited soil outdoors, but container plants live in very different conditions. Indoor plants are at a higher risk of the potting medium becoming oversaturated and keeping the roots too moist, which risks the plant developing root rot.
The best choice in most situations is to move the plant to a pot one size (usually 2”-3” in diameter) larger than its current container. This assumes that the shape of the old and new containers is basically the same, but remember that the total volume of potting medium will also increase if you go from a shallow container to a deep one. Since pots can vary quite a lot, use your best judgment.
If you are worried about your Dracaena getting too big and you want to keep it the same size, you can repot it back into its container. But you will need to trim back the root ball and refresh the potting medium. It’s also an excellent time to prune the top of your Dracaena to keep it a manageable size, and don’t forget to propagate the cuttings!
What Type of Soil is Best for a Dracaena?
Dracaena species are hearty plants, and as such, they don’t have that many demands about what kind of soil they’re grown in. The most important thing is to ensure that the growing medium allows the roots to get plenty of air circulating around them to avoid root rot. A regular all-purpose indoor potting mix like this one works well for Dracaenas, although a custom mix is ideal.
Dracaenas can also be grown in LECA. LECA is becoming popular with houseplant owners because it increases pest resistance, is low maintenance, and is more ecologically friendly than other potting mediums. If you’re interested in learning more, everything you need to know about growing houseplants (including Dracaenas) in LECA can be found in this article.
If you are going the traditional route, you can use commercially available soil options, or you can mix your own. I always recommend mixing up your own custom potting mixes if you can since it allows you total control of the ingredients and the consistency. But of course, there are pros and cons to each one. The sections below will go over the options for different potting mediums.
Store-Bought Potting Soil Options
When it comes to purchasing potting soil, you always want to make sure it will drain quickly to keep water from accumulating in your container. But how can you tell if your potting medium is well-drained?
In general, you should expect to see water from the drainage holes in less than 30 seconds after providing plenty of water. If you have watered a lot or no water is draining, either your soil is too dense, severely compacted, or something is blocking the drainage hole. Either way, you should check it immediately. Slow-draining soil should be replaced with a lighter, airier medium or amended with something like perlite to lighten it up.
Plants need well-drained soil because their roots need pockets of oxygen around them to ensure that they don’t rot. If soil doesn’t drain well enough, salt and minerals can build up in the soil and eventually burn the roots. A potting mix that feels dense and heavy after watering may not have enough drainage for your Dracaenas.
The majority of potting mediums sold for houseplants should drain well since almost all houseplants need sufficient drainage and aeration around the roots. An all-purpose potting medium will contain a balance of absorbent and non-absorbent materials that provide a suitable moisture level to most indoor plants. As long as you purchase a good-quality potting medium, it should work just fine for Dracaenas.
What about cactus or succulent mixes? Potting mediums made for cacti are highest on the drainage scale since nothing kills a cactus faster than overwatering. These options usually contain a high proportion of sand, pumice, perlite, or other inorganic matter that doesn’t absorb water. But cactus mix on its own is probably not the best option for Dracaena because it drains too fast. Instead of using only cactus soil, it can be added to your regular potting soil to help it drain more quickly. A 50/50 mix unusually works well.
DIY Potting Soil Options for Dracaenas
As mentioned above, Dracaenas are not too picky about their potting soil. But if you want to provide your plants with the most appropriate soil for their particular needs, mixing your own is a great option.
The goal of creating your own potting mix is to closely replicate the ideal conditions for Dracaena roots – that is, sandy and chunky soil similar to their natural habitat. The easiest way to do this is just to combine your regular potting soil with some cactus mix.
If you’d like to mix your own from the component parts, here’s a simple recipe that provides some different options depending on what’s available:
- One part vermiculite, perlite, or sand
- One part peat moss, sphagnum moss, or coco coir
- One part compost, bark chips, or worm castings
Putting It All Together
Dracaenas don’t need repotting too often, but they will need to have a bigger home every few years. When the time comes, there is no need to be intimidated about moving your plant. As long as you provide your Dracaena with the right drainage and a properly-sized pot, it will not be too fussy when it comes to being repotted.
Remember to choose a container with a drainage hole that is only one size larger than the pot it currently resides in, and potting soil with some chunky organic material mixed in to help with drainage. The key to keeping your Dracaena healthy for years to come is setting it up for success to drain quickly and effectively after each watering.
Want to read more about keeping Dracaenas healthy? Check out these other articles: