Many houseplant owners are terrified of underwatering their plants and, in turn, they overcorrect and give their plants way too much water, often sending them to their death. Pilea Peperomioides are easy to care for but are most often killed by overwatering. If you’ve overwatered your Pilea, there may still be hope for your houseplant. With a few actions, it is possible to save an overwatered Pilea from an early grave.
How can you save an overwatered Pilea? Move the plant to a shaded area and allow it to dry out completely. To speed up the process, remove the Pilea from its container to dry. If you suspect your plant has root rot, you’ll need to prune back the damaged roots before repotting with new soil.
Saving an overwatered Pilea is doable, depending on how much damage has already been done. If you intervene early enough, the process is quick and easy. If your plant is further gone, you’ll just have to follow a few additional steps. But once you’ve saved your plant, how can you keep from having the same problem in the future? For all this and more, read on!
What is the Problem With Overwatering?
Plants need three things for their photosynthesis process: water, sunlight, and nutrients. However, too much of any of those components can harm your plant, with overwatering definitely being the most common cause of problems.
Roots that are overly wet cannot perform the tasks necessary to keep your Pilea thriving. Roots that are constantly sitting in water become so wet that they can no longer absorb oxygen and they quite literally drown. Roots that have been damaged in this way can no longer absorb the water they need to supply the rest of the plant and fuel the photosynthesis process.
How Much Water is Too Much?
Technically, Pileas are in the succulent family and while they differ from succulents in many ways, they have one very strong similarity: they hate to be overly wet.
Overwatering can occur in multiple ways, the most obvious of which is by you giving it too much water too often. However, overwatering can also be the result of drainage problems. This can occur when your pot doesn’t have a drainage hole, when the soil you’re using is not quick draining, or when the pot your Pilea is planted in is too large for the plant and it takes too long for the soil to dry out in between waterings.
To thrive, Pileas need to be planted with quick-draining soil in a container with a drainage hole that is just slightly bigger than the plant. When a Pilea has the ability to properly drain, its soil can dry out between watering which will protect the roots of your plant and keep them healthy.
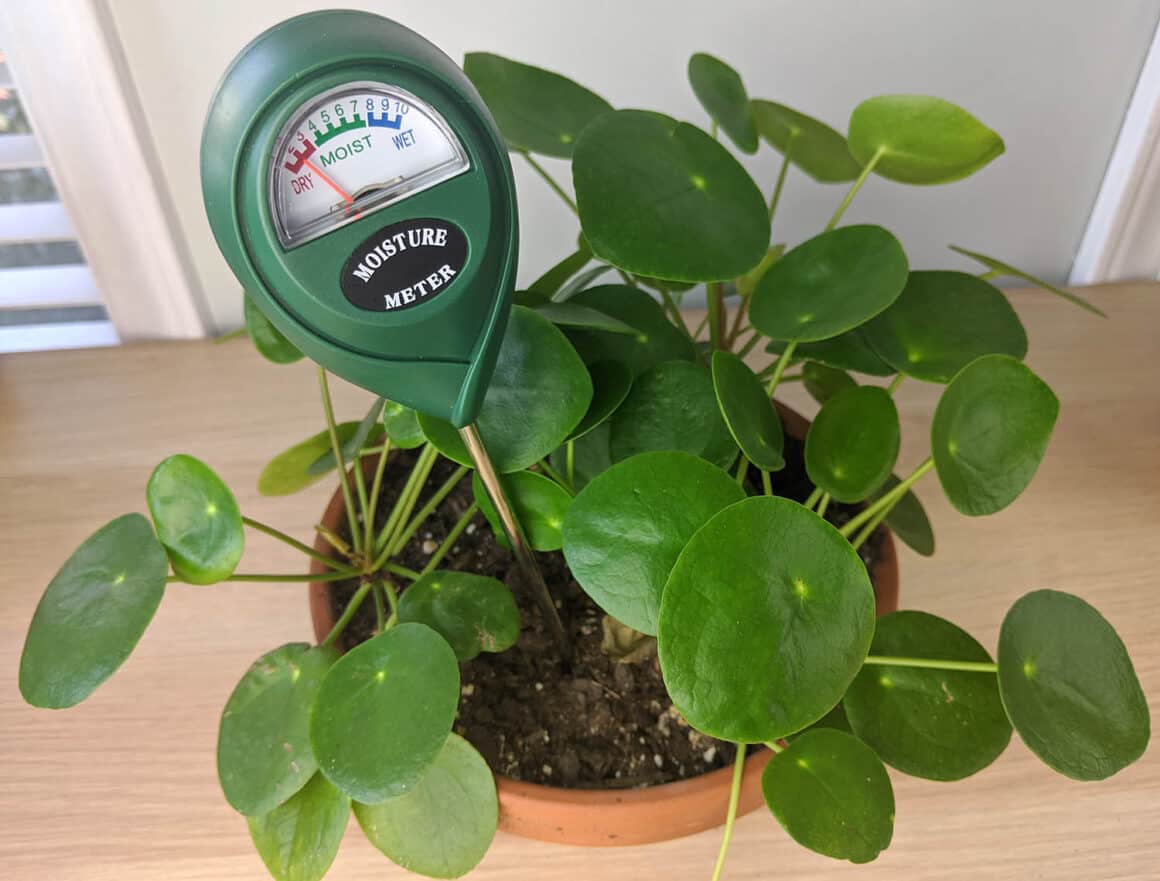
Pileas should only be watered when the top inch of soil is dry. Some people prefer to water their plants on a schedule, such as every Friday, but I believe this is dangerous. Depending on the temperature and time of year, your Pilea will dry out more or less quickly. It’s always best to check the moisture of the soil, either with your finger or a
If you’re doubting whether it is time to water your Pilea again or not, always err on the side of caution. It is better to wait another day or two between waterings as your Pilea can withstand underwatering much better than it can withstand overwatering.
Signs Your Plant is Overwatered
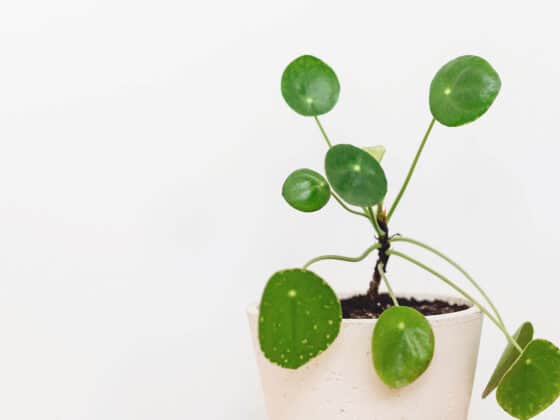
The most common signs of overwatered Pileas are discoloration and drooping leaves. Pileas that have had too much water lose their deep green color and instead start to fade from pale green to yellow before the leaves eventually fall off and die.
If the stems of your Pilea have become soft and all of the leaves are drooping, this is most often a sign of overwatering. You should note that some drooping, at the base of the plant, is perfectly normal as older leaves at the bottom lose their strength with age. If most of your leaves are drooping, not just the few at the bottom, then you probably have an overwatering issue.
If you see mold or algae around the base of your plant or you smell a musty smell in the soil, you may have a bigger problem and the roots will need to be examined for signs of root rot.
Root Rot: What Is It?
Root rot is a common problem in houseplants that is usually caused by constant overwatering. If left unchecked, root rot will kill a Pilea. Depending on the severity of the issue, even with your best efforts, your plant may or may not survive. Because the first symptoms are happening underneath the soil, most of us don’t even begin to check for the issue until it has become a major problem
Root rot is caused by one of two things: constant overwatering or fungi in the soil of your houseplant. Fungi can lie dormant in your soil for a long time. Once the plant has been overwatered once or twice, the fungi comes to life, taking over the root system of your Pilea. Both lead to the rotting of your Pilea’s roots and both will kill your plant if not addressed.
How to Check a Pilea for Root Rot
To check for root rot in your Pilea, you’ll need to examine the roots of your plant. Healthy roots are white and crisp. Unhealthy roots are gray, brown, or black. Roots that are slimy or mushy are most likely casualties of root rot.
Another indicator of root rot is a foul odor in the soil. Healthy Pileas with healthy roots have soil that smells like the ground after it has rained. Pileas who have been affected by root rot have soil that smells musty or moldy.
If you are noticing any of these symptoms in your Pilea’s root system, you need to act as soon as possible. The best chance at saving a Pilea from root rot is to solve the problem quickly.
How Bad Is the Problem?
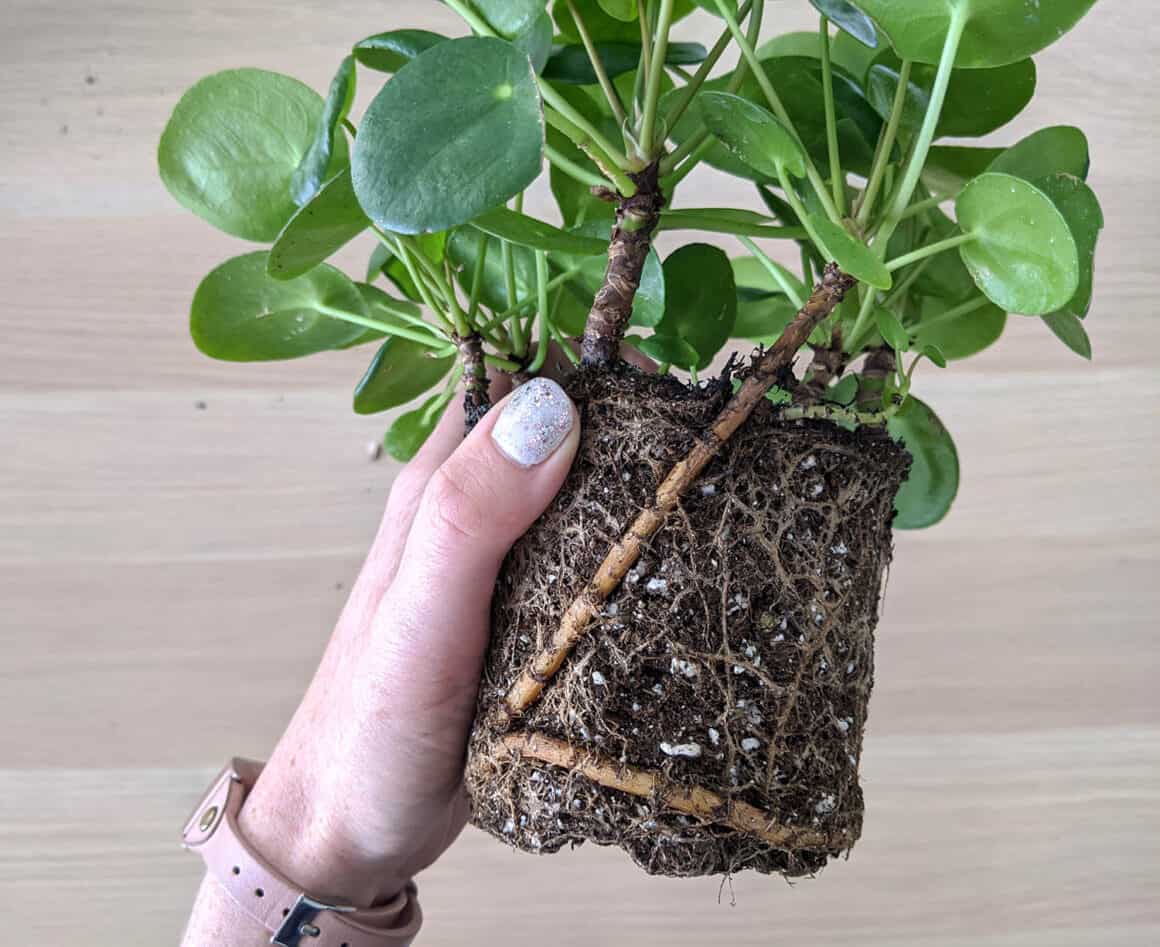
The only way to determine the severity of overwatering occurring under the soil is to examine the roots of your Pilea. If your leaves have started to turn pale green or yellow and your Pilea is not growing at all, it is time to slide the plant out of the container and look for the signs of root rot listed above.
To see the roots more clearly, gently run the root system under warm water in your sink and remove as much soil from the roots as possible, while being very careful not to damage the roots. If the roots are brown, gray, mushy, or slimy instead of white and crisp, you have a root rot problem.
Which Steps to Take
If you suspect that your plant is only slightly overwatered, your leaves are just barely starting to discolor, you should read and follow steps; 1, 2, 3, 7 & 8.
If you believe that your overwatering is more severe, your leaves are pale green or yellow but you do not see any root rot, you should read and follow steps: 1, 2, 3, 4, 7 & 8.
If your plant is a victim of root rot, you should read and follow all steps from 1 through 8.
Step 1: Stop Watering Your Plant
This seems like a no brainer, but I did want to make sure to mention it first. If you’ve waterlogged your roots, adding more water will only make things worse. Do not add any more water until the soil has dried out.
Step 2: Put Your Pilea in a Shady Area
Plants are at the most risk of dying when they become stressed. Lots of things can stress a plant such as a major change in environment, hot or cold drafts, the plant’s access to light and more. When the root system of your plant is not functioning as it should, this puts your Pilea into a state of stress. You’ll need to make sure the area your Pilea is residing in will not add to the stress it is already encountering.
In addition to the stress, when plant roots are overly wet, they have a difficult time pushing nutrients up to the top of the plant. When your plant’s roots are not acting as they should, your Pilea’s leaves are at a higher risk of drying out. Until the soil and roots of your plant have been able to air out, you’ll need to protect your foliage by moving it out of the light.
Step 3: Cut Back Dead or Dying Leaves
A dead leaf will never come back to life. If you have leaves that have died as a result of your overwatering, those leaves will need to be removed. In most cases this can be done by simply pinching the yellow or brown leaves off at the base close to the central stem. If you would prefer to use scissors to prune back these leaves, be sure to use a clean and sharp pair.
Plants constantly push energy out to each of their parts from the tip of the roots to the top of their leaves. Even when a leaf is dying, your Pilea is still doing its best to push energy into the leaf which is, unfortunately, a lost cause. Cutting back dead and dying leaves will free that energy up for your plant to use to heal its roots and produce new growth.
Step 4: Speed Up The Drying Process By Removing Your Pilea from Its Pot
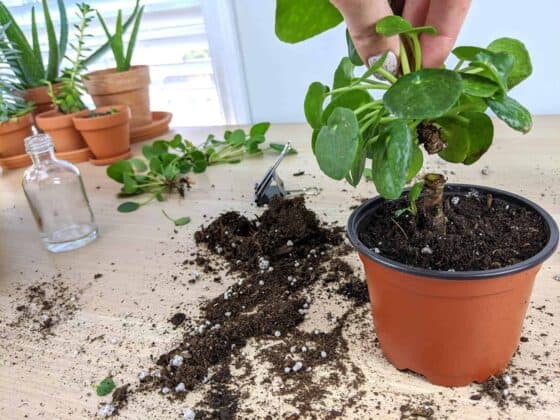
Whether your goal is to assist your Pilea with drying out more quickly or you want to take a closer look at the root system, you will want to remove your Pilea from its container.
Pileas that have been overwatered are already weaker than normal and pulling on the plant could cause major damage. For this reason, it is important to very carefully slide the Pilea from the container. To do this, tap the edges of the planter to loosen up the soil, then place your hand around the soil, flip the container upside down and attempt to slide it out. If this does not work, you may need to use a butter knife around the edges of your container to loosen the plant up before trying again.
If your goal is to simply dry the plant out more quickly, consider setting the entire plant with its soil that you’ve removed from the pot on a baking rack for a day or so. This will allow the soil to breathe on all sides and should assist in drying out the entire plant much faster.
Step 5: Trim Back Damaged Roots
If you examined your roots and found that they are black, brown, mushy, or slimy, these roots will need to be pruned immediately to allow your Pilea the best chance at survival.
When doing any type of pruning, it is important to make sure the tools you use are sharp and clean. I like to think of pruning a houseplant like surgery, and I treat it with the same seriousness. I always wash my tools before and after I prune and make sure that any cuts I create are clean and quick, the opposite of sawing and jagged.
To prune your Pilea’s roots, you’ll need to make sure you have a good view of the problem. If you haven’t already done so, run the plant’s roots under the sink to wash away as much soil as you can while being extremely gentle with the plant. Roots you see that are brown and mushy need to be trimmed away, leaving only the healthy, white crisp roots on your Pilea.
Step 6: In Extreme Cases, Cut Back Most of the Leaves
If nearly all of the roots of your Pilea have been affected by root rot, you’ll need to take more drastic measures to give your plant the best odds. Truthfully, plants who are severely damaged by root rot seldom recover. But you’ve come this far, you should give it your best effort.
To free up as much of your plant’s energy as possible to allow it to begin to regrow new roots, you should cut the plant’s leaves and stem back to about ⅓ the size of the original. Instead of throwing away the top part of your stem, consider rooting it in water as it may survive better than the bottom half of the plant.
Be sure to clean your scissors in between pruning the roots and leaves as the roots could be contaminated with the fungus that you don’t want to transfer to your leaves. To clean your scissors, you can either use rubbing alcohol or a mild bleach solution (one part bleach to ten parts water).
Step 7: Find a New Pot or Clean Your Old One
Because root rot is sometimes caused by fungus, it is important to not immediately plant your pruned Pilea back in the same container. If you choose to clean your old pot up instead of finding a new one, you’ll need to use a mild bleach solution to clean all around the interior and exterior of the pot. I use a mixture of one part bleach to ten parts water.
There is a time where you will always need to exchange the old pot for the new one and that is when you believe the old pot contributed to the overwatering problem. Pots that are too large for the plant can cause the time it takes for the soil to dry out to be much longer than is healthy for your Pilea. Also, pots without drainage holes are not good for Pileas. If you believe your pot played a part in the overwatering problem, you’ll need to find a new pot that is just a little bigger than your Pilea plant that has a drainage hole in the bottom.
When replacing old pots, you may want to consider switching to terracotta. Terracotta pots are readily available and come in many sizes. The porous nature of the terracotta actually helps to pull moisture from the soil and can aid in drying out the soil more quickly between waterings. If you’ve overwatered your Pilea in the past, terracotta is probably the best option for you.
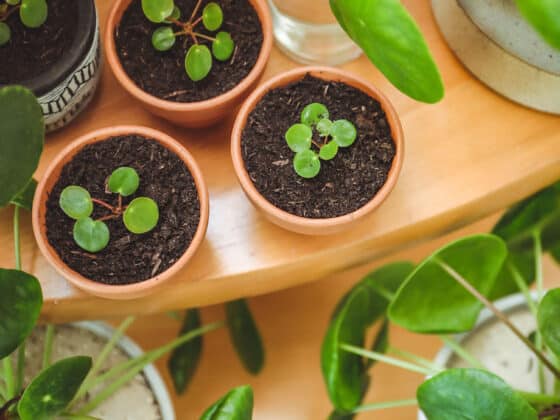
Step 8: Throw Out Old Potting Soil and Replant
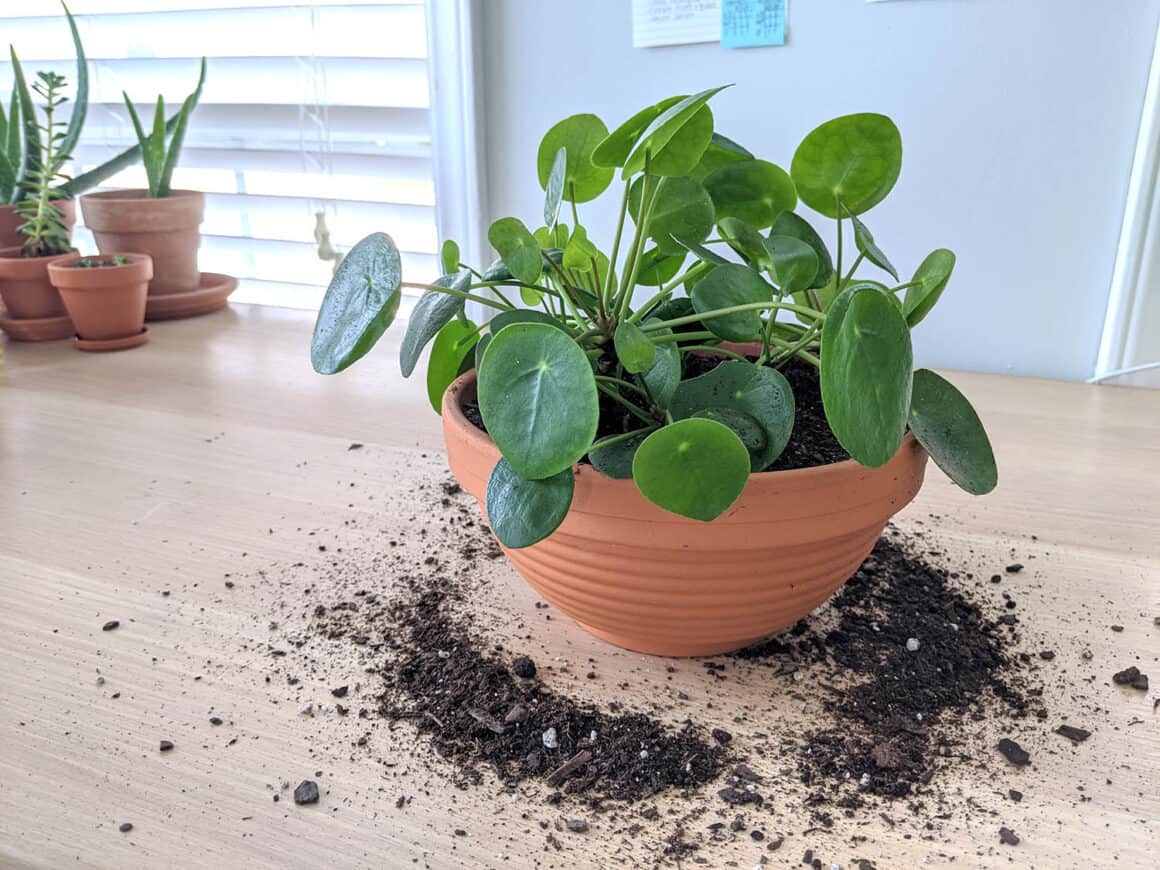
Once your soil is dry, the roots have been properly pruned, and your old pot has been cleaned up or replaced, it is time to replant your Pilea.
I recommend throwing out all the old potting soil that was in your container and not reusing it. Especially if your root rot was caused by fungus, replanting in the same soil can repeat the problem or make it impossible for your Pilea’s root system to heal.
To keep your Pilea from becoming overwatered again in the future, you need to make sure that the soil you choose is a quick-draining soil.
Once your plant has been repotted in a proper container with the correct type of soil, you’ll need to water it lightly. Also, leave your Pilea in a shaded area for a few weeks to allow it the best chance of bouncing back from this stressful situation.
Afterwards: Avoid Fertilizer Until New Growth Starts to Appear
If you are in the habit of fertilizing your Pileas, you’ll need to stop all fertilizing until after new growth starts to appear in your plant. Fertilizer can burn roots, especially ones that are sensitive from recent pruning, and should not be put onto Pileas who have just gone through these steps to be saved from overwatering.
Once your plant starts to grow new leaves again, this is a sign that you can resume your fertilizing schedule. For Pileas, I fertilize once per month during their growing season with a diluted 10-10-10 mixture. For more information on fertilizing Pileas, read this article.
Future Suggestions to Avoid Overwatering:
If you have overwatered your Pilea in the past, there are certain steps you can follow moving forward that will keep you from repeating the problem. Follow these five tips to keep your Pilea healthy in the future.
ONLY WATER WHEN SOIL IS DRY
Pileas cannot tolerate sitting in soggy soil. If you’ve just been through the steps to save your overwatered Pilea, you know this more than anyone else. To keep this from happening, allow your Pilea to completely dry out between watering. I use my finger to check that the top inch of soil is completely dry each time before I water.
WHEN IN DOUBT, WAIT LONGER
If you are unsure whether your Pilea is in need of a drink, wait a few more days. Pileas can tolerate being overly dry significantly better than they can being overly wet. When in doubt, wait longer.
PLANT PILEAS IN TERRACOTTA
Terracotta clay has a porous nature that actually helps to pull moisture from the soil within it. Because of this, terracotta is an excellent option for Pileas and other plants that don’t like to be wet. If you’ve overwatered in the past, terracotta will be much more forgiving than ceramic or plastic pots when it comes to watering.
ONLY USE QUICK DRAINING SOIL
Traditional potting mix does not drain quickly enough for Pileas. When you replant your Pileas in the future, only use quick-draining soil like a succulent blend. If you prefer a more custom solution, lots of people create their own potting mix blends or use part succulent soil, part regular potting mix. For more information on the best soil for Pileas, click here to read an article I wrote about the subject.
ALWAYS USE POTS WITH DRAINAGE HOLES
Pileas cannot tolerate standing water. When we plant them in containers without drainage holes, that is what we subject them to. When you repot your Pilea, only use a pot that has a drainage hole in the bottom. If you find a beautiful container you love that doesn’t have one, drill one in it yourself! You can have your cake and eat it too.
Last Ditch Effort To Save A Dying Pilea
If you’ve read through all these steps to save your overwatered Pilea and you feel like you don’t want to do all that it takes to save it or that your plant is too far gone, I have one last suggestion for you: cut your plant in half, root the top portion, and replant the top.

Cutting your Pilea, or “topping” as it is sometimes called, may be the only way to preserve what life you have left in your Pilea. If you suspect your Pilea’s roots are too far gone to be saved, remove them from the problem and start over. Once you’ve cut your Pilea in half, you’ll be able to root the top portion in water and replant it.
To top your Pilea, make sure you have a sharp knife as you will want to cut the tissue cleanly. Be sure to clean your knife before using it and then find a spot about halfway up the central stem and use your knife to cut the stem in two.
Take the top portion of your Pilea and put the base of the cutting into a small bottle of water and allow it to root. Once you have roots that are an inch or two long, you can replant the top into its own container, and you will save your overwatered Pilea from its grave.