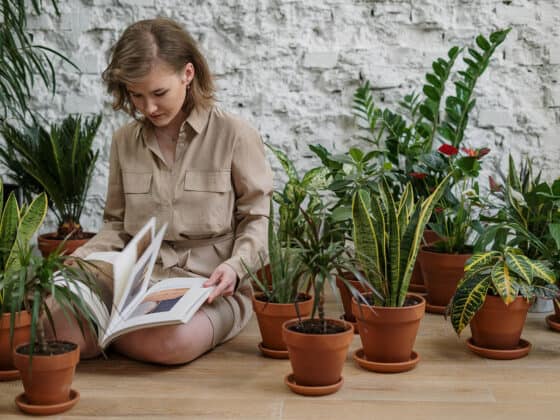
The most common propagation methods for Anthuriums are stem cuttings or rootball division. But those looking for a challenge have another option: obtaining seeds from a fertile plant and growing seedlings from the ground up. This article will explain how to propagate Anthurium plants from pollination to germination.
You can collect pollen from an Anthurium, and if you have a second plant in its receptive phase, you can fertilize it right away. If not, you can freeze the pollen to apply later. Successful pollination will cause the Anthurium to develop small berries containing 1-3 seeds, which you can squeeze out and germinate in a loose, moist potting mix.
Anthurium seeds die if they dry out, so saving them is difficult. It’s best to germinate them right away, keeping them in a warm and humid environment but airing them out once a day to prevent rotting and fungal growth. Once the seedlings have developed some healthy leaves and a strong root system, you can transplant them into their long-term homes.
Can an Anthurium Self-Pollinate?
Left to its own devices, a single Anthurium plant will virtually never produce fruits or seeds. So many houseplant owners assume that Anthuriums are self-sterile, like apples or asparagus – able to breed with others of their own kind, but incapable of fertilizing themselves.
Anthuriums have indeed adapted to avoid self-pollination, to encourage variation between generations. But the barrier isn’t genetic – it relies on timing. Anthurium flowers can play both male and female roles in the reproductive process, but they don’t do both at once.
Each Anthurium inflorescence undergoes a female phase, in which it’s capable of receiving pollen, followed by a male phase, in which it produces pollen. These two stages almost never happen at the same time on the same plant, so it won’t fertilize itself.
In nature, these plants are pollinated by insects and occasionally hummingbirds, which carry pollen from plants in the male stage to those in the female stage. But you have access to something that the birds and the bees lack: refrigeration.
You can get around the natural obstacle to self-pollination in Anthuriums by storing pollen in the freezer and waiting for your Flamingo Flower to enter its receptive stage. This allows you to produce new seeds from a single plant.
Saving pollen can be useful even if you have multiple Anthurium plants. It’s hard to guarantee that two of them will be going through opposite reproductive phases simultaneously, so stashing some pollen in the freezer makes cross-pollination easier.
How to Pollinate Anthuriums
We’re going to start with some information on the anatomy of Anthurium blooms, because they have a structure that differs from many other flowering plants.
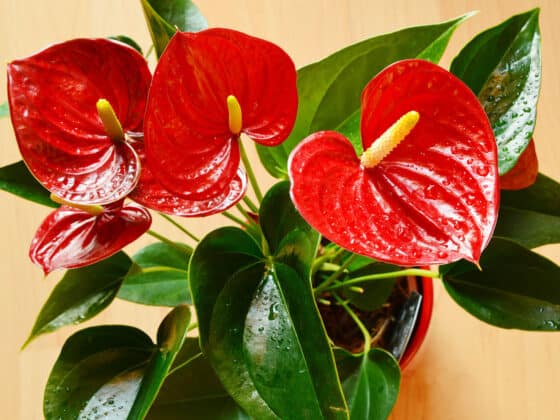
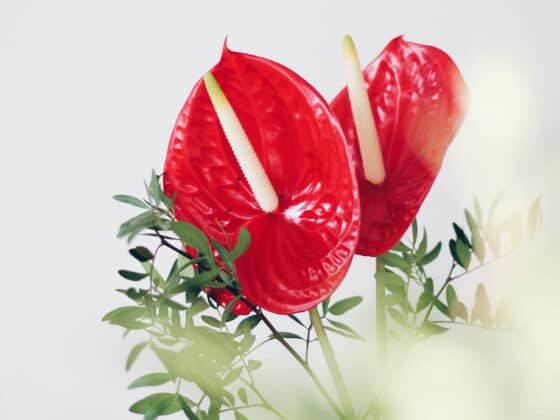
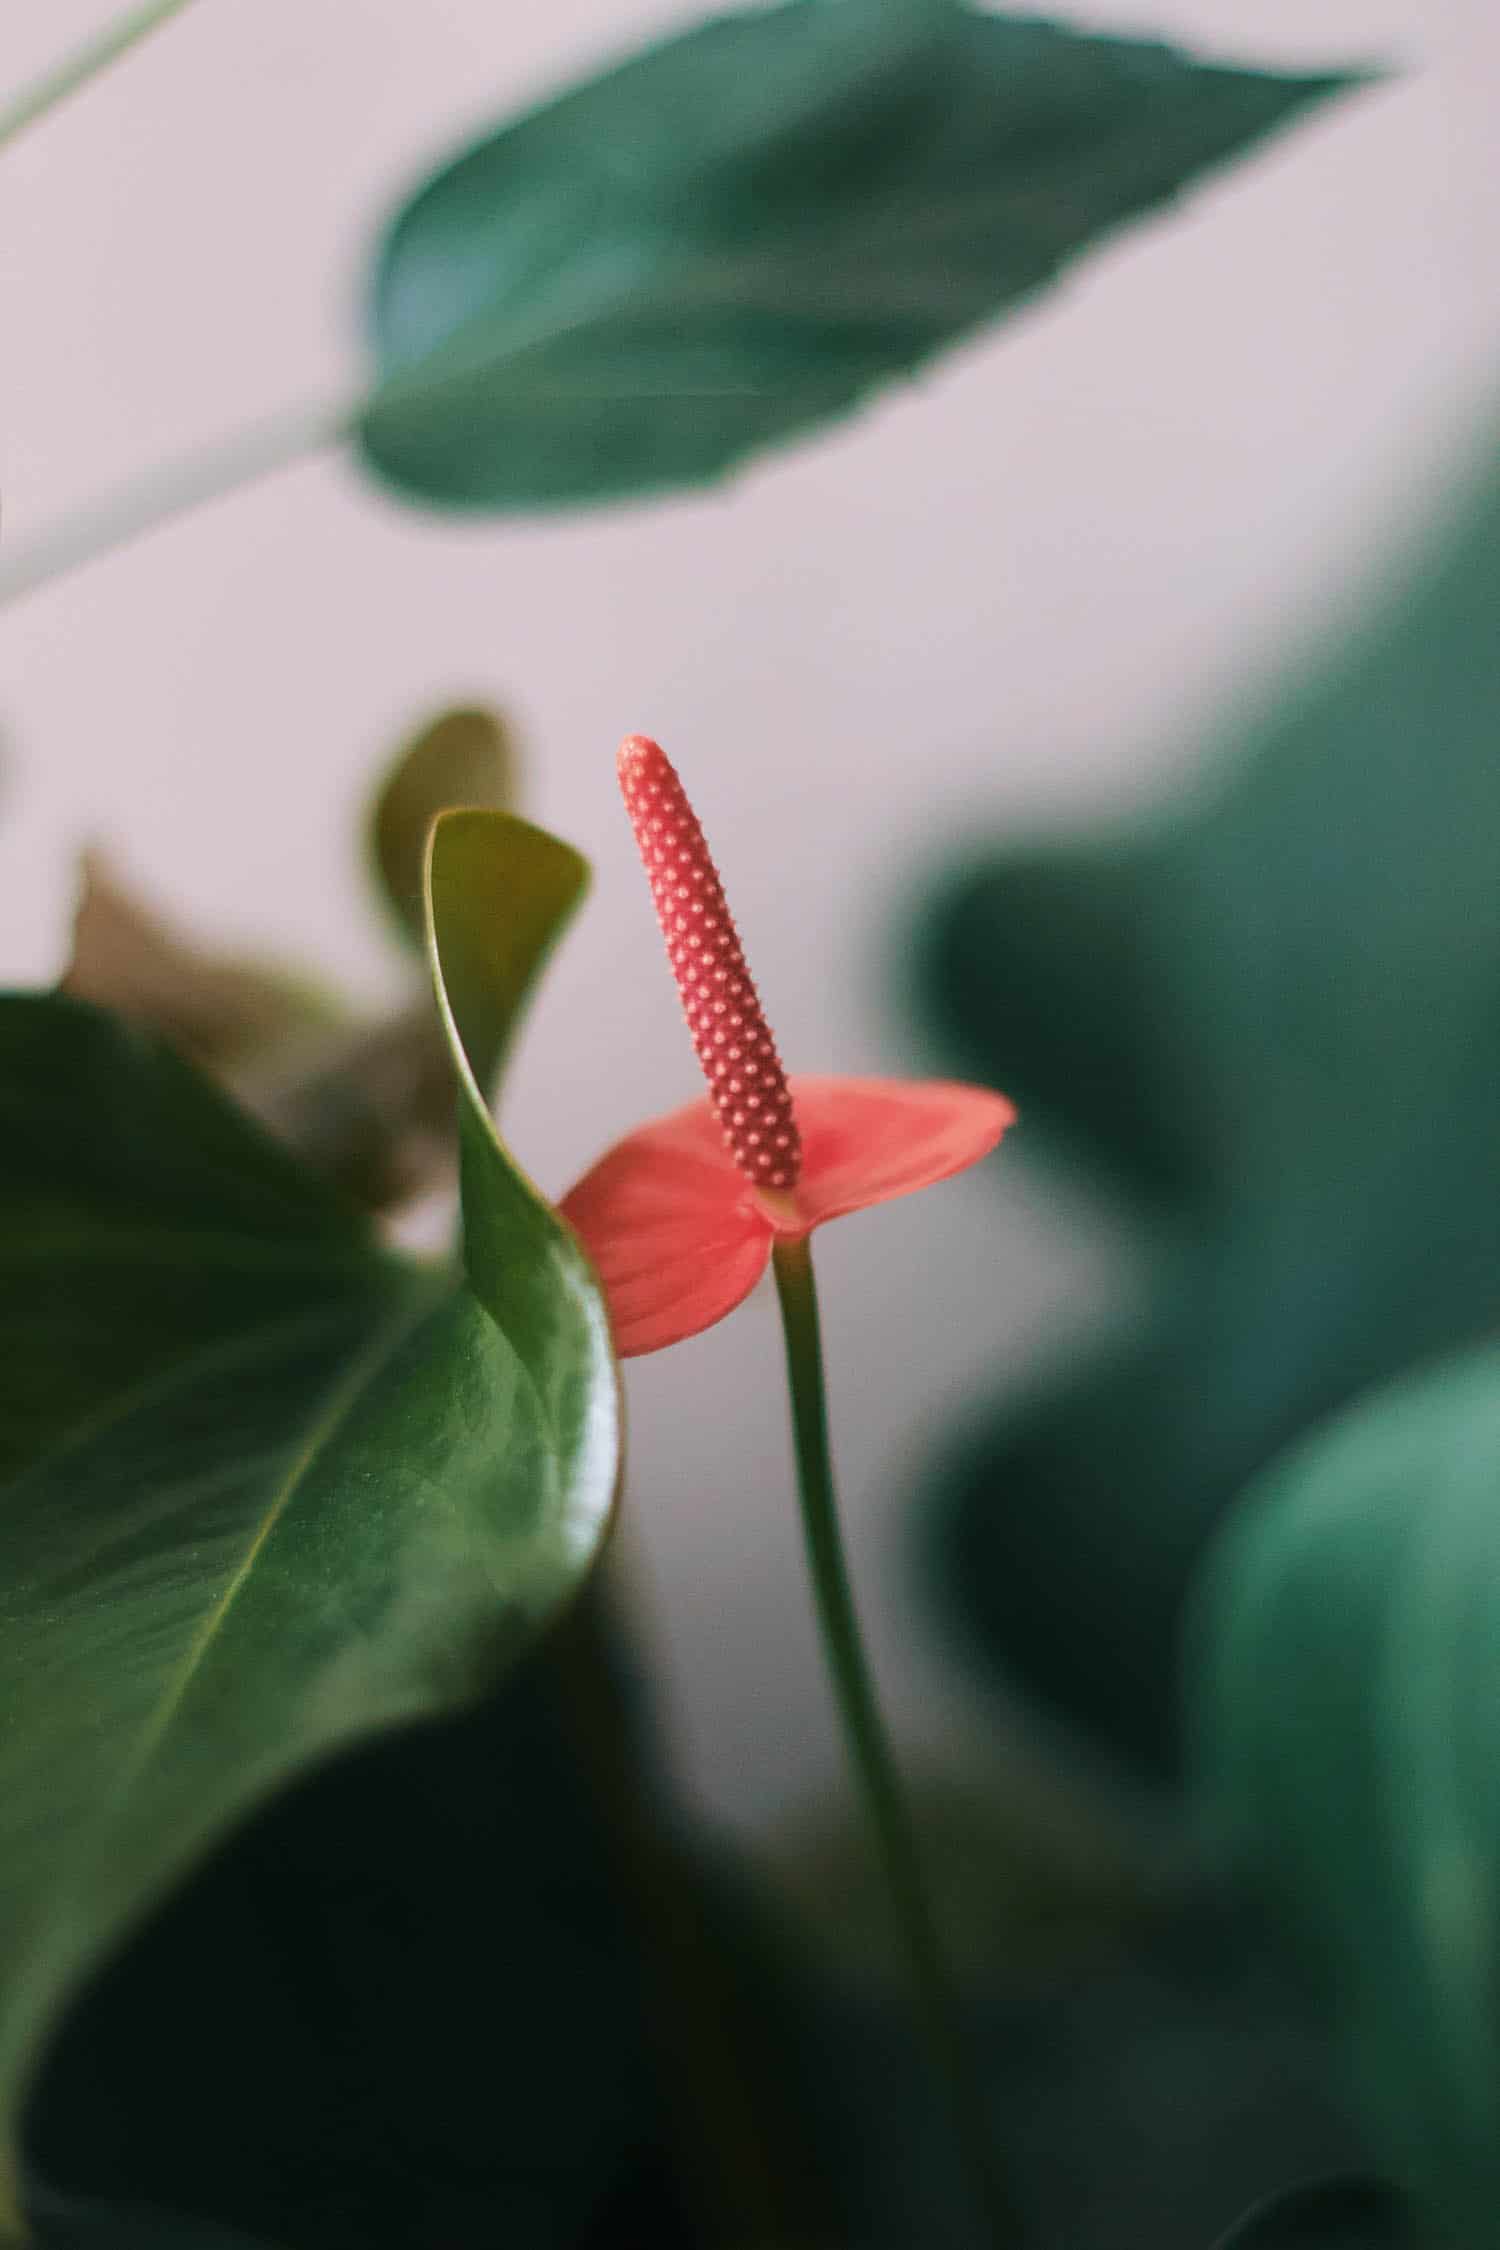
The part of the Anthurium that most people think of as the flower is actually called an inflorescence, and the large colorful “petal” is a modified leaf called a spathe. The true flowers of an Anthurium are tiny, and they’re clustered in a tight grid on the spadix – the short spike that sticks up at the base of the spathe.
The miniature flowers on the spadix pass through the stages of fertility in waves, usually beginning at the base and moving up to the tip. These phases are called male and female anthesis.
Each inflorescence follows the same basic life cycle: it emerges, undergoes female anthesis, then male anthesis. Then, if it hasn’t been fertilized, it begins to fade and wither away.
Step 1: Wait
Get used to this, because there’s a lot of waiting involved in pollinating Anthuriums. Growing these plants from seed is not for the impatient! In this case, you’re waiting for an inflorescence to emerge and go through female anthesis.
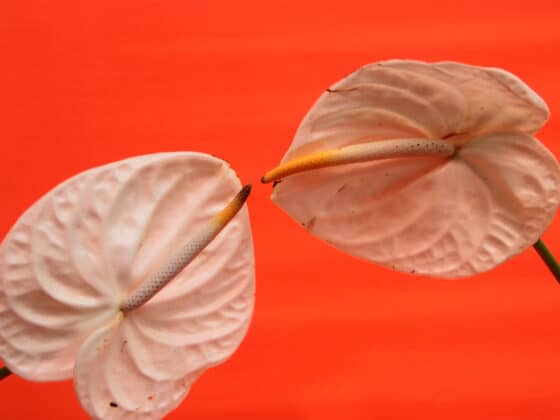
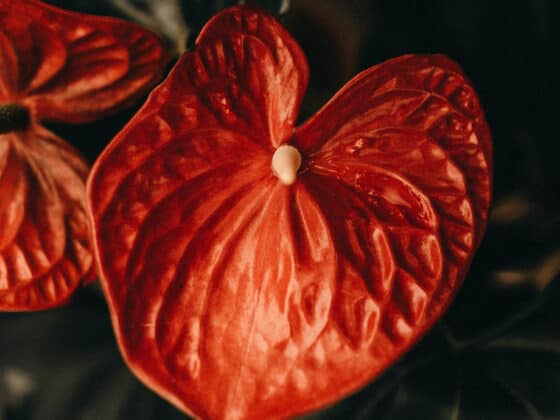
You can often recognize this phase by the appearance of stigmatic fluid – droplets of clear liquid produced by the tiny flowers covering the spadix. This usually starts with the flowers closest to the base, followed by those a little higher up, and so on, until the whole spadix has become receptive.
The inflorescence may also produce a pleasant odor designed to attract pollinating insects. If you don’t see stigmatic fluid, this doesn’t necessarily mean the plant isn’t fertile. Not every inflorescence will produce these drops, especially when the plant is young.
Step 2: Collect the Pollen From Your Anthurium
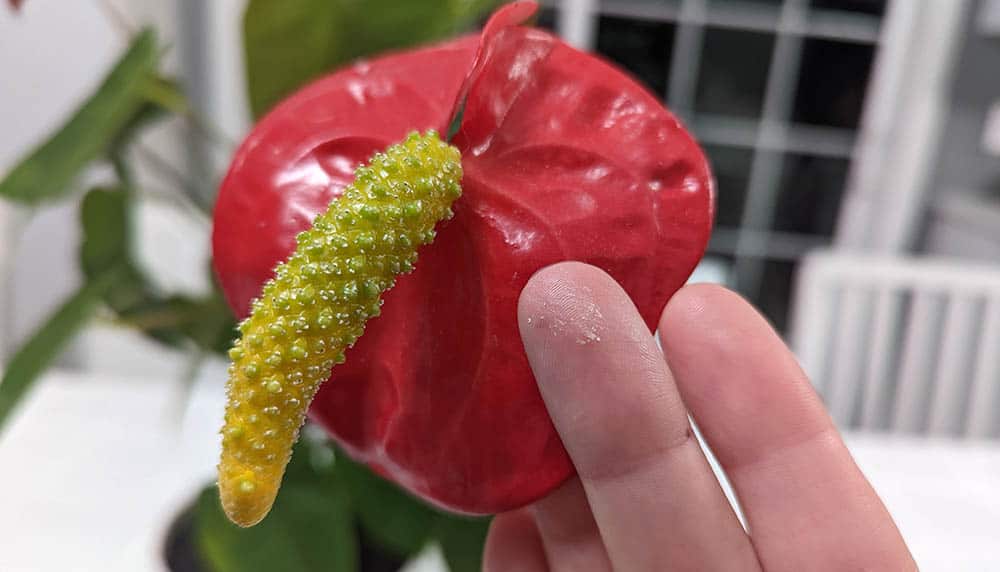
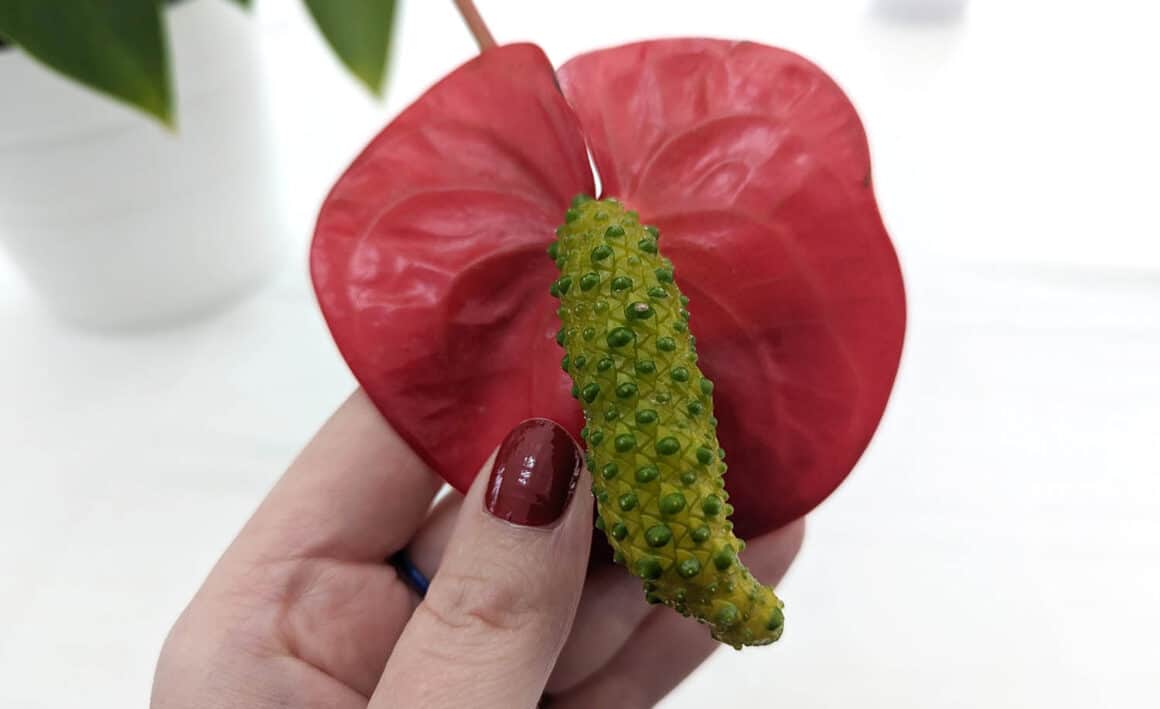
After the last of the stigmatic fluid dries up, male anthesis begins. The flowers on the spadix will start sprouting clusters of whitish pollen.
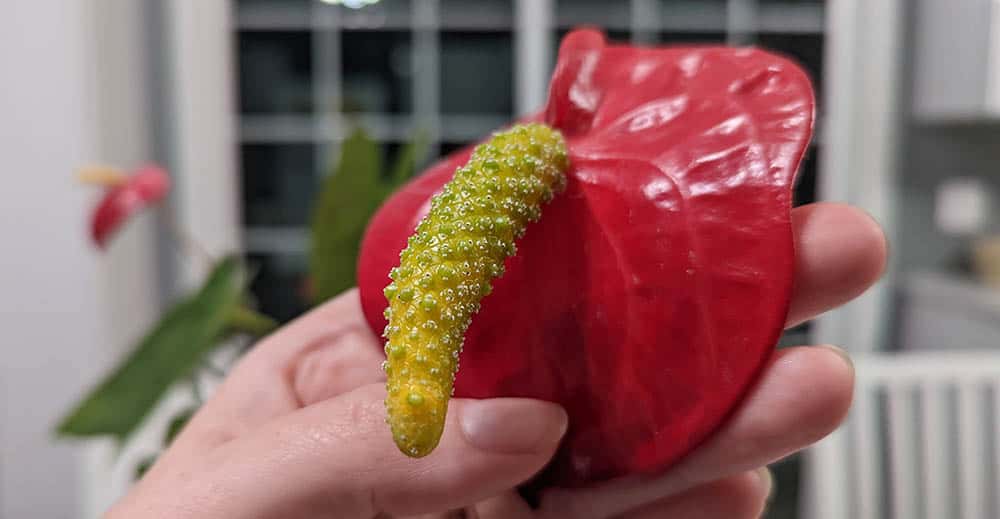
To gather it, hold a folded piece of paper or aluminum foil underneath the spadix. Brush the pollen off using a small paintbrush, or gently tap the base of the inflorescence to jostle some loose.
If you have another Anthurium that’s in female anthesis and you want to pollinate right away, you can skip ahead to step six now.
Step 3: Store Your Pollen
To save your Anthurium pollen for future use, keep it cold and dry. Use a resealable plastic container to keep moisture out.
One easy option is to simply fold the pollen up inside the paper or aluminum that you used to catch it, then place that inside a ziplock food storage bag (along with the paintbrush, if you used one). Press out as much air as possible before sealing it.
You can use Tupperware or a screw-top jar, or tip the pollen into centrifuge tubes if you want that mad scientist feel.
Silica gel beads – the kind you get from ordering food or clothes online – can help keep moisture from building up in the container. Toss a packet into the bag next to your paper or foil envelope.
If you aren’t going to use your pollen within a week or two, you should place it in the freezer. At freezing temperatures, Anthurium pollen should remain viable for 6-12 months.
It’s a good idea to label your storage container to remind yourself which plant the pollen came from and what date you collected it.
Step 4 (Optional): Keep Collecting
Your Anthurium will likely continue producing pollen for 1-3 weeks, so you can keep collecting more until its male anthesis ends. Once a day, brush any new pollen into your packet, then put it back in the freezer.
Step 5: Wait Again
The length of the next step is up to your Anthurium. You’ll need to wait for it to produce another inflorescence that enters female anthesis.
Choosing the right time to begin pollinating is a little tricky. Once the plant is successfully fertilized, it will begin to shift out of the female phase. This means that if you start before the entire spadix has become fertile, the upper flowers may not ever fruit.
On the other hand, the stigmatic fluid doesn’t always reach the tip of the spadix. So the lower flowers may drop out of the receptive phase while you’re waiting for the upper flowers to start producing fluid.
As a rule of thumb, don’t pollinate until your Anthurium has been producing stigmatic fluid for at least a day or two. Through observation and practice, you’ll develop a better feel for how long your plant remains in the female stage.
Step 6: Brush the Pollen Onto the Spadix
You can use a paintbrush or just your fingertip to do this. Pick up some of your stored pollen and spread it all over the spadix of your Anthurium.
Repeat this over the next few days, until all the stigmatic fluid has dried up or you run out of pollen. It often takes a few applications to fully pollinate a Flamingo Flower.
Early morning is the best time of day for this procedure. Don’t beat yourself up if you hit snooze a few too many times, though. It should still be possible to pollinate your Anthurium later in the day.
Step 7: Wait – Part III
Only time will tell if you’ve successfully pollinated your plant. Be aware that a fertilized Anthurium can still go through its male stage and produce new pollen of its own.
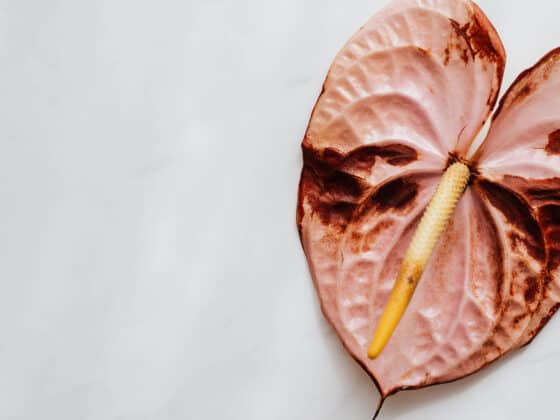
Under normal circumstances, the spadix will start to wilt and wither after it’s finished with male anthesis. If the one you pollinated sticks around, you’ve probably succeeded in fertilizing it.
Eventually, the spadix should begin to swell, and the small bumps along its length will grow more pronounced. This is the start of the transformation from an inflorescence to an infructescence (a structure for producing fruits).
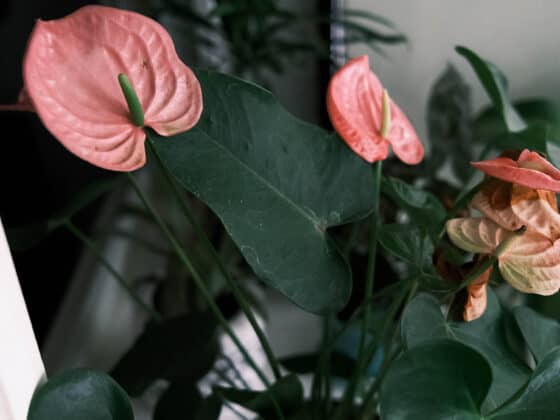
Over the course of 6 to 7 months, those tiny bumps will grow into small, plump berries. The color varies depending on the species of Anthurium, ranging from dark purplish-red to bright yellow.
Harvesting and Germinating Anthurium Seeds
While your Anthurium seeds are developing, you’ll have lots of time to prepare the right environment to help them sprout and grow strong.
To germinate, Anthurium seeds need air, moisture, and warmth. Use a loose but spongy growing medium, so that the roots will have room to breathe and plenty to drink. Sphagnum moss is a popular choice, as is coconut coir. Both will retain moisture without smothering the developing roots.
You can also use the same type of potting mix you’d use for an adult Anthurium. Most recipes involve a blend of perlite, orchid bark, and moss or coco peat, possibly with some additives like wood charcoal or vermicompost mixed in.
Some growers like to fill most of the container with potting mix, but place a layer of sphagnum moss on top. The seed germinates in the moss, but as the plant gets bigger, it extends down into the coarser mix and roots more firmly. With practice and experimentation, you’ll find the style that works best for you.
Step 1: Pick Off the Berries
When your Anthurium’s berries are ripe, they’ll be bulging out of the infructescence, and you should be able to pluck them off easily with your fingertips.
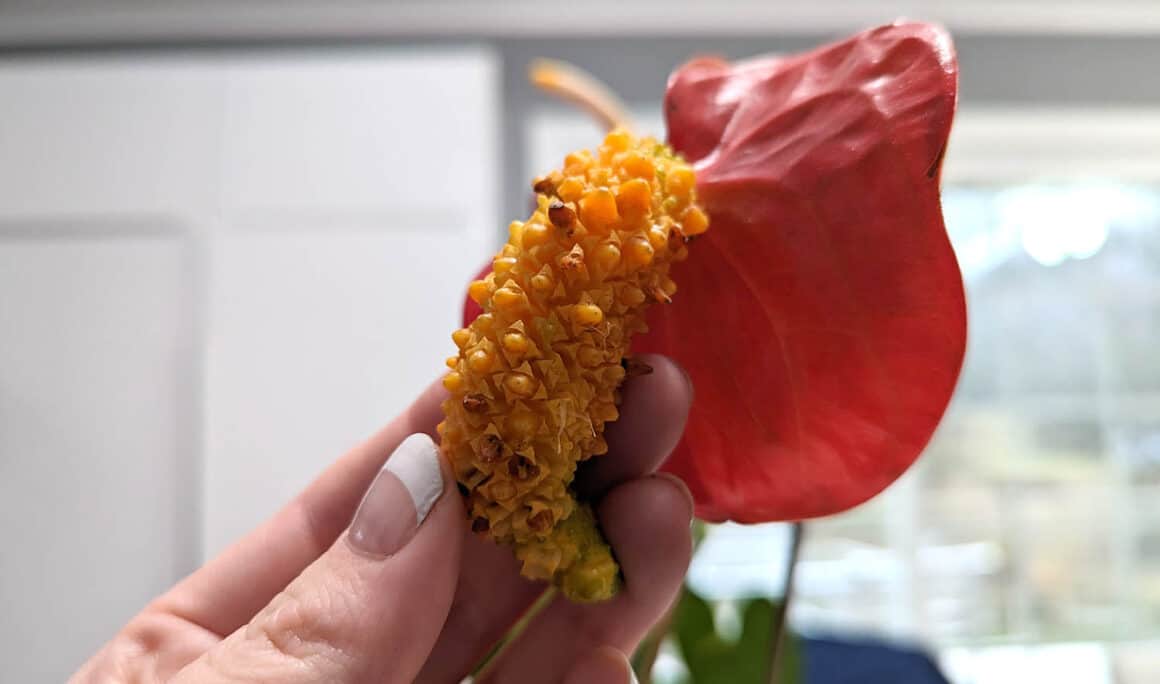
We recommend using gloves at this stage. Most Anthuriums produce a chemical in their fluids that can irritate bare skin.
Step 2: Remove and Clean the Seeds
Lay down a paper towel and squeeze each berry between your fingers until the seeds pop out. Depending on what species of Anthurium you have, there should be anywhere from 1 to 3 seeds per fruit.
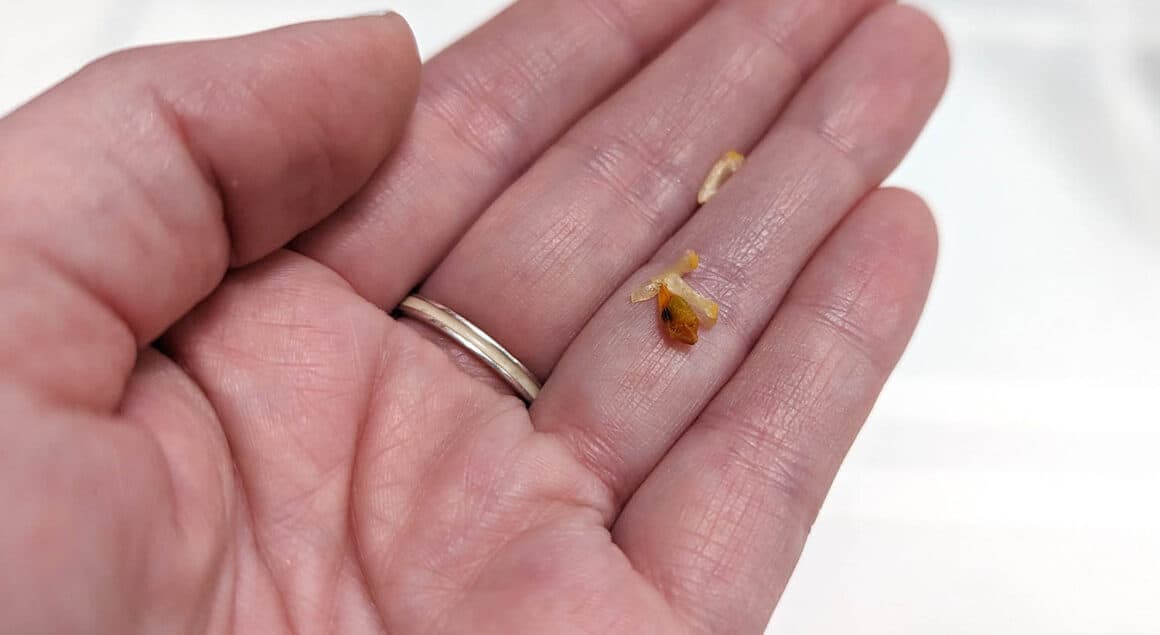
Try to clean off any berry pulp that’s clinging to the seeds. Otherwise, it provides a tempting target for mold and rot. Roll them around on the paper towel; if there’s still a lot of pulp sticking to them, you can rinse them off in a small jar of water.
You don’t need to remove every last hint of goo; just make sure that the seeds aren’t smothered in it.
Step 3: Plant and Cover the Seeds
You can place your seeds in small individual pots or a single large container filled with growing medium. If you’re going the latter route, space them at least 2-4 inches apart so they have room to spread out.
Give your substrate a good spritz with a spray bottle to ensure it’s nice and damp before nestling your Anthurium seeds into their new beds.
There’s no need to bury them deep; many growers prefer to leave them right on the surface to keep an eye on them as they sprout. But you should cover them up to keep moisture trapped inside.
One efficient solution is to place them all in a big plastic tub with a removable lid, but you can also cover the individual pots with jars or plastic bags. This will help keep your seeds humid as they sprout and grow.
Step 4: Maintenance
Keep your developing Anthurium seeds in a room where the temperature will stay between 70 and 85 degrees Fahrenheit.
Pop the covers off once a day to let the air circulate around the seeds for a few minutes to discourage fungi and anaerobic bacteria. Mist each container thoroughly before you cover it back up.
You should see roots beginning to poke out of the seeds in a week or two, followed by leaves. After around a month, your seedlings will be mature enough that you can move them to larger containers. Fill their permanent pots with a potting mix like the one we described above.
Be gentle when replanting your seedlings. You might want to scoop up some of the germinating medium around them rather than completely uprooting them.
Water your new Anthuriums thoroughly after transplanting and place them in an environment with lots of humidity and indirect light, and they should continue to thrive.
Why Grow Anthuriums From Seed?
If you know anything about propagating Anthuriums by splitting or stem cuttings (follow the links for our articles on those methods), you’ve probably noticed that growing them from seed is much more complicated.
It also takes a lot more patience – you’ll need to wait for your Anthurium to produce pollen, wait again for it to reach its receptive stage, then wait some more as your berries slowly ripen. Once you have seedlings, it can take years for them to reach maturity and begin flowering.
So why would anyone bother doing it this way? Some houseplant owners find it satisfying to guide an Anthurium through the slow, weird, and beautiful process of fruiting and growing from seed. Others just like a challenge.
But mostly, it’s for the same reason that Anthuriums cross-pollinate in nature: variety. Anthuriums grown from cuttings or root division are genetic clones of the parent plant. Reproducing sexually means a chance to shake things up and produce new characteristics.
Many types of Anthuriums can also be hybridized to create interesting variants, and these hybrids often grow and flower more vigorously than single-species plants.
Of course, this is a gamble. Some Anthurium crosses aren’t viable, or produce hybrids that can’t reproduce themselves. If your Anthurium is already hybridized, it’s possible that it won’t be able to produce new seeds at all.
But it’s also possible that pollinating it will produce a new plant with a very different look. So if you like to roll the genetic dice, growing Anthuriums from seed may be right for you.
Can You Buy Anthurium Seeds?
Maybe you like the idea of germinating Anthurium seeds, but you can’t or don’t want to pollinate the plants yourself. Is there any way you can buy the seeds instead?
It is possible, though you probably won’t find them for sale in your local garden center. Buying online is a better bet, but be wary: Anthurium seeds shipped from overseas are unlikely to be viable. It’s hard to keep them damp when they’re in transit for weeks, and they’ll die if they dry out.
Look for domestic sellers on Etsy with good customer feedback. There are lots of tropical plant enthusiasts offering seeds in small batches, some of them from rare Anthurium species or interesting hybrids.
Final Thoughts
Pollinating Anthuriums and growing them from seed is not easy, but it can be rewarding to accomplish and lovely to watch in action. The advice we’ve outlined here should help you dive into the process with confidence.
Even if you don’t succeed on your first try, the attempt will teach you a lot about your Anthurium. So don’t be afraid to experiment.