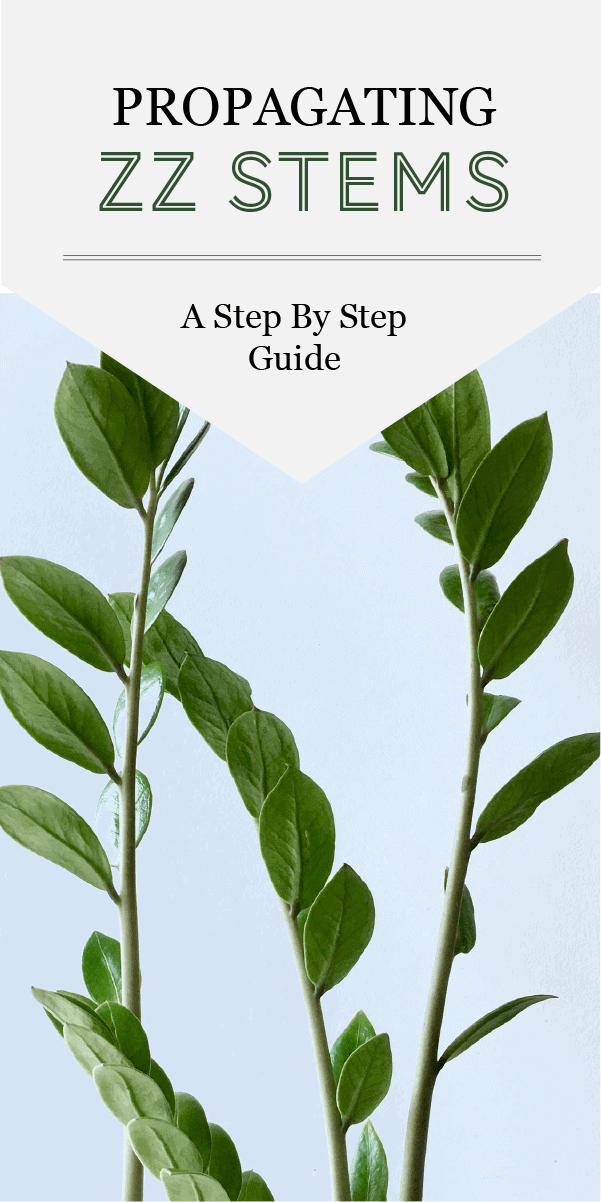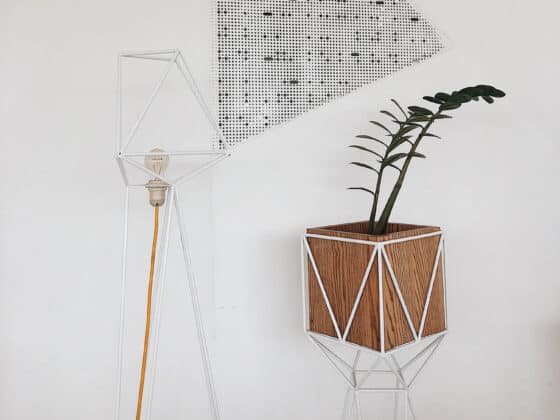
ZZ Plants, Zamioculcas Zamiifolia, are a wildly popular, easy-to-grow, houseplant. Capable of growing 2-3’ tall, ZZ Plants need to be repotted every two years into larger planters, which can result in the loss of a stem. Naturally, ZZ owners have wondered if these stems can be planted to grow new plants.
Can you propagate ZZ Plants from a stem? Lovers of ZZ plants will be happy to know that propagating a Zamioculcas Zamiifolia from a stem is easy. With the right amount of light, well-draining soil, and a little bit of patience, a ZZ Plant can be propagated in just a few months.
Sounds fun, right? Below is a how-to guide to help you propagate your new ZZ Plant – growing a beautiful new plant that you’re sure to love!
Safety First: ZZ Plants & Toxicity
There is a common misconception that ZZ Plants are poisonous, or even dangerous. But, the dangers of owning a ZZ are greatly exaggerated.
ZZ Plants create a substance called calcium oxalate, which is made of tiny crystals. These crystals are sharp, and while they can’t actually cut your skin, they can cause irritation or even an itchy or painful rash. The same sharp crystals can also cause irritation to the throat or stomach if swallowed.
But what about pets? Pets can also experience rashes from ZZ Plants, so it’s smart to keep curious critters away from them. The glossy coating that makes ZZ leaves so beautiful is actually a waxy barrier that helps keep the plant safe from the weather – and your skin safe from the calcium oxalate.
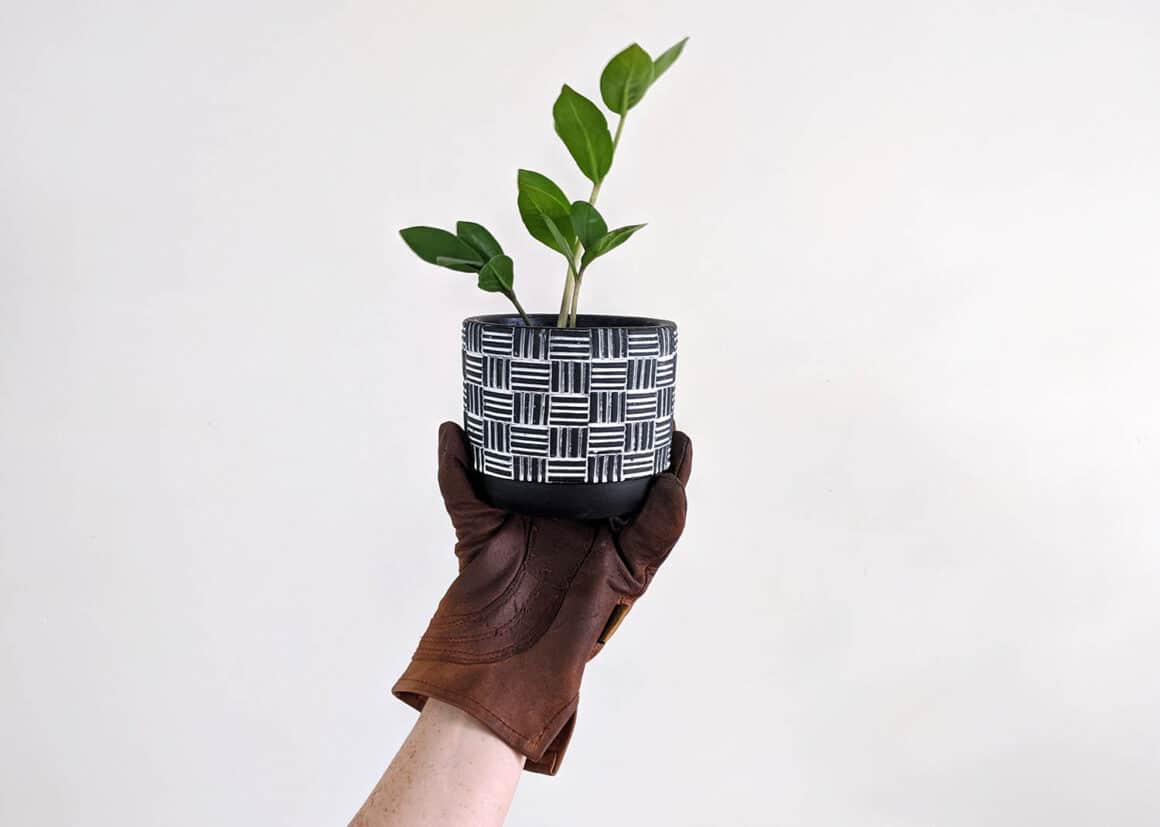
Because of that coating, most ZZ Plant owners never experience any irritation at all, and calcium oxalate only appears if leaves or stems are broken. If you have sensitive skin or feel a bit nervous about developing a rash, try wearing gloves when you handle your plant – especially if pruning or repotting.
Don’t eat your ZZ Plant and don’t handle the broken stems bare-handed, and your ZZ Plant will never cause you any problems.
Can You Propagate from a ZZ Stem?
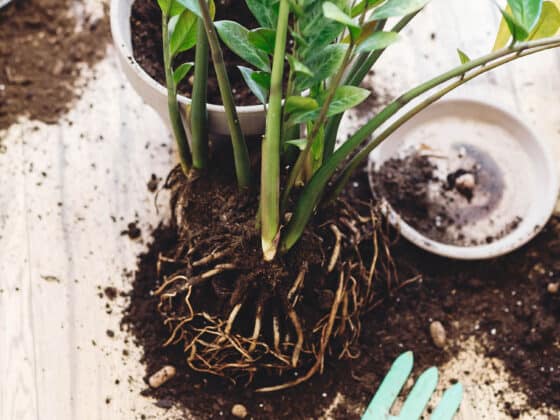
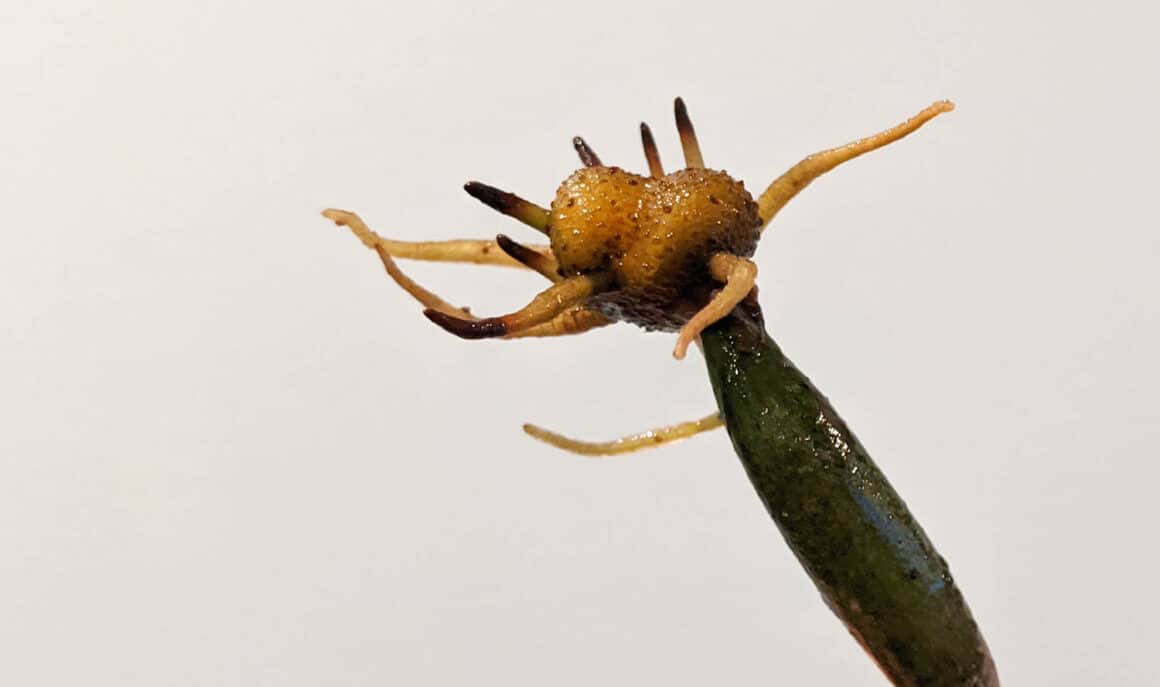
ZZ Plants have a unique root system, which makes it easy to propagate them from stem cuttings. These root structures are called rhizomes.
When you think of plant roots, you probably think of lots of tiny strands, digging into the dirt. But the root system of a ZZ Plant looks very different, instead resembling a potato. This large, rounded structure helps the plant store water and nutrients, leading to the hardiness we all come to appreciate from the ZZ.
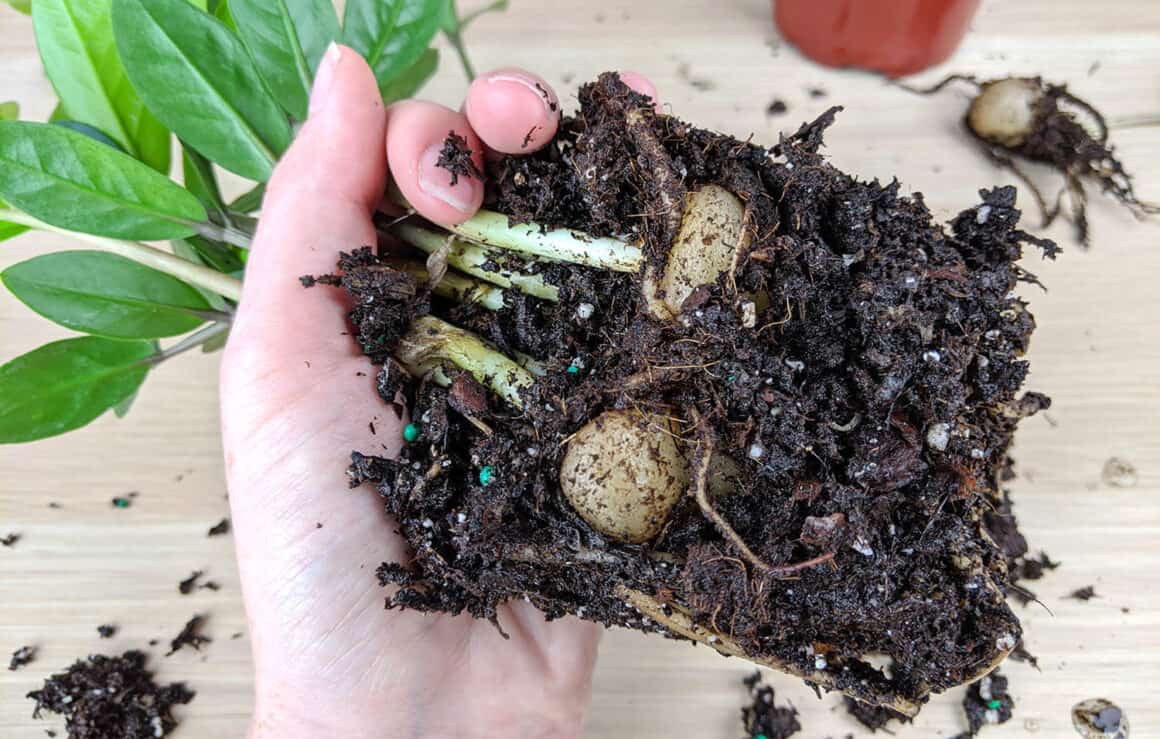
During propagation, these rhizomes take longer to form that typical roots. However, they help protect the plant and can begin to grow from cuttings of leaves and stems.
Why not just cut the rhizome to grow a new plant? While you can split apart the rhizomes of a Zamioculcas Zamiifolia to grow a new plant, doing that too often will damage the original ZZ. The safest strategy is to use healthy stem cuttings. With proper care, these cuttings will grow into healthy ZZs to add to your collection.
Picking the Best Stems for Propagating
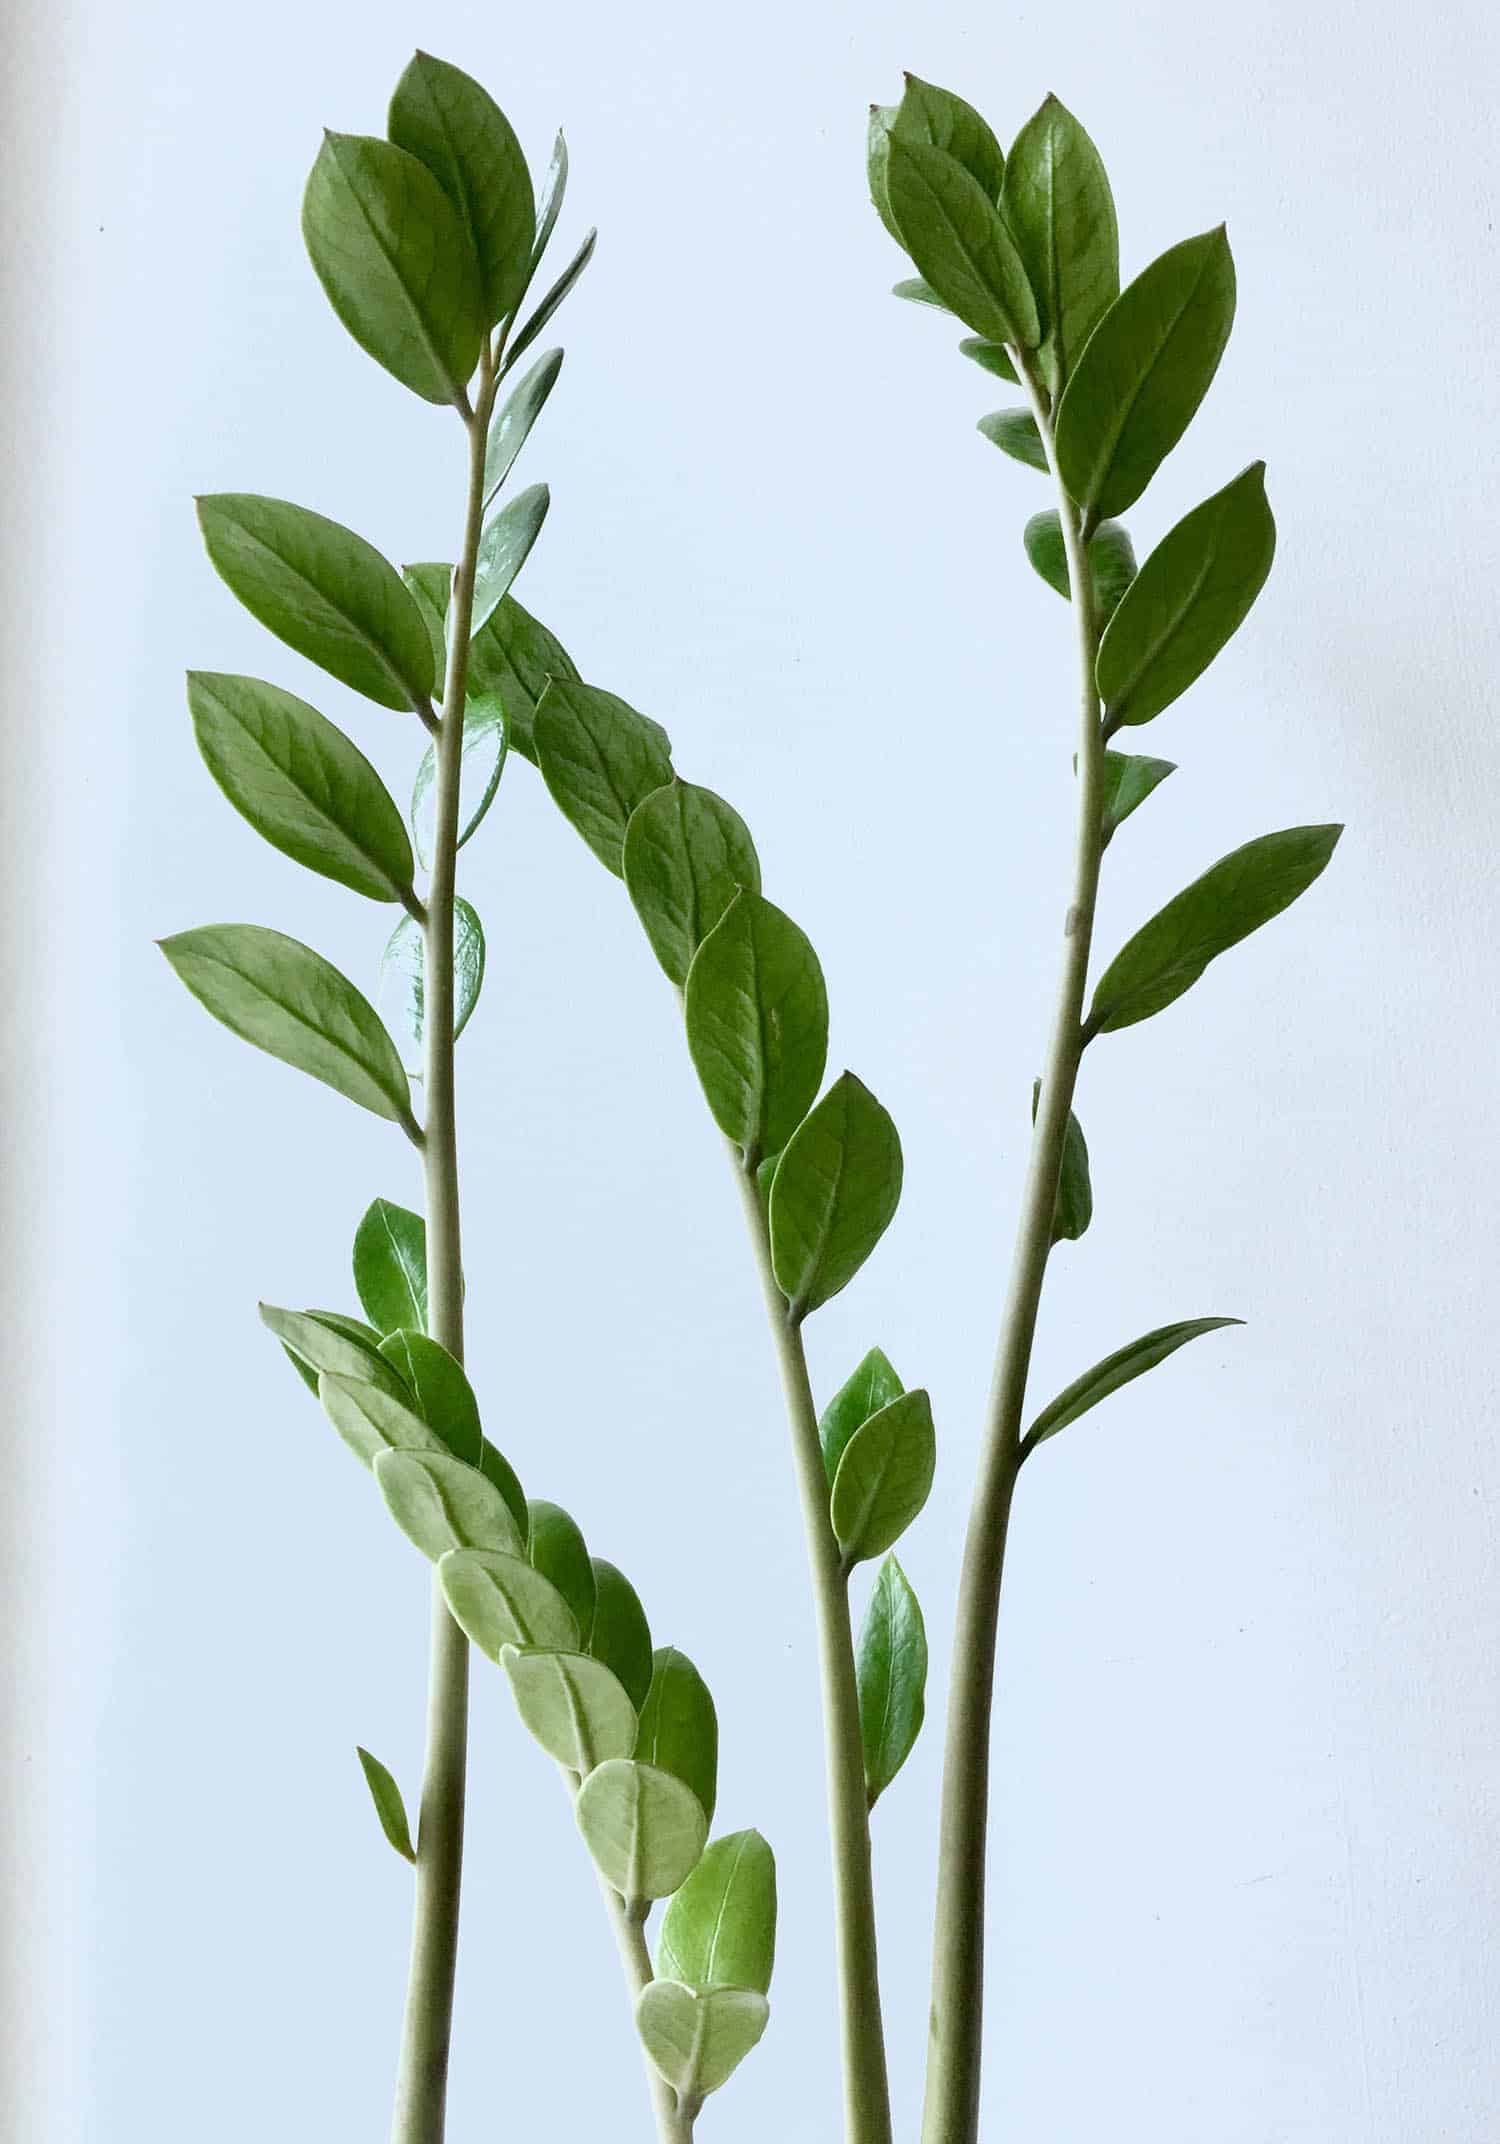
Before you start snipping, take a minute to look over your ZZ. You will want to pick healthy stems – no dryness or yellowing – for your new plant. Stems should be a bit firm to the touch, with a nice, uniform color.
Look for stems that are mature and are at least a few inches in length. Ideally, the stems will have healthy leaves on them. Stems with leaves seem to propagate a bit more quickly.
Since one stem alone in a pot may look a little lonely, you may want to consider taking several cuttings. Doing this will give you the best chance of propagation, if one of the cuttings doesn’t thrive.
Found your stems? Now, you’re ready to start cutting.
Cutting ZZ Stems
Get your pruning scissors, or a sharp knife, and wash the blade thoroughly – making sure not to cut yourself. A clean, disinfected blade will make a better stem cutting, and reduce the chances of bacteria harming your plant.
Wearing well-fitting garden gloves, gently hold your ZZ Stem in one hand, and make your cut at the base of the plant, capturing at least a 3” piece of stem.
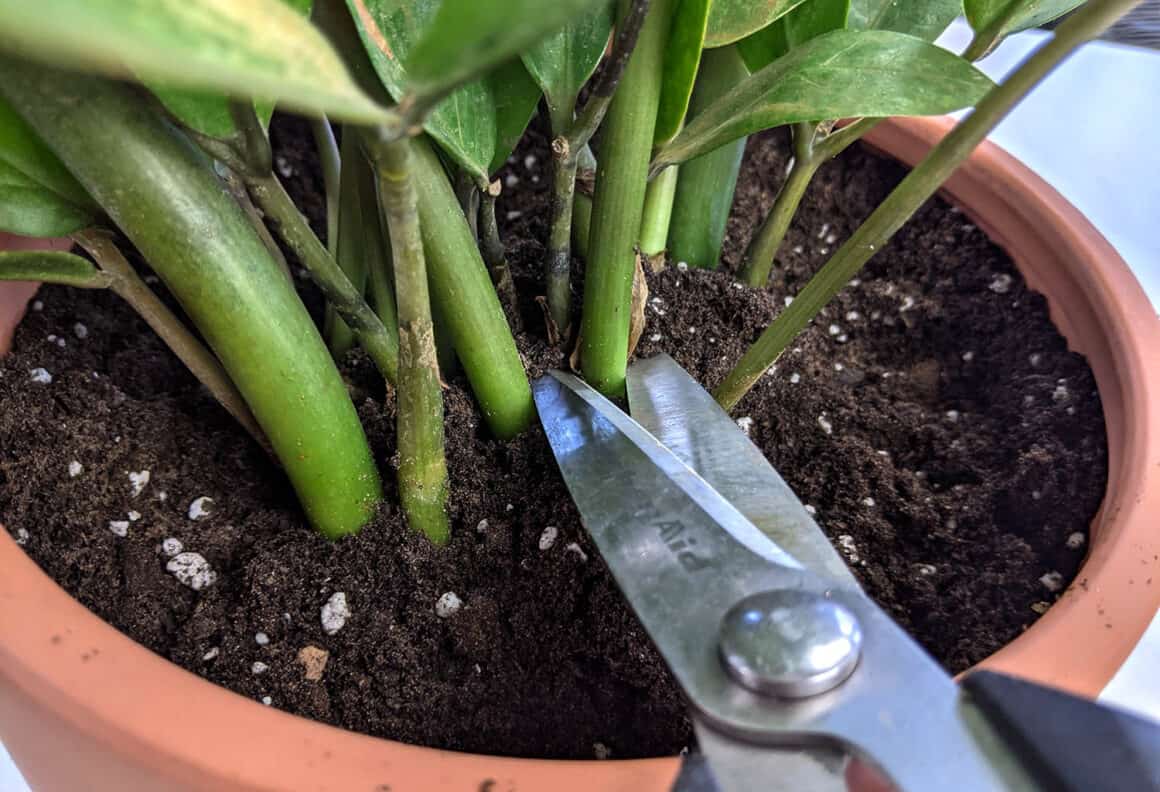
Repeat this step with your second cutting, and place the stems on a warm, dry surface for a few hours. Your goal is to allow the air to create a callus on each stem’s end.
These calluses are important because those cells will help grow new rhizomes. Once this callused layer has formed (the cutting will look a little dry on the end), you will be ready to plant your stems!
Best Containers and Soils
I once heard someone say that you have to actively work to kill a ZZ Plant. And while that may be true of the full-grown, mature plant, your stem cuttings will be more delicate for a while. You’ll need to provide them with what they need to thrive, which starts with proper pots and soil.
To prevent overwatering and root rot, only choose containers that have at least one drainage hole. Also, be sure to pick the proper size. A pot that is too big will take too long to dry out between waterings. Instead, choose a pot that only allows about 1-2 inches around the plant on each side.
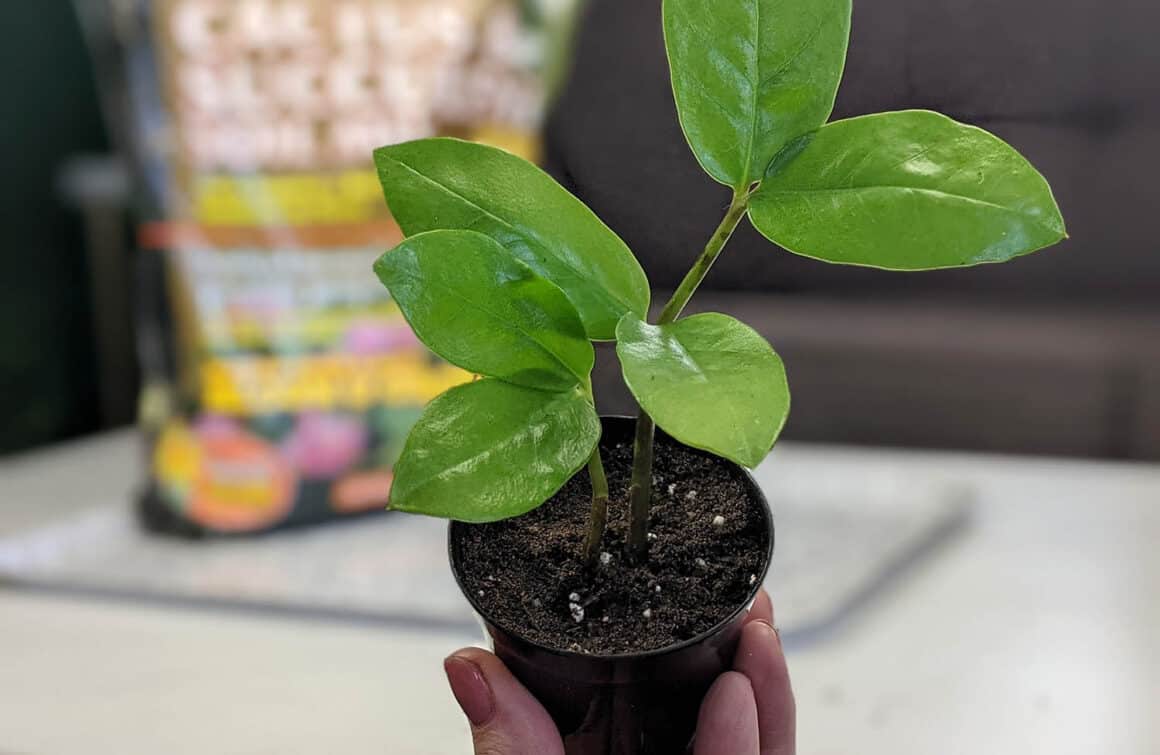
You may want to choose a thin, plastic starter pot. These nursery pots have excellent drainage and will be a good home for your stem cuttings. And since ZZ Plants grow slowly, you probably won’t need to repot your cuttings for a year or more.
Now, fill the container with a potting mix that has added perlite or vermiculite. This will give the soil a light, sandy texture. Personally, I usually use a succulent blend potting soil, which has the perfect consistency for baby ZZs. (This is the one I use.)
Propagating in Soil
While it is possible to root ZZ Plants in water, it is not ideal. The rhizomes of ZZ Plants are sensitive to overwatering, and propagating in water can result in a weaker root system. Instead, plant your cuttings in well-draining soil for a more successful propagation.
Using your finger, create a small hole in the potting mix for every stem you will be planting. Place the holes toward the center of the pot, about 1 centimeter deep.
Gently place the first stem in a hole, and fill in around the stem with potting mix, making sure that the stem is firmly planted and able to stand upright. Repeat the steps with the next cutting until they are all planted.
Be gentle with the fragile stems, and do not push them down into the soil. If a deeper hole is needed, gently remove the stem and deepen the hole with your finger, before refilling.
Water the newly planted stems gently, being careful not to uncover them. Then, place the plant near a bright window. Indirect light will be best for these new cuttings as too much sun can scorch their leaves.
Temperatures around the cuttings should reach about 80 degrees Fahrenheit, if possible, since warmer temperatures can help support growth.
You could start to see rhizomes developing in a couple months, though it can take up to nine months for rhizomes to develop in typical indoor conditions. Though it can be tempting to pull up the plants and check their growth periodically, remember that these new cuttings are delicate. Leave them alone for best results.
Caring For Your Stem Propagations
So, how do you care for your cuttings to increase their chances of rooting soon? Think of your newly planted cuttings like baby ZZ Plants. They will need to be treated carefully to help give them the best start possible.
That means following some simple steps to ensure your Zamioculcas Zamiifolias have the right light, water, and environment for success.
Moisture Balance
Proper watering is essential to the health of your stem cuttings. While ZZ Plants can survive in the shade, they cannot survive in muddy soil. That’s because the rhizomes of Zamioculcas zamiifolia can rot if exposed to too much water.
To prevent overwatering, consider watering your ZZ when the first couple inches of potting mix is dry. Also, since your ZZ cuttings are still saplings, don’t water them as much as you would a mature plant.
Start using small amounts of water to dampen the soil, and look for changes in the leaves. If the leaves start to look wrinkled or dry around the edges, the cuttings probably need more water.
You can also consider misting your cuttings with clean water from a spray bottle one or two times a week. This can increase the moisture level around the plant, without risking root rot. If the dryness on the leaves spreads, you can add an additional day of misting.
Light
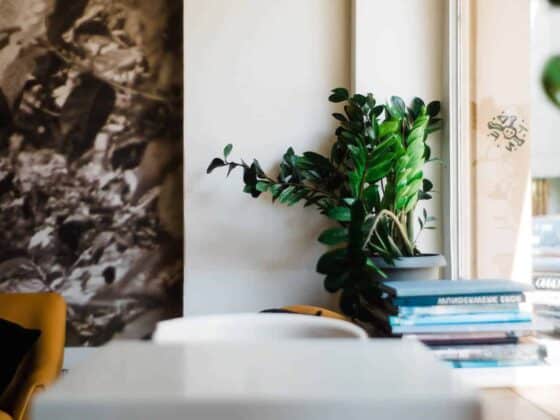
ZZ Plants can survive in lower levels of light, but that does not mean that shade is the ideal environment. Keep in mind that these plants originate in Africa, so bright light is part of their natural environment.
If you want to help your ZZ Plant develop rhizomes soon, you will have to make sure that there is adequate light. Place your plant in an area where it will receive bright, indirect light throughout the day. But don’t get carried away! There is a difference between bright light and direct, sustained light.
While some plants love direct sun, ZZ Plants do not. Constant sunlight will burn your plant’s leaves, so consider a window with a curtain to protect your plant.
Also, if you are growing your plant in an office, artificial light can sustain your Zamioculcas Zamiifolia. However, look for spaces with significant light throughout the day, such as one with permanent overhead lights, or “safety lighting.” Interior offices that are dark all weekend will not be a good fit for the plant’s long-term health.
Temperature
Indoor temperatures between 59 degrees and 79 degrees should be just fine for established ZZ Plants. But remember, you are trying to encourage your new stem cutting to grow a new rhizome. With that in mind, higher temperatures are better.
That does not mean placing your plant near a heater. Heating systems dry the air and won’t be good for the health of your plant. Instead, look for a warm room, or a room with a lot of filtered sunlight. Propagating in warmer months will help you find warm, bright locations for your ZZ cuttings.
Transplanting
While the slow growth of ZZs can be a little frustrating for plant lovers, there is one major advantage to this: they do not need to be continually repotted. You can most likely keep your cuttings in place for a year or more – until the plants start to look crowded.
Once your plant has spread within a half-inch of the edge of the planter, or you start to see exposed rhizomes, it is time to repot. You may also decide to cut some mature stems, and start the propagating process all over again!
What to Expect
Good things come to those who wait! This is especially true when waiting for your ZZ Plant to start developing rhizomes. It will be tempting to upend the plant to look for the development of a root system. But, for the sake of your Zamioculcas Zamiifolia, resist the urge to keep checking on the rhizomes.
Propagation can be a bit traumatizing for a plant, as can being uprooted. Continually digging up your plant can kill your ZZ cuttings before they get a chance to mature.
If you must check the plant rhizomes, only check once a month, and never yank the plant from the dirt. Pulling on the stem can tear or detach any rhizomes that may be developing.
To safely check on rhizome growth, gently dig out the cutting with a small spoon, and carefully look for development. Try to disrupt the plant as little as possible.
Do not rinse the roots, shake the plant, or touch the developing rhizomes. Gently place the plant into the dirt, carefully patting the potting mix pack into place around the stem. Do not press hard around the stem, or you may damage any forming rhizomes.
If the portion of the stem and leaves above the soil looks green, shiny, and firm, you can feel confident that progress is taking place beneath the soil. Since the leaves and stem are excellent at conveying the health of the plant, they can tell you all you need to know about the needs of your ZZ.
Once the rhizome has developed, which can take months to a year, you will start to see new growth above the surface of your plant. Armed with a few simple tips and a healthy dose of patience, your ZZ stem cutting will grow and mature, adding another gorgeous, Zamioculcas Zamiifolia to your home or office.