Are you trying to decide whether to move your Snake Plant into a larger container? Do you have questions about how to repot it with minimal stress, or how to set it up for success in its new home? Are you curious whether you can place multiple Sansevierias into the same pot? If so, you’ve come to the right place. This post is our in-depth primer on potting and transplanting Snake Plants.
Snake Plants normally only need repotting every 3-7 years, depending on how quickly they’re growing. The best time to make the switch to a larger pot is in the early spring, which gives the plant a full growing season to settle into its new space. Put your Snake Plant in a fast-draining potting mix that mimics the dry, rocky soil of its native habitat. And always keep it in a pot with holes in the bottom for drainage.
Should You Pot Up Your Snake Plant?
You can often tell when your Snake Plant has outgrown its old pot because it isn’t producing new leaves. There’s a limit to how much foliage a plant can support on the same set of roots. When it hits that limit, it has to expand underground before it can grow up top.
This may not be noticeable at first, because even healthy Snake Plants don’t grow very fast. They’ll typically add a few inches of height and 2-4 new leaves per growing season – less if they’re in dim light or aren’t receiving enough water. It may take you some time to feel out your Sansevieria’s normal growth rate.
If you don’t spot the slowdown in your Snake Plant’s growth, it will try to get your attention in more dramatic ways. A severely cramped root system can’t pull up enough water or nourishment to keep the foliage healthy. This is called being pot bound or root bound, and it causes the same problems as forgetting to water your plant: wrinkly foliage, yellowing leaves, crispy brown tips and edges, and leaves curling or drooping.
Another tell-tale sign is that the water runs out of the pot nearly as fast as you pour it in. Don’t get us wrong, drainage is a good quality in Snake Plant soil, but it should take at least a little time for the water to soak through the potting mix and trickle out the bottom. If it doesn’t, it could mean that the roots have replaced almost all of the soil beneath the surface.
How Often to Repot a Snake Plant
You can save yourself and your Snake Plant some stress by repotting it regularly instead of waiting for signs of distress. A good rule of thumb is to move it into a new pot every 3 to 5 years.
That’s not a hard and fast timeline. Your plant’s growth rate will vary depending on how much sunlight it gets. If you picked a Snake Plant because you needed something that could survive in your dim, north-facing bedroom, you can probably get away with waiting up to 7 years before transplanting it.
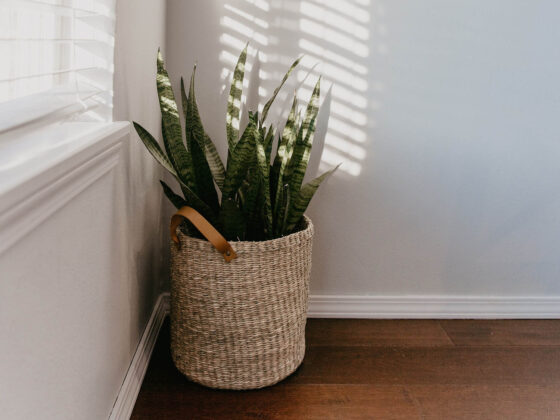
Don’t increase the size too much when you pot up. If your Sansevieria has been living in the plant equivalent of a one-room cabin, it will be happy with a nice two-bedroom house but overwhelmed by a mansion. In an oversized pot, there’s a lot of soil relative to the size of the root mass. This makes overwatering more likely because all that soil takes a while to dry out.
Your Snake Plant should be happy with a pot that’s around 2 inches wider than its old one. Increasing the width of the pot is usually more helpful than increasing the depth – Snake Plant roots tend to stay shallow, expanding out rather than reaching down.
How to Repot a Snake Plant
The right time to repot your Sansevieria depends on your reason for moving the plant. In general, your Snake Plant will have the smoothest recovery if you can move it in the early spring. At that point, it should be emerging from its winter dormancy and getting ready for the next season’s growth. Repotting in spring gives it plenty of time to build back its root system after the shock of being pulled up and moved. If you’re repotting due to some health issue, now is the best time.
Step 1. Gather Your Materials
The two things you absolutely need when repotting a Snake Plant are potting mix and a pot. Choose a fast-draining mix meant for succulents, or blend your own using 25% orchid pine bark, 25% coconut coir, and 50% coarse perlite or pumice. For more information on Snake Plant soils, take a look at our article on the topic.
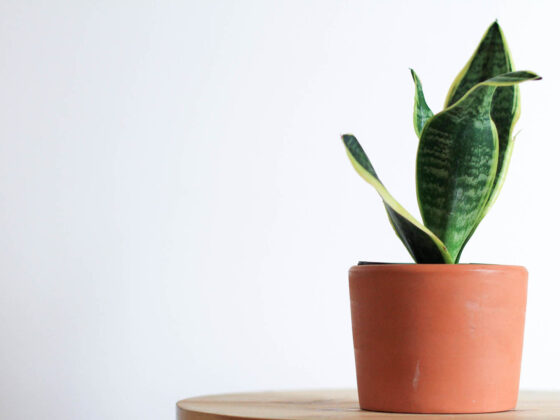
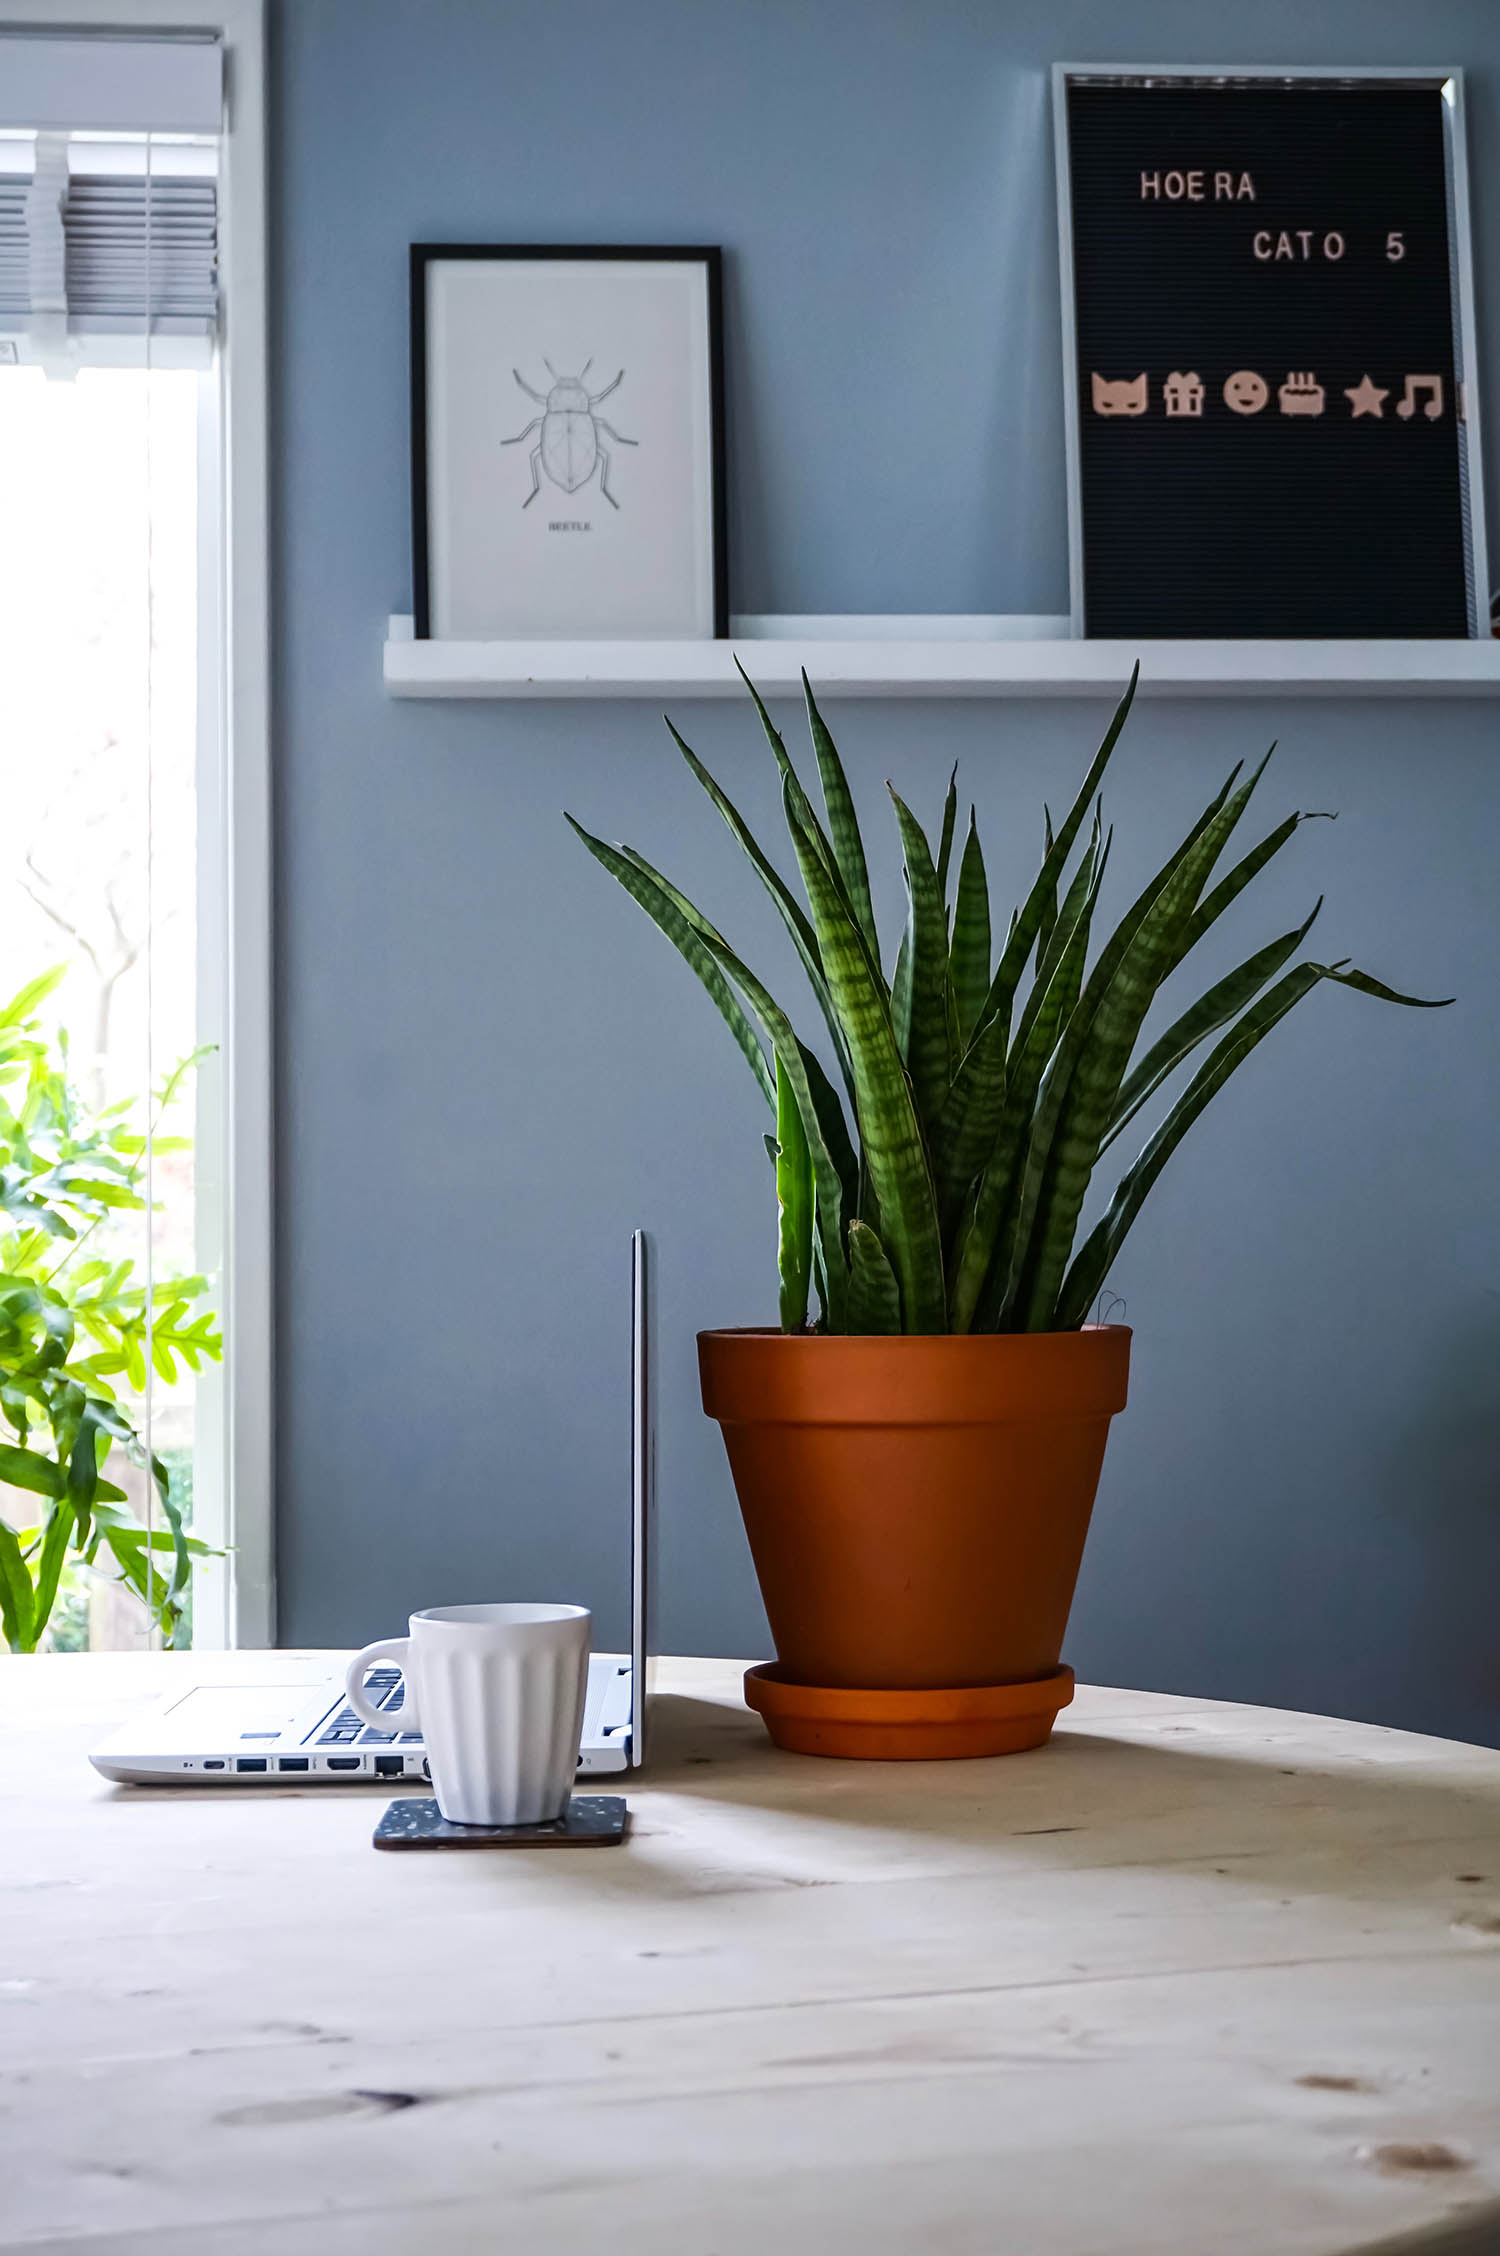
The pot should always have a drainage hole. The choice of material is less critical, though you may want to go with unglazed terra cotta if you tend to overwater. The porous, breathable clay allows water to evaporate quickly from the soil.
You may also want to have a garden knife on hand in case your Snake Plant is seriously pot bound and you need to loosen up the edges of the root mass.
Step 2. Prep the Pot
Fill the new pot ⅓ to ½ of the way up with potting mix. If you have a taller Snake Plant, you may want to use a slightly deeper pot but fill only the bottom ¼ or so. Snake Plants have shallow roots, which can make the bigger ones fairly top-heavy, and settling yours deeper in its pot can help it stay balanced.
If you’re repotting because your Snake Plant has root rot, you should give it a new pot, or scrub and disinfect the old one thoroughly. And you should absolutely discard the infected soil.
Step 3. Uproot Your Snake Plant
This is the part where a sturdy blade may come in handy. You can sink it into the soil and saw around the very edges of the pot to pry a stubborn root mass free.
Then place one hand at the base of your Snake Plant’s foliage and use the other to tilt the pot over, sliding the roots out. If it’s really stuck, flip it over and smack the bottom of the container to eject it. And in the case of a large plant, an extra set of hands from a friend or neighbor can make the process much smoother.
Step 4. Spread Out the Roots
By the time you get around to repotting a Snake Plant, its roots are usually pretty congested. If you pull the plant up and discover that it’s pot bound, you should spread the roots out a bit so they’ll expand once they’re in their new space. This step is pretty straightforward – just work your fingers into the clump of roots and gently tug them out toward the edges.
Step 5. Transfer Your Snake Plant
Settle your plant into its new pot and fill in the potting mix around its roots. Don’t pack it down too firmly, just gently pat it and shake the pot until the gaps are closed. Water thoroughly to help settle it in place.
Step 6. Let Your Sansevieria Rest and Recover
Plants aren’t well-adapted to being suddenly uprooted and moved to a new spot. It’s not something that comes up very often in nature! No matter how gentle you’ve been with your Snake Plant, it will be stressed out for a while after you transplant it.
You’ll probably notice some symptoms like drooping or wrinkling foliage over the next few weeks. This is normal and should pass as long as you avoid giving it more stress to deal with.
That means no direct sunlight and no fertilizer (slow-release pellets in the soil are okay, but don’t add any powdered or liquid fertilizer) for the next 4-6 weeks. Watch your Snake Plant’s water intake, too, because it will be more vulnerable to root rot during this time. Wait until the top 2-3 inches of its potting mix are as dry as desert sand before supplying it with a drink.
Can You Put Two Snake Plants Together?
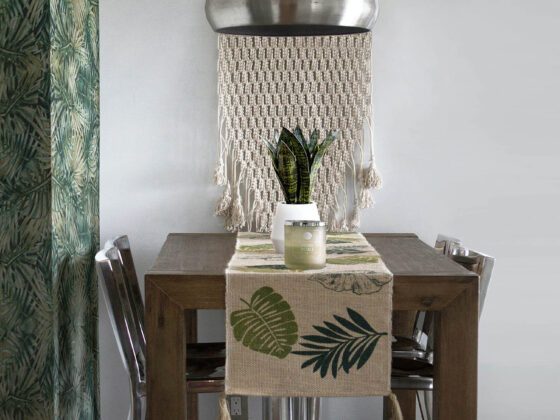
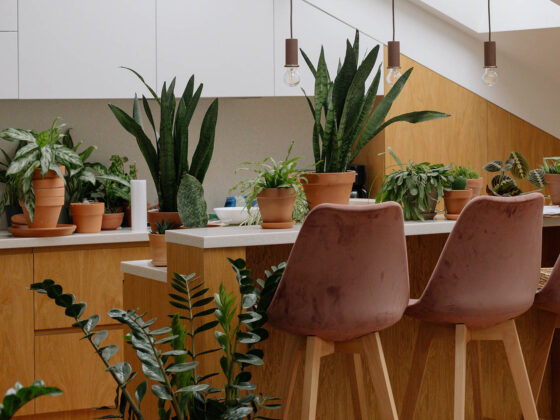
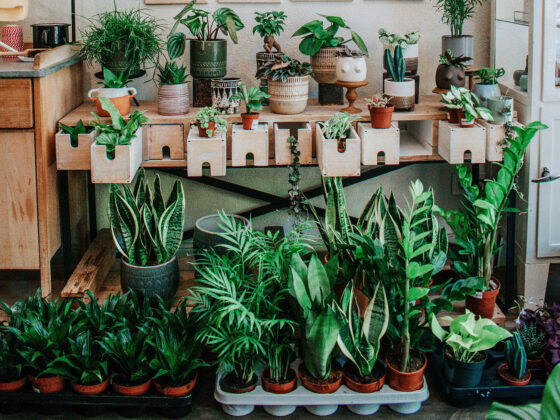
We wanted to take a second to address a very common question about repotting Snake Plants: Can you combine two or more in the same container? What about placing them together with other plants? The answer is yes, you can do either one – or both, if you have a big enough container – and you can create some fantastic arrangements this way.
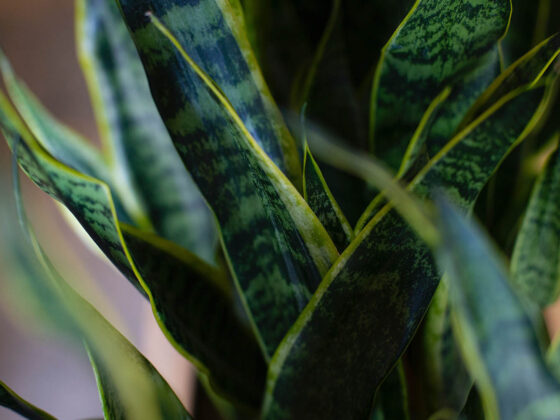
Pairing two different types of Snake Plant can highlight their different leaf shapes and patterns. Despite their variations in appearance, Sansevierias all have similar soil, water, and fertilizer requirements. This makes them easy to grow together. Just remember that Snake Plants with bold variegation, like the popular Laurentii cultivar, need a decent amount of light to maintain their vivid patterns.
Lots of other plants can also thrive in the same pot as a Sansevieria, especially other succulents that are comfortable with rocky soils and long dry spells. Don’t give your Snake Plant a pot-mate that requires lots of water or fertilizer, or you’ll find it almost impossible to keep them both happy.
Here are a few ideas for combination plantings:
- Surround a tall variety of Snake Plant with shorter ones like the Twisted Sister.
- Pair the bright yellow variegation of the Laurentii or Golden Hahnii Snake Plants with the deep greens of the Black Coral or the silvery gray of the Moonshine.
- Combine a Snake Plant with other pointy succulents like Zebra Plants or Aloes to create a delightfully jagged mini-garden.
- Place a tall, straight Sansevieria in the center, flanked by others with leaves that spread past the edges of the container. Example: Bantel’s Sensation with Starfish Snake Plant.
- For an even more dramatic version of the same look, add a succulent that will spill out over the wall of the pot, like a Burro’s Tail or a String of Pearls.
- Create a sunburst effect by putting a Snake Plant with fanning foliage, such as the Boncel, behind a round plant like an Echeveria.
- Add some reds and pinks to the mix with colorful succulents like the Ruby Glow Peperomia or the Moonstone.
When combining two Snake Plants, or pairing Sansevierias with other succulents, you should follow the same repotting procedure we described above. Use a nice wide pot to give all your plants room to expand.
If possible, try to wait until both plants are due for a repotting. With fragile plants like Burro’s Tail, you may be better off propagating them into your Snake Plant’s container instead of trying to move a mature plant.
Snake Plants don’t need repotting very often, and when they do, you can help them through the process by following a few simple guidelines. Use coarse soil with good drainage, increase the pot size a little bit at a time, and avoid letting them get scorched, overwatered, or overfertilized. We hope you found our guide helpful and your Snake Plant loves its new pot!