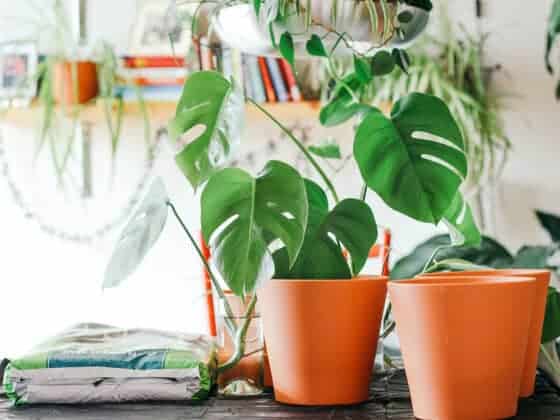
If you have a Monstera deliciosa, you don’t need to purchase another one to get a new plant. Reproducing your plant is as easy as taking and rooting a cutting from your existing plant. Propagation may sound scary, especially for beginners, but thankfully, the process isn’t as complicated or failure-prone as it may seem at first. Monsteras respond well to propagation and are hardy, so taking a cutting is actually a simple way to grow a new plant for yourself or a friend.
To take a cutting from your Monstera deliciosa, find an area just below a node and cut at a 45-degree angle. Then, propagate your cutting using either water or soil. Ideally, cuttings need at least two leaves and one node to grow roots successfully. After several weeks, a successful cutting should start to produce roots.
This article will give you step by step instructions for taking the best cuttings from a mature Monstera delicious. I will also cover how to grow a new plant from a cutting, the best techniques for taking a Monstera cutting, selecting the right parts of a Monstera for cutting, and some other important points that determine how successful the cuttings will be.
Growing Monstera Deliciosa from Cuttings
Growing a Monstera deliciosa from a cutting seems like a daunting task, but the process doesn’t have to be. Cuttings are easy to take and care for, and propagating a Monstera from a cutting doesn’t require any special equipment.
To take a cutting from a Monstera deliciosa, you only need sharp, sanitized shears. These can be purchased online, at a retailer like Amazon, and in most garden centers. These cuttings can then be propagated in soil or in water. A sanitizing agent, like diluted bleach or alcohol, will clean the shears and keep them from potentially infecting the parent Monstera will pests or diseases.

A Monstera deliciosa cutting will usually begin forming roots within a few weeks of being propagated. This is easiest to track when doing water propagation because it allows you to watch the process from start to finish. But soil propagation works just as well, so don’t let that be a deterrent when it comes to deciding what technique works best for you.
Cuttings are quick to show indications of distress, such as wilting and browning. While the process isn’t foolproof, taking the proper precautions and ensuring that you’ve followed all of the right steps can mitigate the likelihood that your cuttings will wilt, rot, or die.
When you’re ready to take one or more cuttings from your Monstera, you’ll need to prepare your workspace and assemble your tools. Depending on how you’ve decided to propagate, you’ll either need clean containers with water or fresh soil in a shallow pot as well as shears and some kind of sanitizing agent. Alcohol or diluted bleach works well.
How to Take the Best Monstera Deliciosa Cuttings
Finding the best part of a Monstera deliciosa to take as a cutting can make a big difference in how well the cuttings do during propagation. A couple of factors go into the likelihood of success, including the number of leaves, the plant’s health, and the inclusion of a node in the cutting.
Ideally, a Monstera cutting should have at least two leaves. This makes it easier for the plant to produce roots and increases the chance that the cutting will successfully grow into a new plant. While propagation will work on cuttings that have just one leaf, two is ideal.
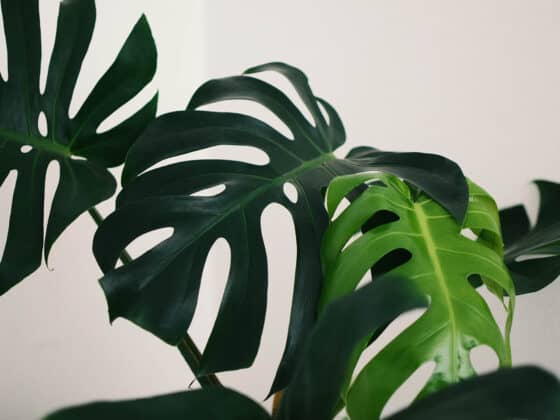
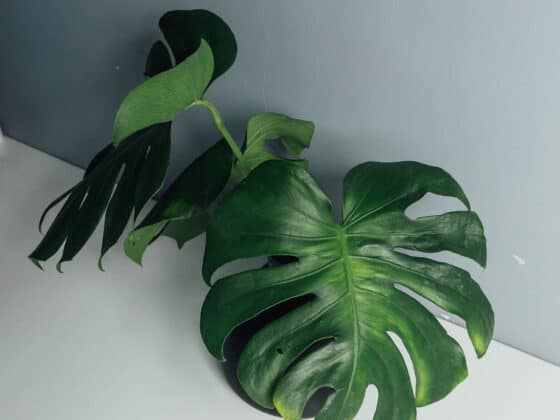
Additionally, the part of the Monstera that you decide to propagate must be healthy. This means that it shouldn’t show signs of distress or have any indications of pests. Symptoms that the leaf isn’t healthy include: yellowing, browning, or wilting, as well as holes that are not fenestrations. Poor health almost always sets a cutting up to fail.
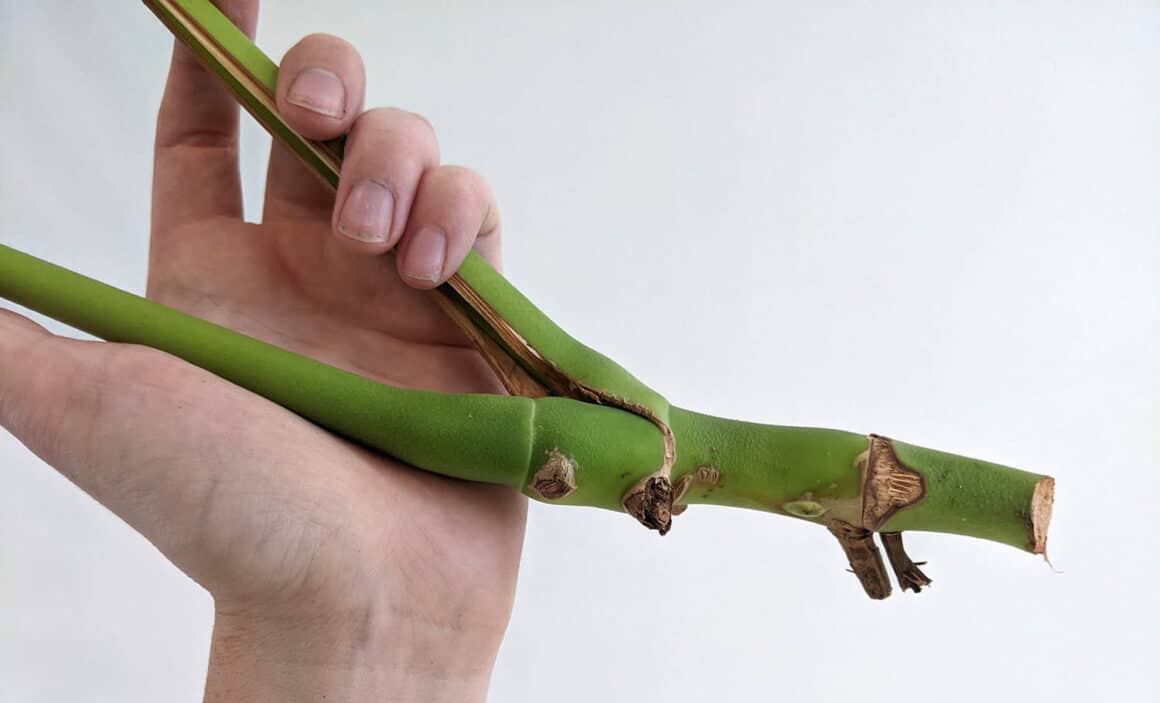
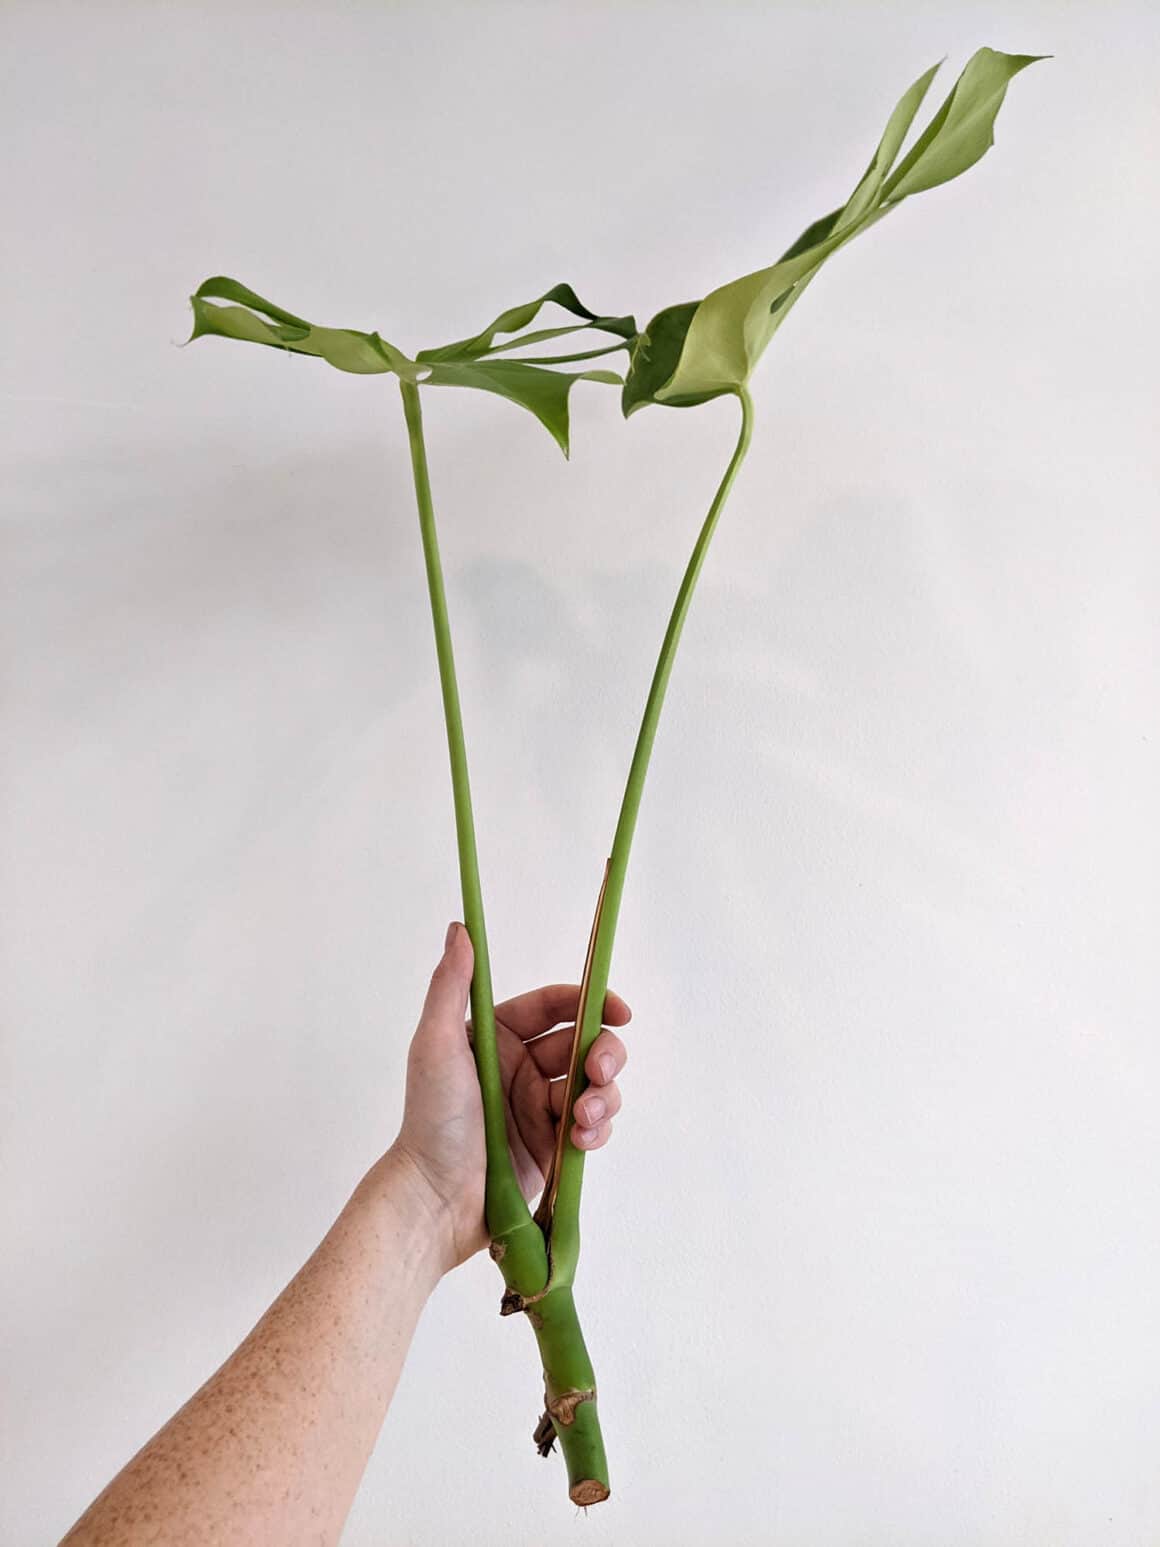
The most important part of taking proper cuttings from a Monstera deliciosa is ensuring that the cutting includes a node. Nodes are the parts of the plant that can grow stems and roots, so having one on your cutting is vital to producing roots. A cutting without a node won’t develop roots.
If you’ve found a part of your Monstera that satisfies all of these requirements, the rest is pretty simple. Make a clean cut about ¼ to ½ an inch beneath the node. While it won’t make a huge difference, a 45-degree angle is always ideal for propagation.
Can You Propagate Monstera Without a Node
Are nodes essential in growing new plants? Yes, you must always include a node with a Monstera cutting to produce a new plant. A Monstera leaf without a node won’t ever grow into a full-sized plant.
That doesn’t mean that cuttings without nodes are totally useless, however! Monstera leaves are becoming increasingly popular in flower arrangements and can be used in a similar way around the house, making for a beautiful centerpiece. For information on what to do with a cutting without a node, check out this article.
If you’d like more detail about Monstera nodes and why they are required for propagation, this article should answer your questions.
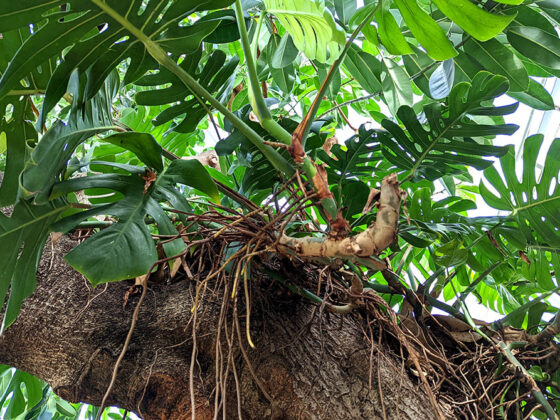
How to Find a Node on Your Monstera
Nodes are easy to identify if you’re familiar with the anatomy of a Monstera. If you aren’t, I can teach you quickly what you need.
A Monstera’s stem is composed of nodes and internodes. Nodes are the part of the plant that is needed to produce new growth. Internodes don’t grow anything and are just the space between nodes, leaves, and other parts of the plant.

A node is easily identified as the part of your Monstera that has leaves growing out of it. A node may have multiple leaves growing from it on larger plants, producing a “v” shape. These areas tend to be knobbier than the rest of the stem and are usually a slightly different color, ranging from brown to light green. They often have aerial roots growing from them, making identification even more straightforward.
If you aren’t sure that where you’d like to cut has a node, I recommend starting at the leaf. Follow the stem down until it either goes into the soil or connects to the main stem: just before these points, there should be a slightly raised area that looks different from the straight, simple lines of the stems. This is where your node is. For more information on Monstera nodes, read this article.
Rooting Monstera Cuttings in Water
There are two main ways to root a Monstera cutting: in water and in soil. While each technique has its benefits, plant owners online are divided over which approach is best. I have always preferred water propagation, especially for beginners who don’t feel confident in caring for cuttings.
Water propagation only requires a cutting, a clean container, and freshwater. Beyond this, the cuttings need little care and can grow unattended for months before being replanted.
Another benefit to water propagation is that it allows you to watch the development of your cuttings’ roots over time. This makes it easier to decide when your cutting needs to be planted in soil. You’ll also be able to tell much faster if there’s an issue, such as rot, that will ruin your cutting.
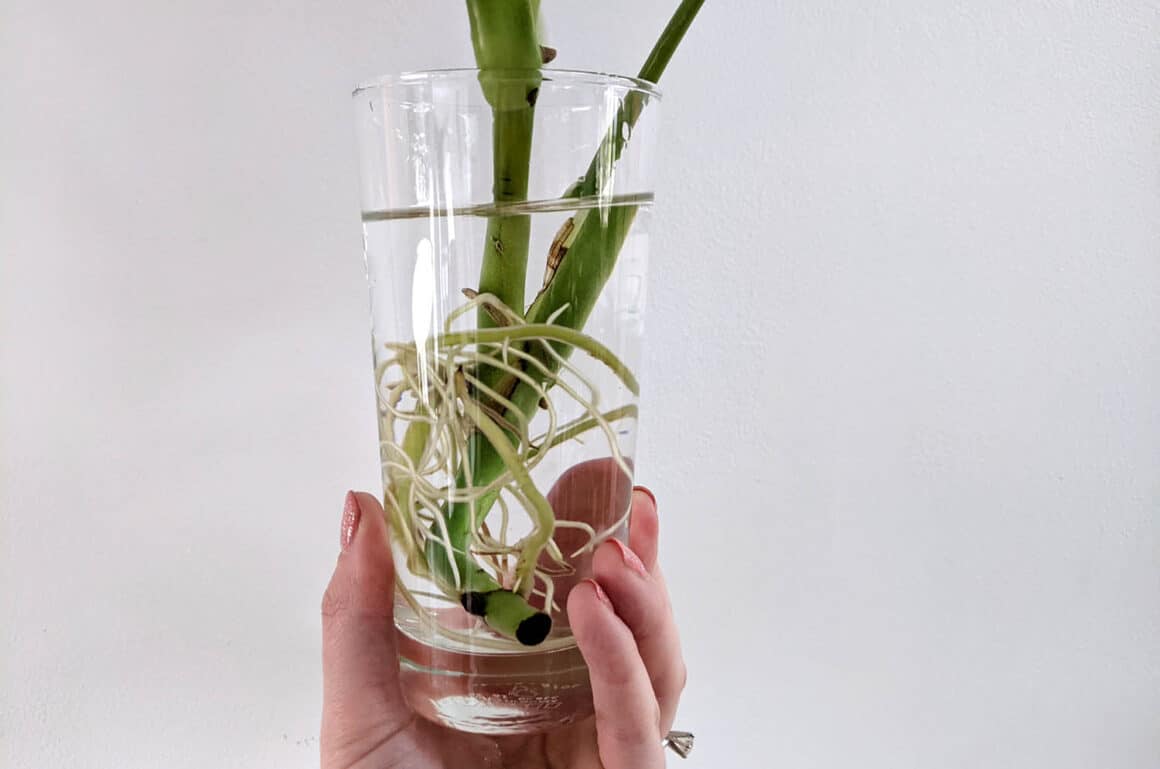
For water propagation, follow the steps for taking a cutting and then place the cutting into a small vase of water. I recommend using a clear vessel to hold it so that you can see the development of the roots, but this is totally up to you. Any kind of container, as long as the mouth is wide enough to reasonably accommodate the plant as it grows, will work. Try to avoid anything too shallow, however, because Monstera cuttings need some length for added support.
There are arguments that a water propagated plant has weaker roots. While I think that this holds true for other varieties of plants, Monsteras produce thick, hardy roots that are pretty resilient. They can stand quite a lot, so transitioning from water to soil won’t be as dramatic for a Monstera as it might be for something with a more delicate root system.
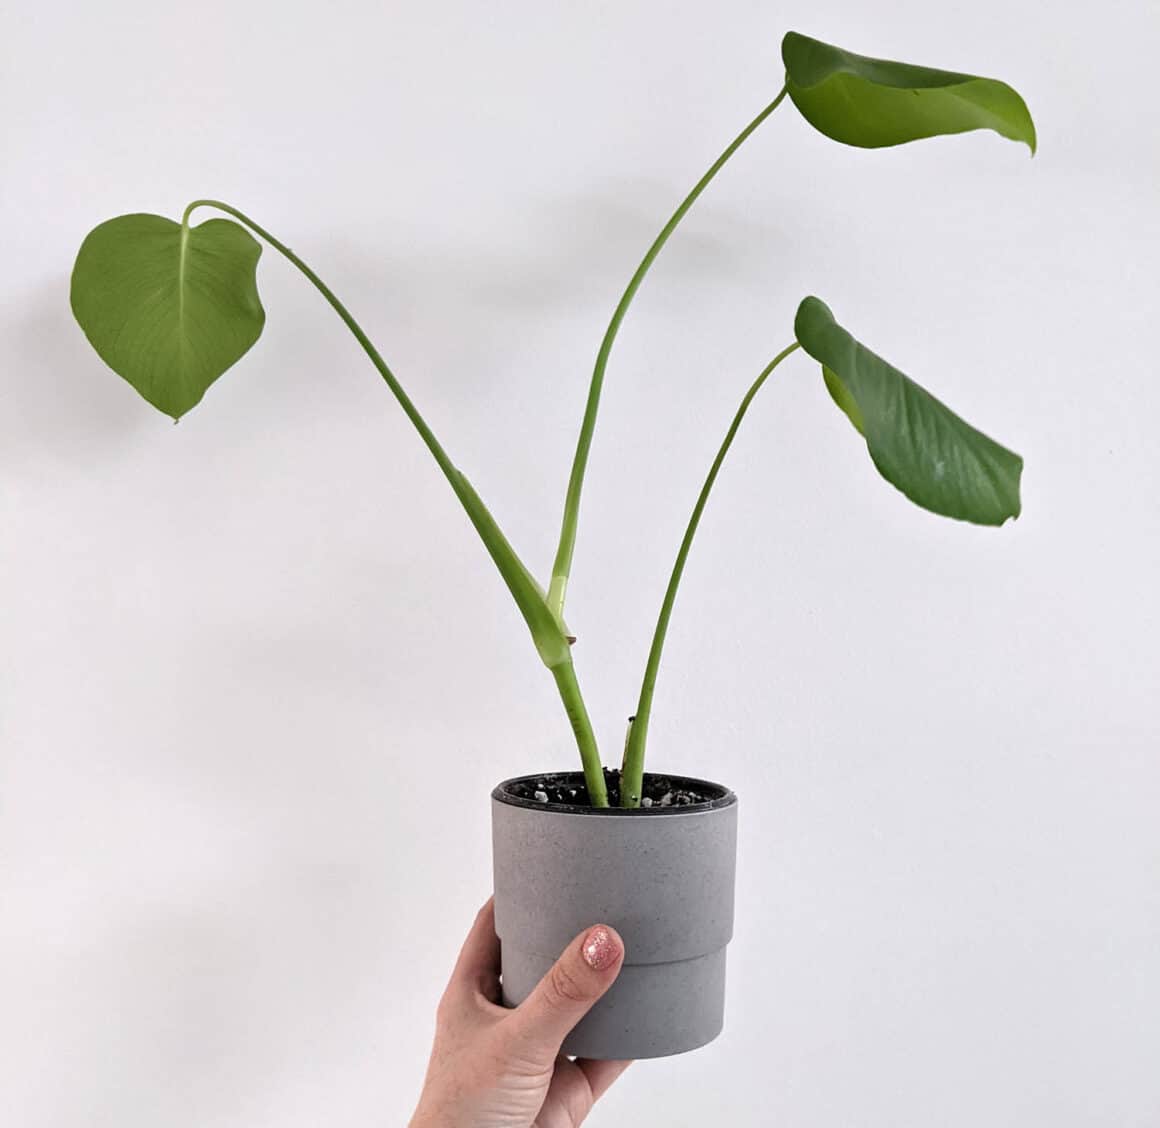
When Is a Monstera Cutting Ready to Plant?
There isn’t a set timeframe for when a water propagated Monstera cutting should be planted in soil. There tends to be a lot of variability in a cutting’s development based on the parent plant, the climate, and the time of year. However, after two to three months, and once the roots are at least two to three inches long, is a good rule of thumb.
You don’t need to rush to plant your Monstera. A unique feature of this plant is its ability to survive in water. We have an entire article devoted to that topic here, but I’ll dive into a quick overview.
Monstera cuttings can survive in water for over a year (and probably longer)! The plant won’t necessarily thrive in these conditions because they do need the nutrients provided by soil. Still, they can survive for a while with minimal care beyond periodically replacing the water and rinsing the roots.
If you decide to leave your Monstera cutting in water, you may notice the pristine white roots turn a yellowish color. This is normal and nothing to be concerned about but can be a good indicator that it’s an excellent time to plant the cutting in soil. Keep in mind that, while a Monstera can survive in water, living only in water will never produce a large, happy, thriving plant.
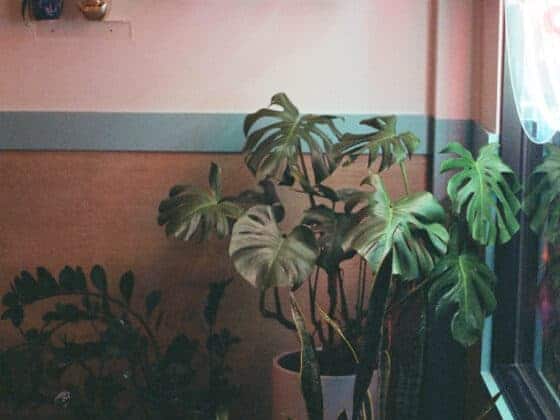
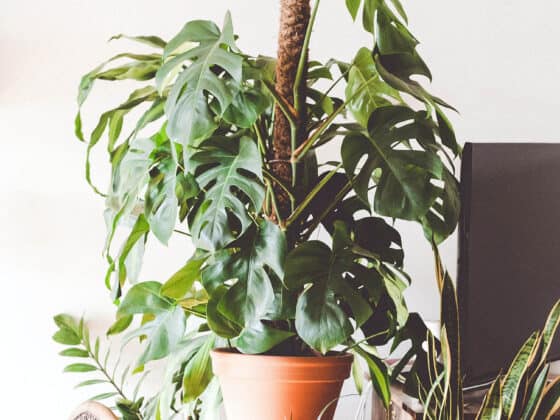
Rooting Monstera Cuttings Directly in Soil
The other approach to rooting a Monstera cutting is to put it directly into soil. This tends to be the preferred method of more experienced Monstera owners because it gives the cutting access to more resources and ensures that it produces strong roots.
The approach is almost exactly the same as water propagation. Take your cuttings in the same way as outlined above, but rather than placing them into a vessel of water, leave them out on your counter for an hour or two to allow the cut to heal over a bit. Once the cut has skinned over, it will be ready to plant into soil.
For an added boost, dip the end of your cutting into rooting hormone before planting in soil. I use this one, but any rooting hormone you find in your local garden shop should do the trick.
From here, simply plant the cutting into the container. The plant’s lowest node, if it has multiple, should be covered by the soil, and you’ll need to water it once the cutting is planted and the soil is packed down. If you want to read more about the best soil and containers for Monsteras, read this article.
If you are familiar with caring for Monsteras and propagation, soil propagation is the easier choice. It takes out some of the extra steps, like planting the cutting into the soil after the roots have grown. Plus, there is the long-held belief that soil roots are inherently different than water roots.
For the inexperienced, though, it is easy to over-and under-water a sensitive cutting, especially when you can directly observe how the roots are reacting, making the likelihood of a failed cutting much higher. If you’re new to propagation or aren’t feeling terribly adventurous, opt for water propagation until you get used to the process.
Caring for New Propagations
Caring for cuttings depends on the type of propagation that you’ve decided to do. For water propagation, keep the cutting vessel full of clean, fresh water. Change out the water once every week or so and always top off with new water when you see it getting low.
For soil propagation, care for it in the same way you do your parent Monstera. It’s vital that the cutting be allowed to dry out between watering, however, because soil that is too moist will encourage the stem to rot before it can grow roots. Testing the soil’s dryness with your finger is a good measure, but try to avoid the soil becoming so dry that the cutting begins to wilt.
For both types of propagation, sunlight and humidity play significant roles. Cuttings should never be put in direct sunlight. Established Monsteras should avoid direct rays, too, but most have the resilience to withstand some. Because of how delicate they are, cuttings will burn quickly, so take extra care when placing them in your home.
Because Monsteras are tropical plants, they rely on high volumes of humidity. This is why I often recommend keeping a Monstera in a room with high humidity, like a bathroom or kitchen, if these rooms have enough sunlight. Cuttings have this same propensity towards humidity, so putting them in one of these environments or adding a humidifier nearby can help them along.
Putting It All Together
Cuttings are super easy to take from a Monstera. A well-established Monstera is a forgiving plant and is really resilient, so taking a few cuttings at once won’t hurt. Just be sure that the shears you’re using are thoroughly cleaned as each cut introduces a new risk for disease or infection that can harm even the healthiest plant.
I’m a big proponent of water propagation, despite the concerns regarding soil roots versus water roots. I’ve propagated many plants and have never had a problem when transitioning from water to soil. I’ve also noticed that Monsteras have really thick roots: this is a good thing! It’s another indication of how hardy these plants can be.
Don’t let the recommendation of two leaves to a cutting deter you, either. I’ve had success with one leaf cuttings, and some even have success with cuttings with no leaves at all! The most important part of taking a cutting and propagating it, besides giving it the proper care, is including a node. Without a node, there’s no way that a cutting can successfully grow into a new plant.