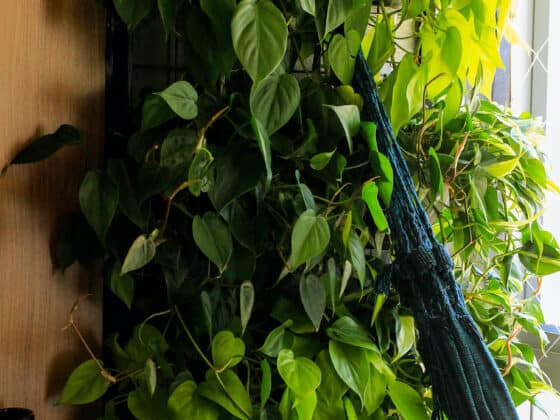
One of my favorite things about Philodendrons is just how easy it is to propagate new plants from cuttings. Most varieties are prolific growers that can handle regular pruning and take to water propagation like champions. However, if you find it a struggle to get your cuttings to root out, you may need to pay more attention to the nodes on your plant.
What are Philodendron nodes and how do you propagate them? A node (or leaf node) is a spot on the stem where new growth occurs. Roots, leaves, and new grow tips can all originate from a node. In order to successfully propagate a Philodendron cutting, you need to make sure at least one node is present.
Because nodes are essential to facilitate new root and leaf growth on a cutting, understanding how to identify them on your Philodendron is essential to your success in propagating new plants. In this article, I’ll cover what a node looks like and how to locate them on your plant. I’ll also go over the different ways you can take cuttings that include at least one node when propagating your Philodendrons.
A Quick Note Regarding Self-Heading (Non-Trailing) Philodendrons
This article mainly covers node identification and propagation techniques for trailing Philodendron varieties. Self-heading Philodendrons do also possess leaf nodes from which new growth is possible, but taking cuttings and propagation of these varieties are much more advanced techniques that have significantly lower success rates.
If you are interested in propagating self-heading varieties, I would suggest letting your plant grow to full maturity. A healthy, mature Philodendron will often produce offshoots from the main stem that can be divided and planted individually. These offshoots will eventually grow into fully-formed specimens.
What is a Philodendron Node?
Many plant stems are built the same way and consist of both nodes and internodes. Nodes are small spots on the stem from which new roots or leaves can emerge. Internodes are simply the areas of the stems in between two nodes.
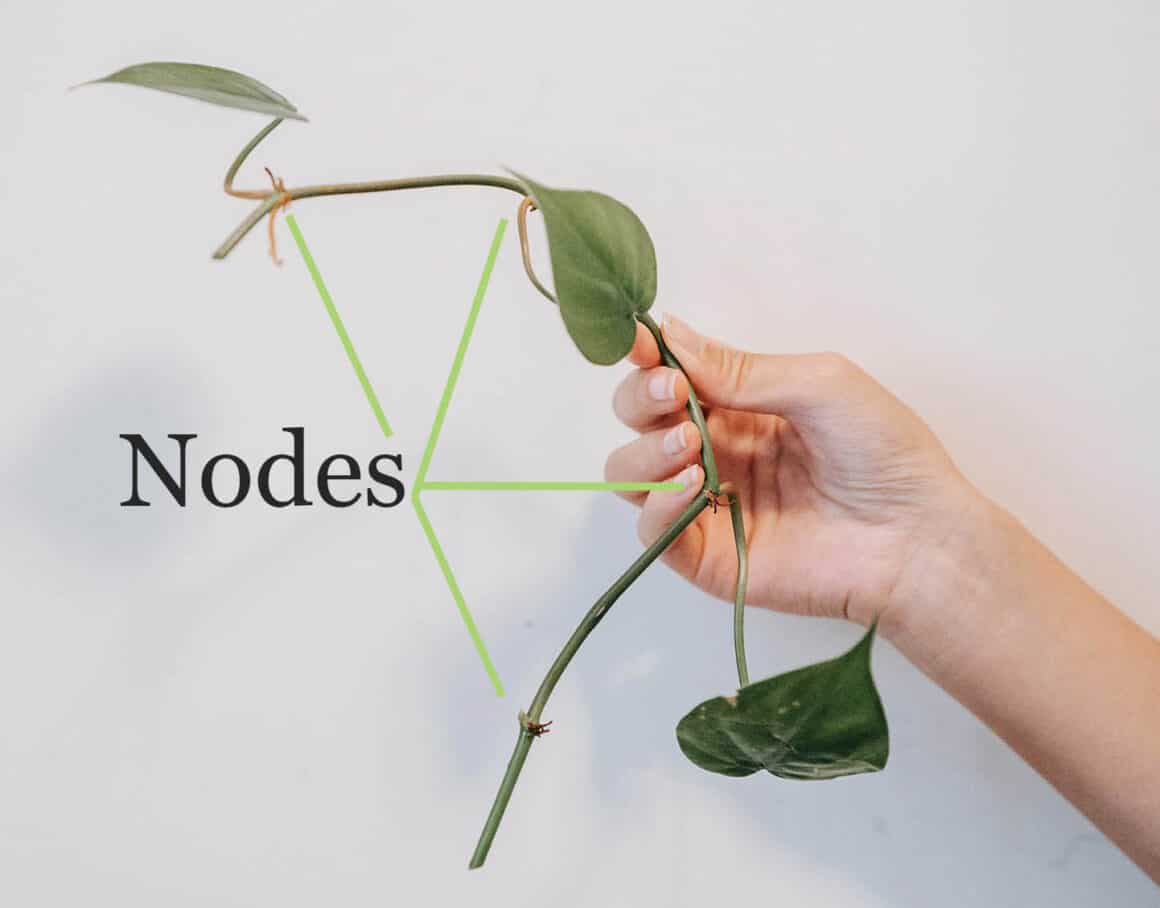
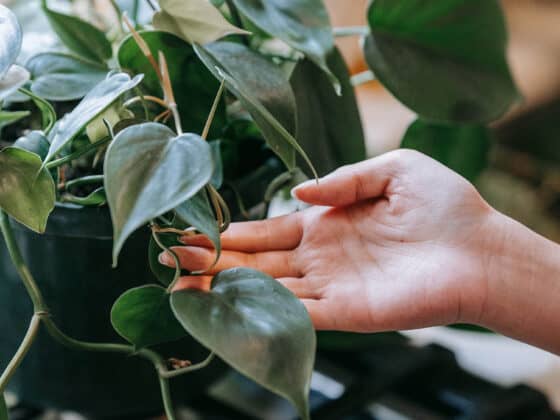
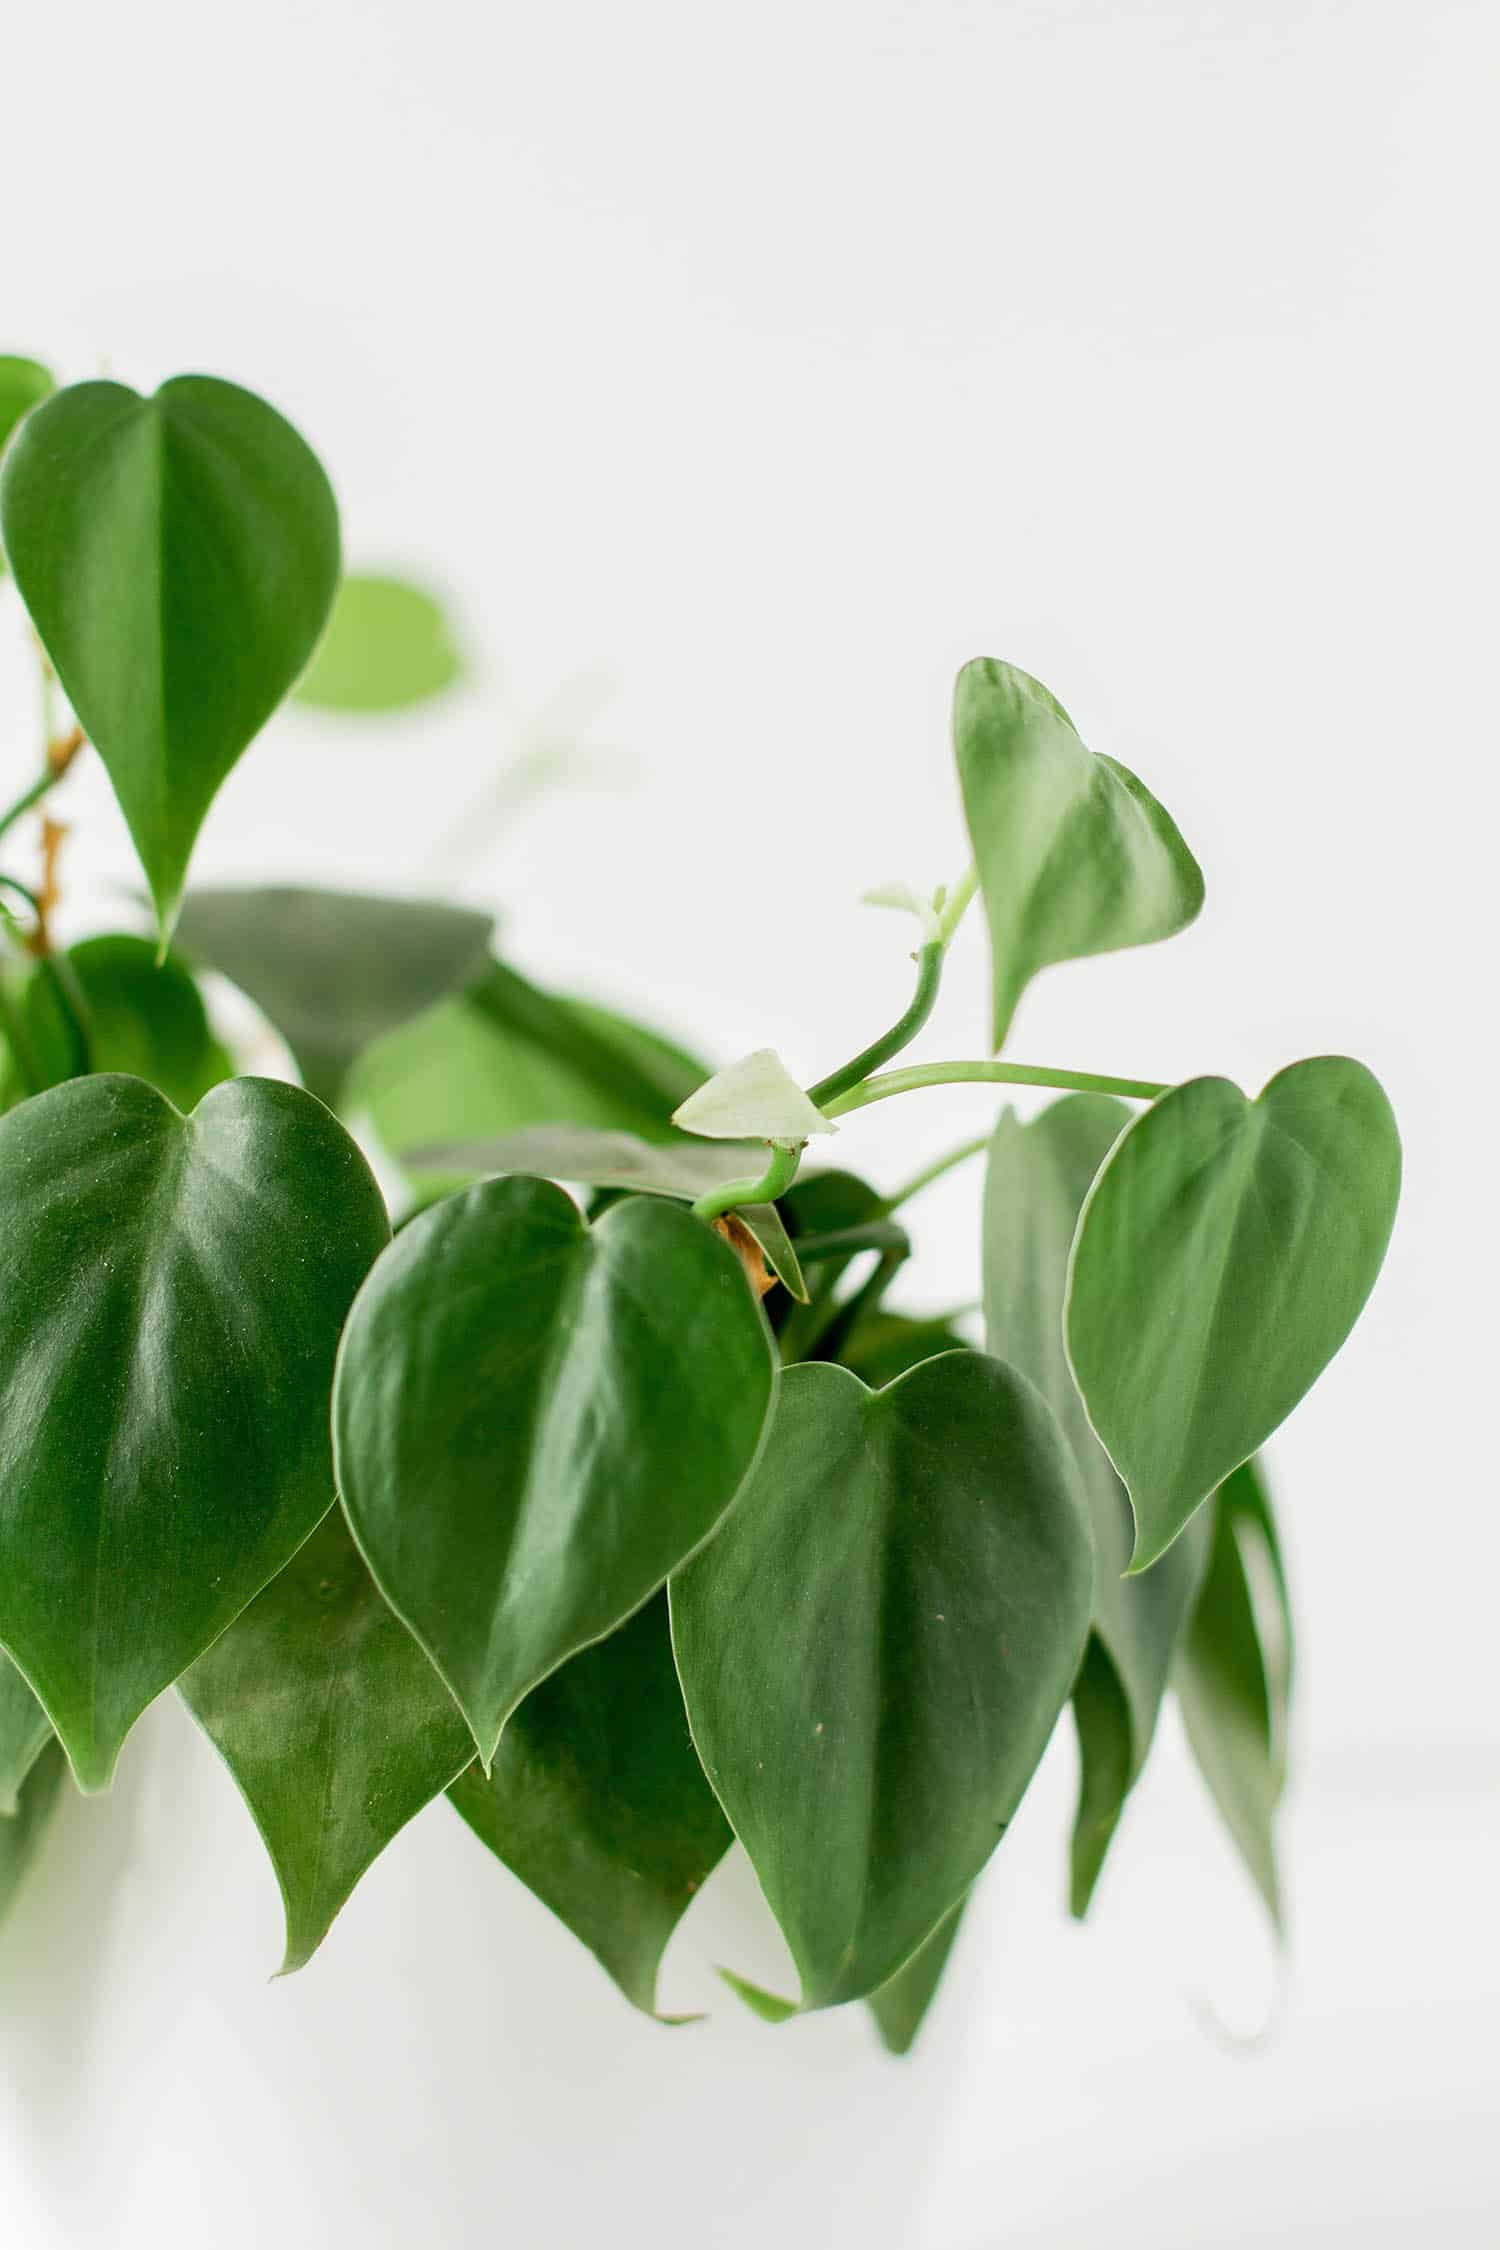
On Philodendrons, nodes are often found anywhere along the stem that a leaf has been produced. If you look closely at a vine of the plant, you will often see a ridge near where a leaf is present, often called a leaf line. There will often be a small nub of plant tissue right around the leaf line. This is a node (also referred to as a leaf node).
Knowing where nodes are present gives you the ability to alter the growth of your Philodendron, depending on what you are trying to achieve. For example, if you want to prune back leggy vines and encourage bushier growth, you could cut your stems just above a leaf node. This encourages the plant to push new growth from the nodes closest to the cut.
If you want to propagate new plants by taking cuttings, you’d want to make a cut just below a node, so your cutting has the ability to create new roots.
One of the coolest things about nodes is that they have the ability to produce different types of growth, depending on the condition of the cutting. This means that root, leaf, and stem tissue can all be produced to ensure the plant can grow to maturity.
Can You Propagate a Philodendron Without a Node?
Simply put, you cannot successfully propagate a new Philodendron plant from a cutting that does not contain a node. Remember that the nodes of a plant are the sections that contain the required cells necessary to promote new growth, so without the presence of at least one node, you’ll be left with just a leaf or stem section that doesn’t have the ability to root out and is destined to eventually rot away.
This is why the ability to identify where leaf nodes are present on your plant is so important. By knowing where each node is, you’ll have an easier time making your cuts to ensure each cutting has at least one node.
How to Identify a Node on Your Trailing Philodendron
It may be difficult to know for certain that you have identified a node on your Philodendron at first, but there are a few tips that should make them easier to find.
Look for the leaves. Each leaf your Philodendron has produced required a node to be present, so a good rule of thumb is that there is a node anywhere you see a leaf. The stem length between two leaves is the internode section.
Sometimes leaves drop from the plant, but the nodes are still there. If you take a closer look at where any leaf meets the stem, you will likely see a brown ridge across the stem that might be thicker and knobbier than the rest of the stem. This is often referred to as the “leaf line”. Leaf lines are a good way to identify node location even if the plant has dropped a leaf at that particular spot.
If you take a close look at a leaf line, you might already see the beginnings of aerial roots starting to form. In some cases, you can actually see the node pushing new growth, whether it be a new stem or leaf.
Once you get the hang of identifying where all the nodes are on a section of your Philodendron, you can use that knowledge to make the appropriate cuts so you end up with viable cuttings that will be easy to root out.
How to Take Philodendron Cuttings with a Node
Now knowing what a node is and how to identify one on your Philodendron, it’s time to take cuttings to propagate into new plants!
There are a few different ways to start. You can take what I call “stem cuttings”, which are sections of the plant that include a section of stem, a few leaves, and the growth tip of a vine. These types of cuttings are great because they are larger cuttings that already have leaves and an intact growth tip that is fully developed.
Stem cuttings tend to root out a bit faster and will obviously mature faster than smaller types of cuttings. The downside is that you only have so many vines on your Philodendron, so you are limited by how many and how often you can propagate in this manner.
Another option is to take “leaf cuttings”. This is a more economical way of propagating because, with just one pruned vine from your Philodendron, you can create several cuttings. This method involves pruning the internodes of a vine away, so you are left with many cuttings that consist of a single leave and one node.
Either option works well for most Philodendron vining varieties, as long as you ensure that you have preserved at least one node from which new roots can form.
Use sharp, sterilized garden shears or a florist knife to make your cuts. You want these cuts clean and disease free. Philodendrons release a sap that can be irritating to the skin, so consider wearing gloves during any pruning or propagation sessions.
For stem cuttings, identify vine tips that you’d like to prune back and find a node that is 3-4 leaves back from the growth tip. Make your cut about a ¼” below the node to ensure you don’t damage the node tissue.
For leaf cuttings, you can prune your Philodendron as you see fit and then lay the pruned vines out on a work surface. Make cuts along the vine, on either side of each leaf, leaving about ¼” to ½” to ensure protection of the node. You are essentially just removing the internode sections and should be left with several cuttings that consist of a node section with one leaf protruding from them.
You can let your cuttings sit for a few minutes to let the cuts callous over. This helps prevent rot when exposed to water or wet soil.
Rooting Your Philodendron Cuttings
Regardless of which type of cutting you opt for, your next decision is whether to root your new plants out in soil or water. Philodendrons tend to be super easy to root out in water and personally, I find that process to require much less oversight than rooting in soil. However, not everyone feels the same as I do, so if you’d rather propagate directly into soil, you can skip down to the next section.
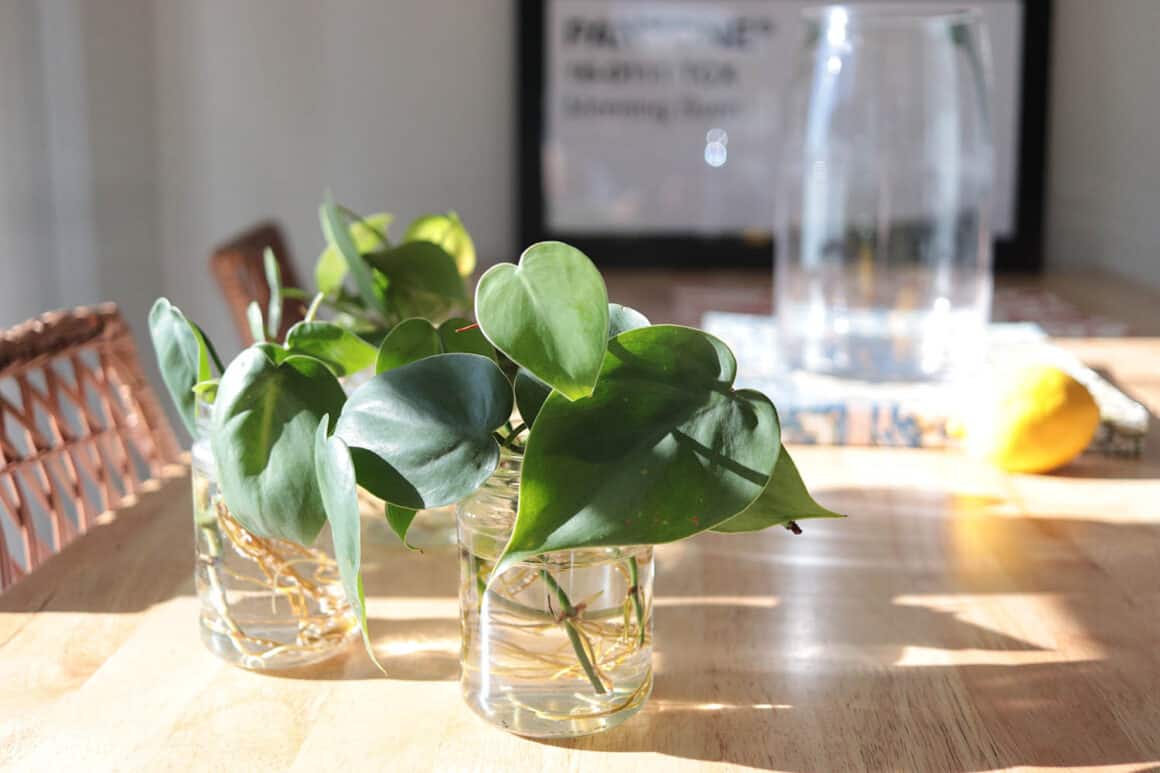
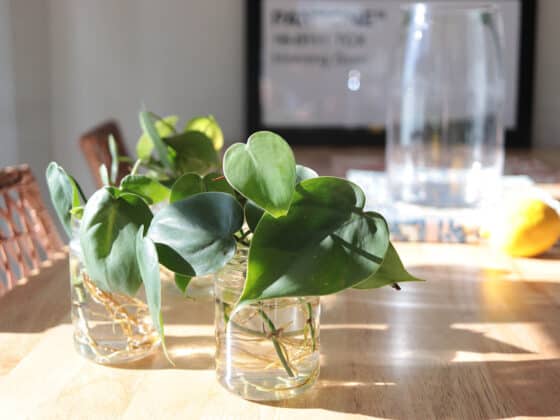
All you need for water propagation is your cuttings (either stem or leaf), a container to place them in where the nodes can be submerged but the leaves stay dry, and fresh water. I use recycled glass peanut butter or jam jars.
Place your cuttings into the containers, making sure to allow room for roots to grow. I usually stick with 2-3 stem cuttings or about 6 leaf cuttings per jar, so the growing roots don’t get too tangled up. Be sure to fully submerge the nodes and any aerial roots in the water while keeping any leaves dry. If you have a leaf or two lower on a stem cutting, feel free to prune them away to avoid rot.
Place your propagation jars in a spot that gets lots of bright, indirect light. I have an east-facing window above my kitchen sink that works well. Avoid hot, direct sunlight, and plan on changing the water about once a week to avoid scum and mold.
Within a couple of weeks, you should see new roots beginning to emerge. Wait until any new roots are at least two inches long (about 5-6 weeks) before transplanting them to a pot with soil.
Planting Your Philodendron Cuttings
Once you have rooted cuttings, or you want to direct stick your unrooted cuttings, you can plant them in soil. Choose a smaller pot to start with so you have better control over the moisture level. Larger pots hold more soil and, in turn, retain too much moisture for small cuttings. 4” plastic propagation pots are usually perfect since they hold just enough soil and usually have plenty of drainage holes on the bottom.
Regular potting soil should work well for both rooted or unrooted cuttings, but make sure the mixture is well-draining and stays aerated when wet. If you feel like the mixture is too dense, add in some pumice, perlite, or succulent soil to keep it light.
Plant the rooted cuttings in your pots by adding soil to the bottom of the container and then filling in around the roots of your cuttings. The node and all the roots should be fully covered by the soil, but keep any other plant parts out of contact.
I prefer to plant cuttings in groups of three to six in a slightly larger pot to create a plant that will eventually grow to be bushy and full.
For unrooted cuttings, I like to dip the node end of the cuttings in rooting hormone and then use a chopstick or pencil to make a hole in the soil to stick them in. Wet the soil well and allow it to drain. Keep cuttings in a bright location that stays relatively warm and humid (a plastic bag or other covering is helpful for this).
After several weeks of maintaining even moisture and humidity, test the cuttings by gently tugging on the stem to see if the roots are established enough to hold the cutting in. You can also look on the underside of pots for evidence of roots pushing through. Once established, the now-rooted cuttings can be group planted with others in larger pots.
Propagating a Philodendron with a Leafless Node
There are a couple of situations where you might end up with a stem section of a Philodendron that contains a node but no leaves. These bits of plant can still be propagated!
Rare plant sellers often sell stem sections with just one node as a “leafless node”, “stem cutting” (different than what I describe above), “node cutting”, or “wet stick”. They do so because this type of propagation can maximize the total number of cuttings they can sell, which is good when dealing with rare plants.
Philodendron node cuttings are usually a couple of inches long and contain a single node in the middle that may or may not have roots beginning to sprout from it. From just this small piece of plant, if properly cared for, the node will produce everything the plant needs (roots, leaves, stems) to mature into a full-grown plant.
Choosing a Philodendron Node Cutting
If you are buying a rare plant node cutting, you want to make sure you are getting a healthy cutting from a trustworthy source. Check reviews of the seller and ask for several photos of the cutting they are selling. If they balk at that request, they are not reputable.
Also, remember that when buying a variegated variety, just because a node has been taken from a variegated plant doesn’t mean it will express the variegation.
Preferably, the cutting in question will already have some signs of aerial root growth (anything from brown nubs along the leaf line to roots a few inches in length). This is further evidence that you’ve got a healthy node that is capable of pushing new growth. If you see any black, brown, or mushy parts on the cutting, take a pass on it.
Alternatively, you may end up with a few node cuttings when you prune your plant to create leaf cuttings, as described above. Sometimes your Philodendron will drop leaves here and there, but the node is still present. You can still root out these node cuttings, even without the leaf present, to maximize your propagation.
Rooting a Philodendron Node Cutting
Node cuttings aren’t the ideal size or shape to root in water, so it is best to use a different method. With a little sphagnum moss, water, and a plastic bag, you can create a tiny greenhouse for your node cutting to incubate in.
Start with a small plastic or glass container (I like to use Tupperware or a recycled cottage cheese container) that has been cleaned well and dried. Place enough sphagnum moss (or coco coir) to cover the bottom of the container. You don’t need a whole lot since the cutting won’t actually be rooting out fully in this medium.
Place your node cuttings on the growing medium, making sure that if there is a little growth nub already forming that it is in contact with the moss. Lightly mist the entire setup with water so that everything is well saturated, but you don’t have liquid pooling in the container.
Place the entire container in a large freezer bag or cover it completely with plastic wrap to seal it closed, making sure that no part of the plastic is touching the cuttings. This will help prevent the cuttings from rotting.
Put your mini greenhouse in a sunny spot or under a grow light so that your cuttings stay warm and humid. You can occasionally check the moisture level (about once a week is fine), but since it’s a closed system, the growing medium should remain nice and moist. If it ever looks too dry, gently mist your cuttings and reseal in the plastic.
Because node cuttings are basically starting from scratch, it may take a few months to see significant growth from the node. Over time, you should see new roots beginning to emerge from the node and, eventually, the start of a new leaf.
While exciting, don’t be too hasty in removing the plant just yet. You want your cutting to produce 3-4 new leaves before you transplant it into soil. In this time, you may need to revise your setup to keep the plastic covering away from your plant.
Planting a Rooted Philodendron Node Cutting
Once your cuttings have grown to size and have well-established clusters of roots, you can transplant them into a regular pot. They should be sturdy and healthy looking. If they still seem weak, keep them in the greenhouse setup a little longer.
As you gently remove the rooted cuttings from the growing medium, some of their finer roots may get stuck and break away. That’s ok! Try to preserve the root systems as best you can and plant the cuttings in a small pot with well-drained soil. Again, mix in perlite or succulent mix to achieve an airy mixture.
Make sure the root systems are fully covered and that there is some space between the soil line and where the new leaves begin. Over the next several weeks, your cuttings will establish in the new pot, pushing lots of new root growth before the plants start sending out new leaves.
Final Thoughts
By taking some time to familiarize yourself with how to identify nodes along plant stems, you can easily increase your success rate any time you propagate your Philodendrons.
Whether you create stem cuttings or leaf cuttings, water propagation is a simple, straightforward route for rooting out stems, as long as a node is present.
Rooting leafless node cuttings is definitely a more advanced form of propagation, but with the right tools and knowing how to identify a healthy cutting, you’ll be surprised at how easy it can be to grow a new plant from practically nothing. Remember to be patient with the process and have fun!