You might have heard that overwatering is one of the biggest care mistakes you can make with your Peace Lily. Too much time in a wet pot can cause a lethal infection called root rot. However, you may be able to salvage your plant even if it’s picked up this disease. We’ve put together a point-by-point guide on how to revive an overwatered Peace Lily.
The key is to cut off all the decaying roots. Use some sanitized scissors to trim away any roots that are black, gray, mushy, or slimy. Disinfect the blades between cuts. If you had to get rid of more than ⅓ of the root mass, remove ⅓ of the leaves as well. Replant your Peace Lily in fresh soil.
That last step is very important. Overwatering often has as much to do with the soil as the watering can. The organisms that cause root rot can remain in the mix even after you clear them from the roots. Give your Peace Lily a loose, well-aerated soil blend, and you should be able to dodge this problem in the future.
How Do You Know If Your Peace Lily is Overwatered?
Before we start treating your plant, let’s make sure we’ve got the diagnosis correct. What are the signs of an overwatered Peace Lily?
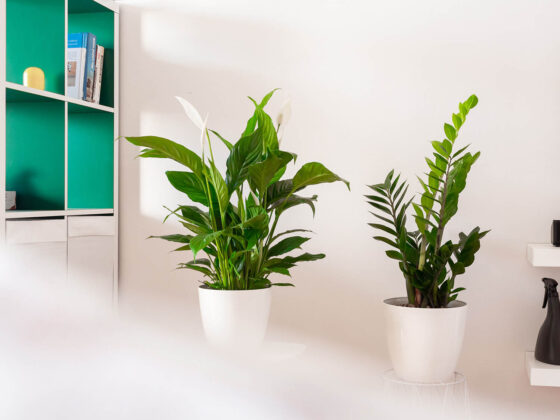
The most important one is wet, swampy soil. It’s good to give your Spathiphyllum a thorough soaking when you water it, but the mix in the pot should be mostly dry within a few days. If it looks and feels damp 4 or 5 days later, that’s a problem.
To certain fungal and bacterial species, an overwatered Peace Lily’s pot is the land of milk and honey. The dank, airless conditions allow them to breed at an astonishing pace. As they multiply, they can make their way into your plant’s roots and start turning them to mush. The roots are even more vulnerable than usual because the sludgy soil deprives them of oxygen.
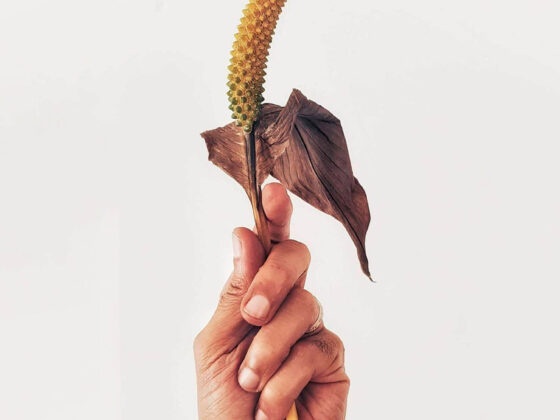
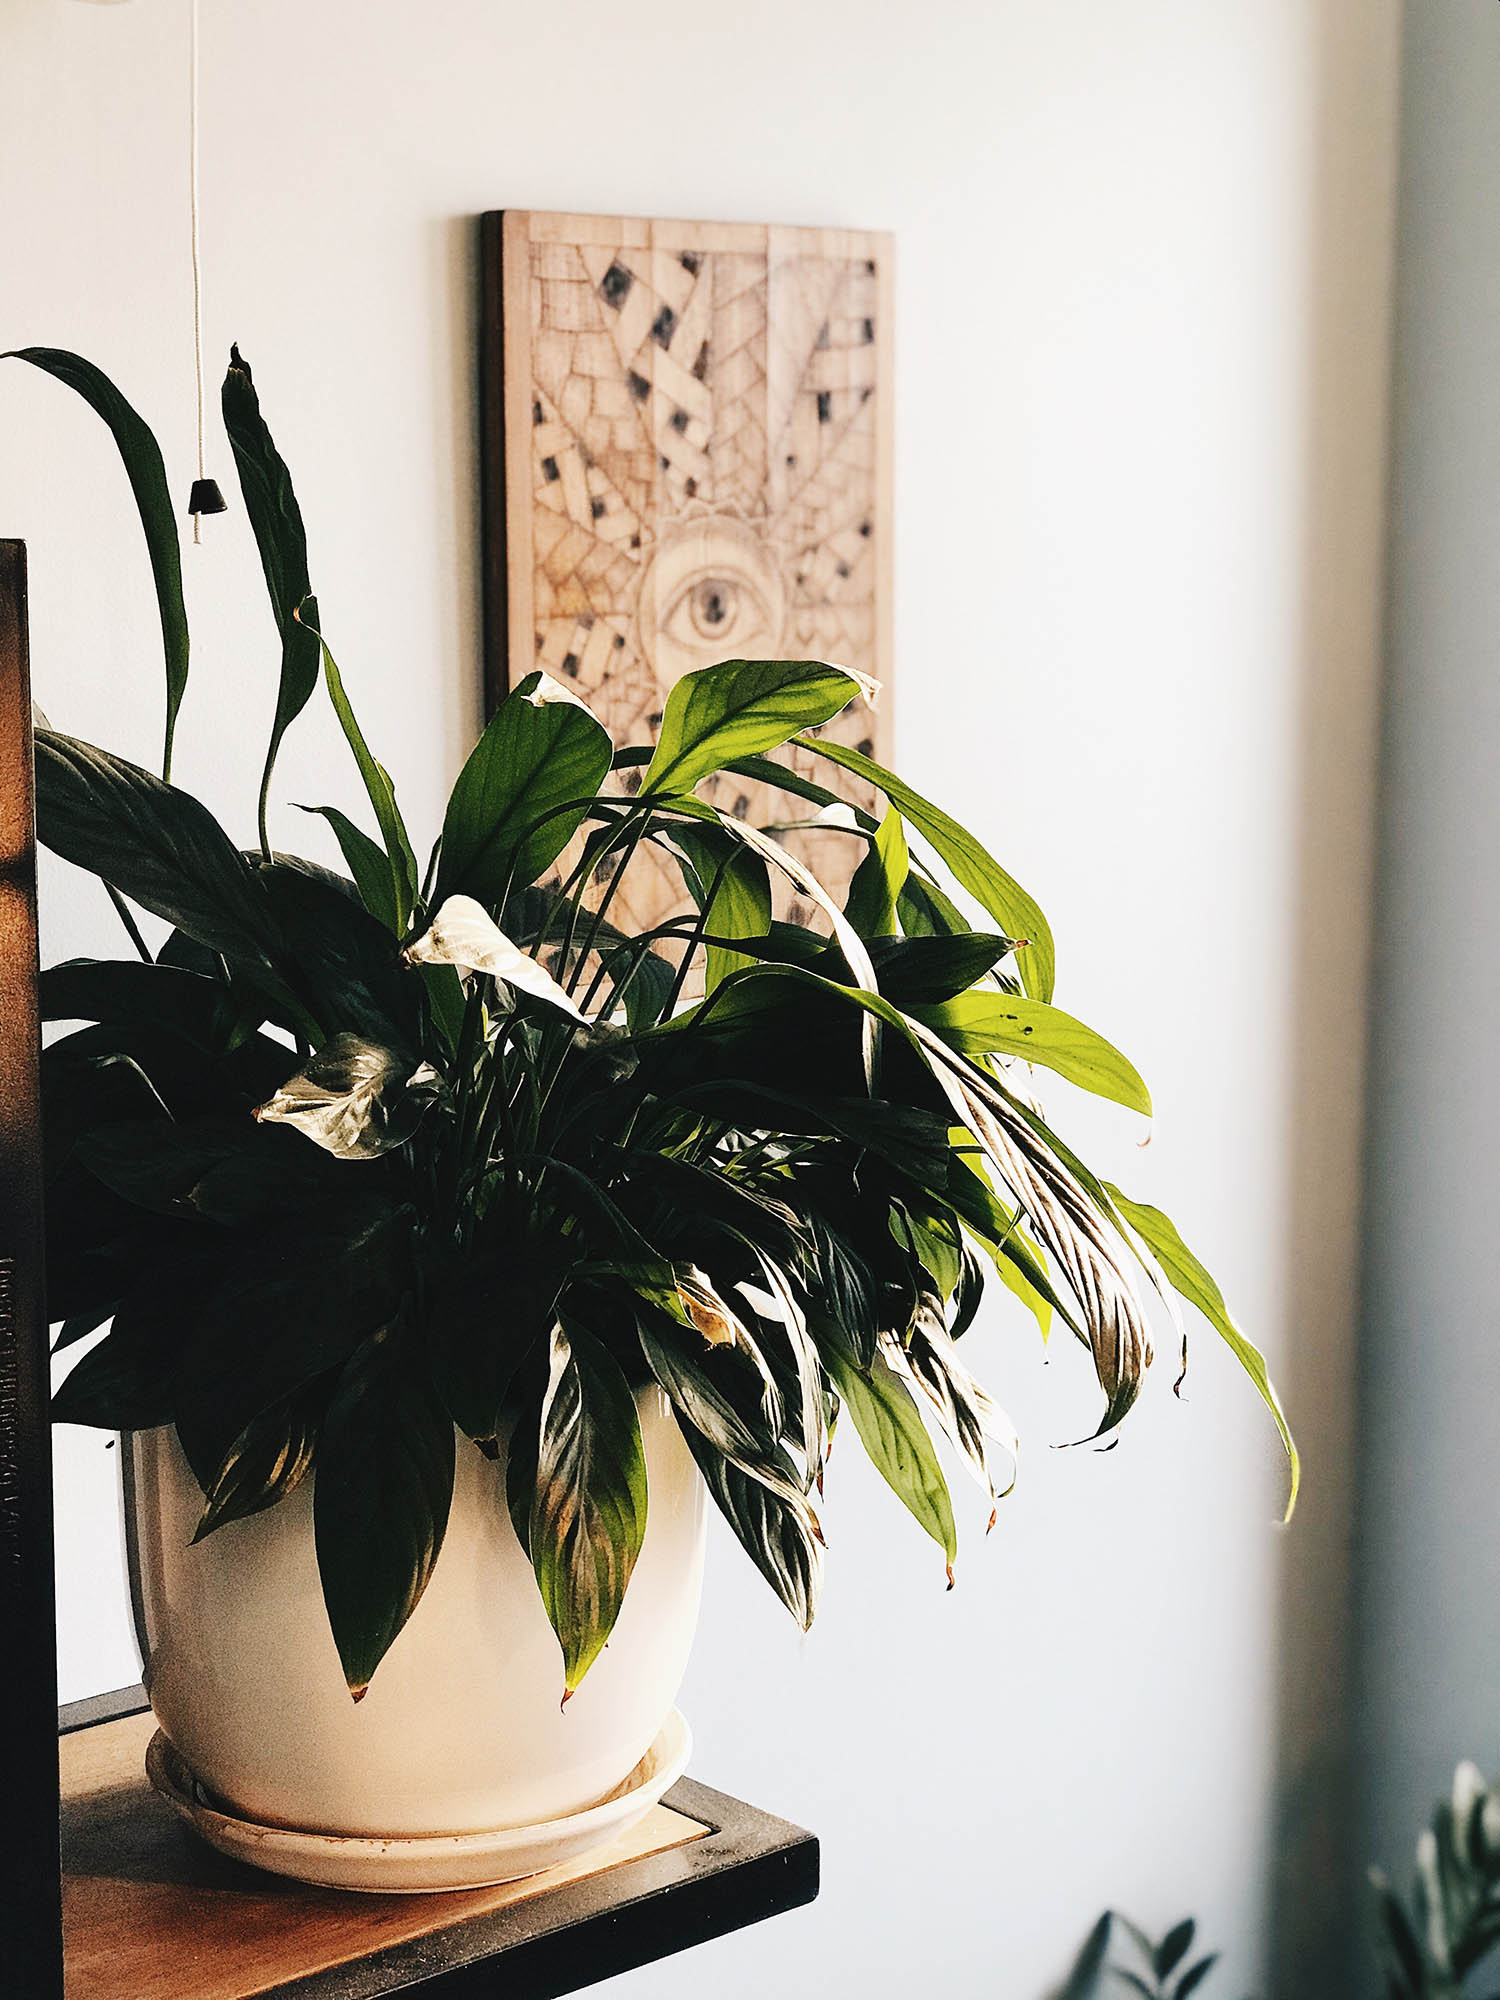
When your Peace Lily’s roots are hurting, the rest of the plant won’t be far behind. You might notice the foliage getting yellow and floppy. This tends to start with the lowest leaves and travel up the plant. The stalks of the leaves and flowers will also droop.
In bad cases of root rot, the stems can start feeling soft and mealy near the level of the ground. You might even see squishy brown spots appear on the foliage as the rot infiltrates the upper parts of your plant.
Fungus gnats may move into the soggy potting mix. If you see swarms of what look like fruit flies around your Peace Lily, it usually means the soil is too wet.
You can also try giving the pot a sniff. Rotting roots don’t have the clean, earthy smell of soil. They give off unpleasant odors that might remind you of mold, rotten eggs, or raw sewage.
Is Your Peace Lily Overwatered or Underwatered?
Some of the early signs of root rot, like drooping stems and discolored leaves, can also show up in a dehydrated plant. This makes it a little tricky to tell between these two problems, especially because root rot can continue to damage your Peace Lily even after the soil dries out.
To figure out if your Peace Lily is overwatered or underwatered, you’ll have to think about your watering habits. If it’s been two weeks since you watered, your Peace Lily is probably just thirsty. But if you gave the plant a drink two days ago and the foliage is still wilting, the issue is probably overwatering.
How to Revive an Overwatered Peace Lily in 7 Simple Steps
Even if you’re not 100% sure you’ve overwatered your plant, you should take action right away. The longer you wait, the harder it is to save a Peace Lily from root rot. The following steps will give you the best chance of rescuing your plant.
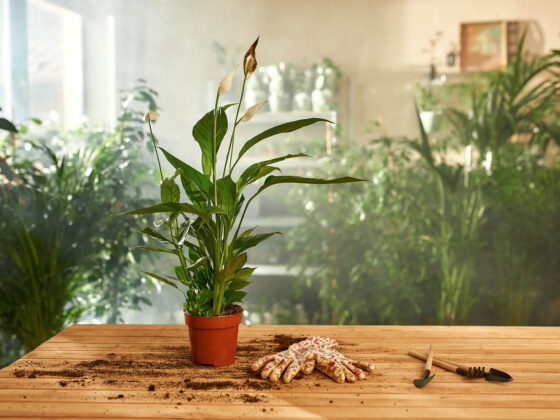
Step 1: Gather Your Tools
Make sure you have all your supplies in place before starting. You don’t want to get halfway through the operation and realize you forgot something crucial. Here’s what you’ll need to revive an overwatered Peace Lily:
- Gloves. The sap inside Peace Lilies contains calcium oxalate, which can irritate some people’s skin.
- Cutting tools. We prefer pruning scissors designed for gardeners, but a sharp pair of kitchen shears will work if you’re pressed for time.
- Soap. You may need to wash off the roots to get a good look at them. Avoid anything containing chemicals designed to cut through grease, which will damage your plant.
- Sanitizing solution. A 10% solution of ordinary bleach should do the trick, or you could grab some rubbing alcohol from your first aid kit. You’ll apply this to your scissors to keep from spreading infection around your Peace Lily. Hydrogen peroxide to disinfect the roots is also good.
- Clean rags or cloths. We like microfiber for the softness, but use whatever you’ve got.
- Potting mix. See below for specific recommendations; the most important thing is to get something with good drainage.
A new pot might also be a good idea. If you’ve been keeping your Peace Lily in a container without drainage holes, that’s likely why it’s in this mess. A pot that’s too large can also pose issues.
Step 2: Look at the Roots
Until you take your Peace Lily out of the pot, any diagnosis of root rot is just an educated guess. You need to get eyes on the root system.
Hold your plant near the bottoms of the stems and tip the pot over on its side. Sometimes you’ll have to flip it upside down and smack the underside to jar the root mass loose. Slide your Peace Lily out.
Dunk the roots in some lukewarm water and use your fingers to comb away any clinging chunks of soil. Be gentle. Your Peace Lily’s roots are under plenty of stress already. Use your gentle soap if necessary.
Once the roots are clean, examine them for rot. Healthy Spathiphyllum roots should have a firm texture and a white or khaki color. When they get rotten, they’ll turn gray, dark brown, or black. They also lose their springy feel and get limp and squishy. Infected roots may also have a slimy coating and a foul smell.
If you don’t see any trace of those signs, you can replant your Peace Lily and start looking for other explanations. Sunburn, excess fertilizer, temperature shock, or lack of space in the pot can cause some of the same symptoms as root rot.
However, if you find any hint of rot, move on to Step 3.
Step 3: Prune the Dying Roots
Once fungi or bacteria colonize a root, no cure can return it to normal. You’ll have to remove the infected parts to keep the contamination from spreading. That’s the only way to revive an overwatered Peace Lily.
Wipe down your scissors with your disinfectant of choice. Then get to pruning.
Remove any and all parts of the root system that seem rotten. Half measures at this stage will just stress out your Peace Lily without solving the problem. Cut well above the highest spot where you can see, feel, or smell any hint of infection.
After every snip, give your trimmers another swab of disinfectant. If you forget to do this, microbes can stow away on the blades and sneak into the healthy parts of the roots.
Step 4: Trim the Foliage
This part isn’t always necessary. If you only had to amputate a few of the roots, and you don’t find any soft spots on the stems, you can skip to Step 5.
But if the stems of your Peace Lily are turning squishy in places, it means the infection has moved aboveground. Those diseased stalks and leaves have to go. As with the roots, you should keep disinfecting your pruners between cuts.
You might also need to trim the leaves if the roots needed a large-scale cutback. Did you have to get rid of more than ⅓ of the root mass? If so, take off ⅓ of the foliage too. This will reduce the workload of your Peace Lily’s depleted root system and help it recover faster. Start with the oldest leaves, especially any that are already starting to wilt from age.
Step 5: Sanitize the Roots
It’s tough to be sure your root pruning got rid of all the microorganisms infesting your Peace Lily. For added thoroughness, wash the roots with some kind of disinfectant.
Our favorite cleaner for this purpose is a solution of one part hydrogen peroxide in 2-4 parts water. Dunk the root mass in this mix and swish it around for 10 seconds or so. That should torch any pathogens lurking in the nooks and crannies of the root system.
If you prefer a more natural treatment, dust the roots with cinnamon powder. This spice has some natural fungus-killing properties.
Step 6: Prepare the Pot
You’re almost ready to return your Peace Lily to the soil. But you’ll undo all your hard work if you place it back into the same potting mix that made it sick. You may have cleared all the rot from the roots, but the soil is still teeming with fungi and bacteria.
Throw out the old soil. Then scrub every trace of it out of your Peace Lily’s pot. Wipe down the pot with the same bleach or alcohol you used to treat your scissors.
(You could also buy a new container. This is a good idea if the old one didn’t have drainage holes, which might be why the plant got overwatered in the first place.)
Now add your potting mix. Choose something airy with lots of coarse ingredients to create space for air. Proper drainage will go a long way toward preventing this issue in the future.
Step 7: Plant and Nurse Your Peace Lily
Water the potting mix a little bit. You want it about as wet as a freshly-squeezed sponge. Set your Peace Lily inside and gently fill in the space around them with more soil. Tap the side of the pot to help it settle, but don’t pack it tight. Loose soil is better for your plant.
For the first few days after you do this, it may look like your Peace Lily is dying despite your best efforts. We can’t 100% promise that it won’t – root rot and root pruning put a severe strain on its health. Sometimes the damage is too extensive to revive your overwatered Peace Lily.
However, with the right care, there’s a good chance that your plant will bounce back. You’ll need to keep it someplace where direct sunlight can’t reach it. Indirect light is good, but the leaves are too fragile at this stage to sit right in the rays of the sun. See this post for help finding a spot with the right kind of light.
Don’t give your Peace Lily any kind of fertilizer for at least a month. And remember that the roots are still trying to get settled, so your plant is extra-vulnerable to overwatering.
However, you can crank the humidity as high as you like. Moist air promotes root growth. You could even place a large plastic bag or glass container over the foliage to let the water vapor build up inside, just make sure it doesn’t rub up against the leaves.
Once you see new shoots and leaves popping up from your Peace Lily, you can rest easy. The plant is through the danger zone and on the road to recovery.
How to Prevent Root Rot
One brush with root rot is enough to last most houseplant owners a lifetime. Let’s talk about how you can keep your Peace Lily from getting overwatered in the future.
First of all, if you’re watering your plant on a schedule, cut it out. You’re much less likely to overdo it if you hydrate your Peace Lily only when the soil is nearly dry. Every few days, test the top inch of the potting mix with your finger. If it still feels damp, give it another day or two and test again.
You’ll also need to make sure that the water can get out once it gets in. Bad soil is often worse for a Peace Lily than bad watering habits, because it holds moisture in the base of the pot instead of letting it drain away.
At least 50% of the growing medium should be large-grained ingredients that don’t decay fast. Perlite, pumice, and orchid bark are good examples. If you want to mix your own, you could use 40% bark chunks, 30% perlite, 20% coconut coir, and 10% vermicompost. If you prefer to buy a ready-made mix, pick one crafted for aroids like Peace Lilies and Monsteras.
Don’t forget to give your Peace Lily a pot with holes in the bottom, either. The water needs somewhere to go when it drains out of the soil!
An overly large pot is also a bad idea. When there’s a large amount of soil relative to the root mass, it will take longer for the moisture in the container to evaporate. This gives more time for root rot to set in. Choose a pot that’s no more than ⅓ larger by volume than the root ball.
Last but not least, make sure your Spathiphyllum gets a good amount of indirect sun. Your plant soaks up water more slowly when dim lighting slows down its growth.
Final Thoughts
It’s not easy to revive an overwatered Peace Lily, but the treatment plan above will give your plant a fighting chance. We hope our tips help you hunt down the root rot and kick its slimy butt! With proper care and just a bit of luck, you should be able to restore your Peace Lily to perfect health.