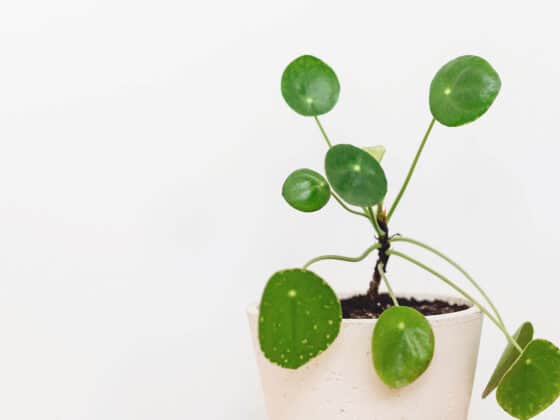
I love my Pilea Peperomioides, mostly because of how easy they are to take care of. Even the newest of houseplants owners can usually get a Pilea to thrive. But what should you do after you’ve had your plant for a year or two and you think it is time to transplant it?
Repotting Pileas is a simple process. To transplant your mature Pilea, water it a few days in advance. Then, when you’re ready, you should replant it in a pot that is only slightly larger than the one it previously lived in with quick-draining potting soil. After repotting, water your Pilea until water flows out of the pot’s drainage hole.
This article is split into two major sections: Repotting Mature Pileas and Repotting Baby Pileas. While a lot of the steps are similar, there are a few things that vary between the two. If you have a mature Pilea, the first section will give you all the information you need on repotting. If you are looking to replant a brand new Pilea pup that you’ve propagated or a cutting you’ve purchased or received from a friend, the second section is for you.
Why Replant Pileas
There are a few reasons why a houseplant should be repotted. The first and most obvious reason is to give it room to grow. As Pileas grow taller and fuller, their root system grows beneath the surface of the soil as well. Repotting a Pilea will allow it the space it needs to grow.
Repotting houseplants is also important because it helps to refresh the soil available to the Pilea. Potting soils are fortified with nutrients that help your plant to grow, but after a few months to a year, most nutrients from the soil have become depleted. Soil also becomes compacted over time, and refreshing the soil by repotting periodically will help your Pilea to thrive.
If you are growing a Pilea that is tall, you may start to notice the plant becoming top heavy, even tipping over at times. This is another reason why it is important to repot your plant every two years. Replanting the Pilea into a pot with a larger, heavier base can keep this from happening and potentially damaging our Pileas.
Lastly, Pileas need to be repotted because a plant that has been in the same pot for too long becomes more root than soil under the surface. When there is not enough soil for your plants, they are constantly drying out and need to be watered much more often. Replanting a Pilea will help to correct the ratio of soil to root within your container.
How Often to Replant Pileas
Most houseplants only need to be replanted every year or so. For Pileas, I recommend leaving them in the same container for two years before transplanting. Pileas usually do not have large or complex root systems and they can continue to live in the same pot for two years.
There are a few instances in which you should potentially repot your Pilea earlier. If you see the roots of your Pilea growing through the drainage hole, if it has become top heavy, if the soil has become compacted, or if the soil will not hold enough moisture and you’re having to water it constantly, you should consider transplanting your Pilea sooner than the recommended two year time frame.
When to Replant Pileas
The most ideal time to repot a Pilea is in the early spring, just before the plant enters into its growing season. Growing season is the time of the year where the plant is in an active state of growth, and if your Pilea is already crowded in its current pot, growing will pose a real challenge and may cause unnecessary stress on your plant.
You can repot your plant any time during the year, even when it is dormant in the colder months of the year. Pileas are hardly little plants and can survive a transplant at a less ideal time of the year. However, for best results, repot your Pilea just before it starts growing again for the year in the early spring.
Replanting Mature Pileas
The following section should give you everything you need to know about the step by step process of repotting your mature Pilea. Remember, Pileas only need to be repotted about every two years. If it is time for your Pilea to be repotted, I can guide you through.
Prep for Repotting Pileas
When you’ve decided it is time to repot your Pilea, you’ll need to do a few things in advance to make the process as simple as possible. The two main things you’ll need are the proper soil and a new pot for your plant. There are several things to think about with each of those options, and I’ve given them their own section below.
There is one other tip that will help when preparing to replant your Pilea that I wanted to pass along. I like to water my houseplants about two days before I replant them. This helps keep the soil together and in place when I remove it from its old container, and makes it easier to slide the plant out of the pot to transplant it.
Picking the Right Container
To find the new perfect pot for your Pilea, you’ll need to follow a few guidelines. First, you’ll have to pick the material for the new pot. Then you’ll need to find the perfect size. And finally, you’ll need to make sure the pot has a drainage hole in it or drill one of your own.
CONTAINER MATERIAL
For material, Pileas will be fine in plastic, ceramic, or terracotta pots. If you prefer one material over another or want to go with something that matches other pots you already own, any of those options will be fine.
There is, however, a solid argument to be made for terracotta pots for Pileas, especially if you are prone to overwatering your plants. The clay used for terracotta pots is porous and actually helps to draw out the moisture from the soil within it, helping to keep your Pilea from becoming overly wet. For plants, like Pileas, that do not like to be soggy, terracotta helps them to dry out more quickly between waterings. If you are prone to overwatering your plants, terracotta is your best option as it is a more forgiving material than plastic or ceramic.
CONTAINER SIZE
When picking a container size, you want one that is not too small and not too big. When a planter is too small for your Pilea, your plant won’t have enough room to spread out and grow. When a planter is too large, it can increase the time it takes to dry out between waterings and leave your Pilea sitting in soggy soil, something that it hates.
When repotting a mature Pilea, the best practice is to buy a container that is just slightly bigger than the one your plant was living in before. Pilea Peperomioides roots do not grow large or complex and a pot that is only 1”-3” wider in diameter will be the right size for your new Pilea pot.
CONTAINER DRAINAGE
It is extremely important that you plant your Pilea back into a pot with a drainage hole. The number one reason that Pileas die is from overwatering. And a quick way to drown your Pilea is by not assisting it in proper drainage. Drainage holes are necessary for Pileas.
If you have found a pot that you adore that doesn’t have a drainage hole in it, you can always drill one yourself. To drill a hole in a ceramic pot, use a masonry, tile, or glass drill bit. A normal drill bit can be used for drilling drainage holes into plastic pots.
If your pot does not come with a saucer, you’ll most likely want to find a dish or plastic saucer to go under the plant. This will catch the water that flows from the drainage hole when you water your Pilea.
Another thing that I do quite frequently when I find a pot I like that doesn’t have a drainage hole is to plant my Pileas and other houseplants into nursery pots that I then place inside of slightly larger containers. As long as you can elevate the nursery pot so that it can still drain, you can get by with this tiered solution for a pot without a drainage hole.
Picking the Right Potting Soil
As I said before, Pileas hate to be overwatered. The easiest way to overwater a Pilea is to give it too much water too frequently. However, planting a Pilea without proper ability to drain will also cause the plant to become overwatered and die. Drainage holes in containers are extremely important for this, but so is finding a quick draining soil.
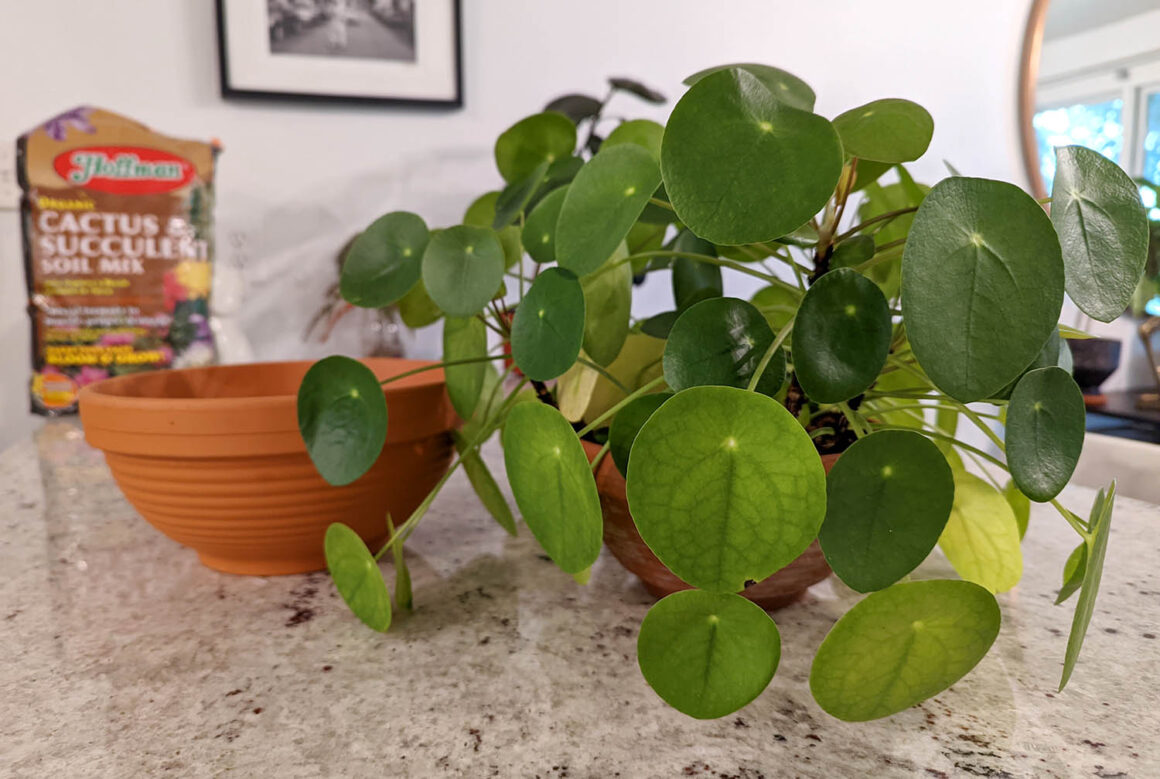
Pileas need to be planted in a soil that is quick draining as they cannot tolerate sitting in soggy soil for long. I find that cactus and succulent soil blends work best.
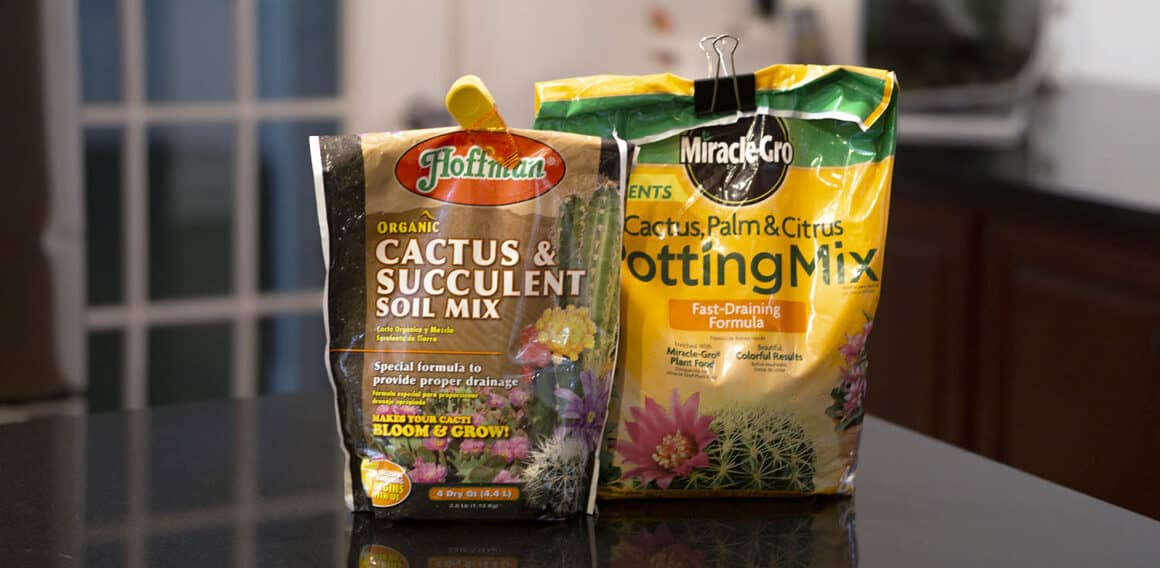
If you prefer a more hands on solution to Pilea soil mixtures, you can create your own soil by using the potting soil you already have at home and adding in some perlite or pumice to improve the drainage needed for your Pilea. I like a mixture of 4 parts soil to 1 part perlite or pumice. Whether you choose perlite or pumice will depend on what is available to you.
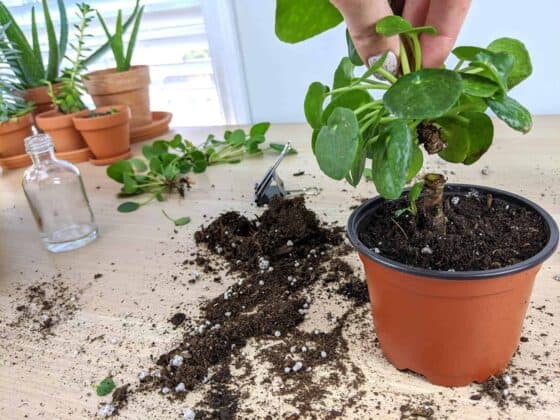
Removing Your Pilea From Your Pot Without Damaging It
I like to water my Pilea a few days before I plan to repot it. This helps to keep the soil all together and will aid in sliding the plant out of the old container more easily.
While Pileas are very hardy plants, they do have somewhat brittle stems. To grab a Pilea and try to yank it from its container will most certainly break or damage the plant.
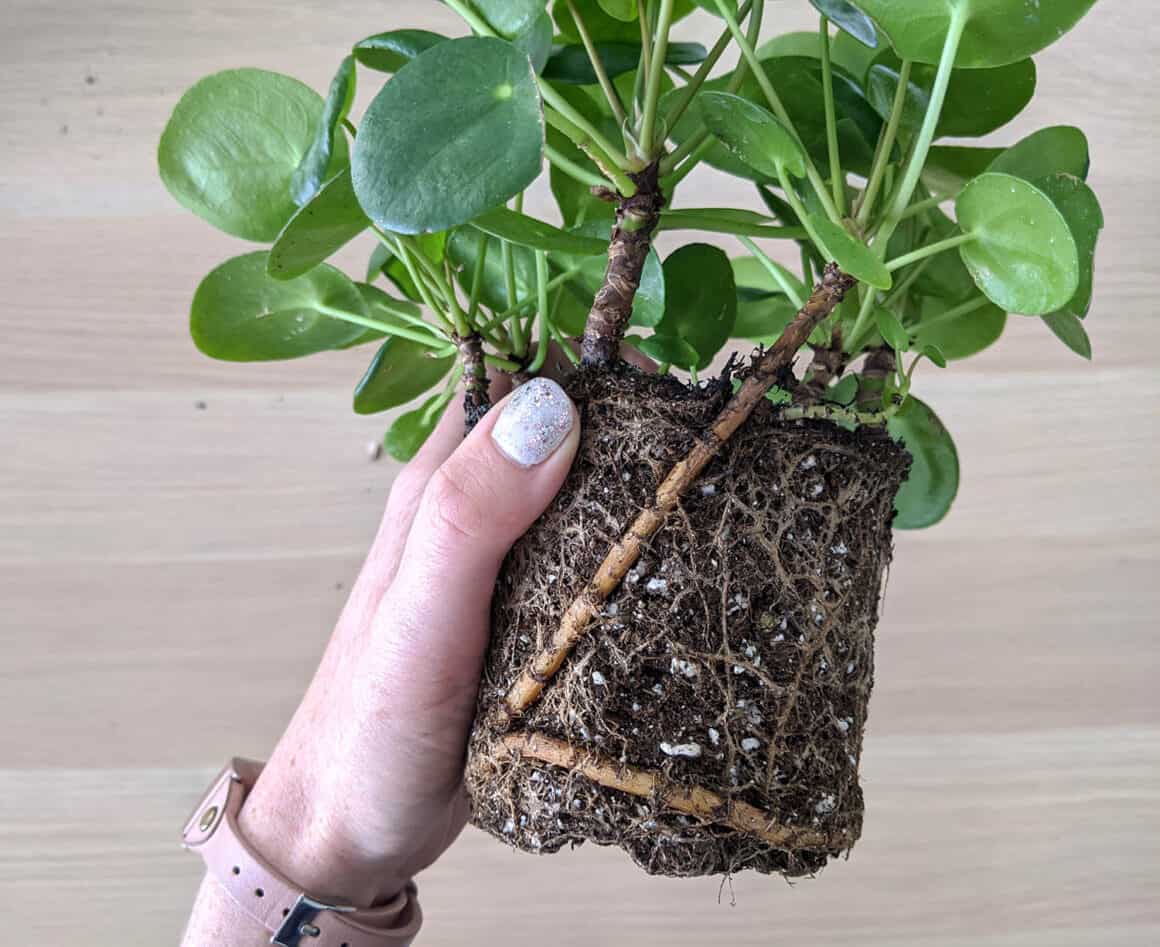
Instead of pulling the Pilea up, flip your container over and slide the plant out while it is upside down, using your other hand to support the central stem. If your plant is not budging when you flip it, you can either tap or squeeze the sides of the container or use a butter knife to slide around the inside edge of the container before flipping it and trying again.
Replanting Your Mature Pilea
Once you’ve secured everything you need, you are ready to transplant your Pilea Peperomioides. Gather together your container, soil, and old Pilea plant and lay out some newspaper or cardboard to make your area easy to clean up.
When prepping a container for repotting, I like to place a coffee filter or a piece of burlap in the very bottom of my container, over the drainage hole. This helps to keep the soil from flowing out of the hole or stopping it up in the future.
To begin, remove your Pilea from the old container. You’ll want to do this as gently as possible. Read the section above for tips on getting your Pilea out without damaging it.
Once the Pilea is removed from its old container, this is a good opportunity to examine the roots of your Pilea. Healthy roots are white and crisp. Unhealthy roots, especially those that have been damaged by overwatering, are brown, gray, or black and mushy. If you find your Pilea has damaged roots, you’ll need to prune them back before proceeding.
To prune your Pilea’s roots, you’ll need to make sure you have a good view of the problem. To do this, run the plant’s roots under the sink to wash away as much soil as you can while being extremely gentle with the plant. Roots you see that are brown and mushy need to be trimmed away, leaving only the healthy white crisp roots on your Pilea.
When you’ve pruned back any unhealthy roots, it’s time to transplant the Pilea. Start by putting a mound of the quick draining potting soil that you purchased or mixed yourself in the bottom of the container. Set the Pilea on top of the new soil, making sure that it will sit at the right height. Then, carefully scoop soil, about a cup at a time, around the plant until it has filled the container. Be careful not to bury too much of the central stem as you want to make sure your leaves have access to sunlight.
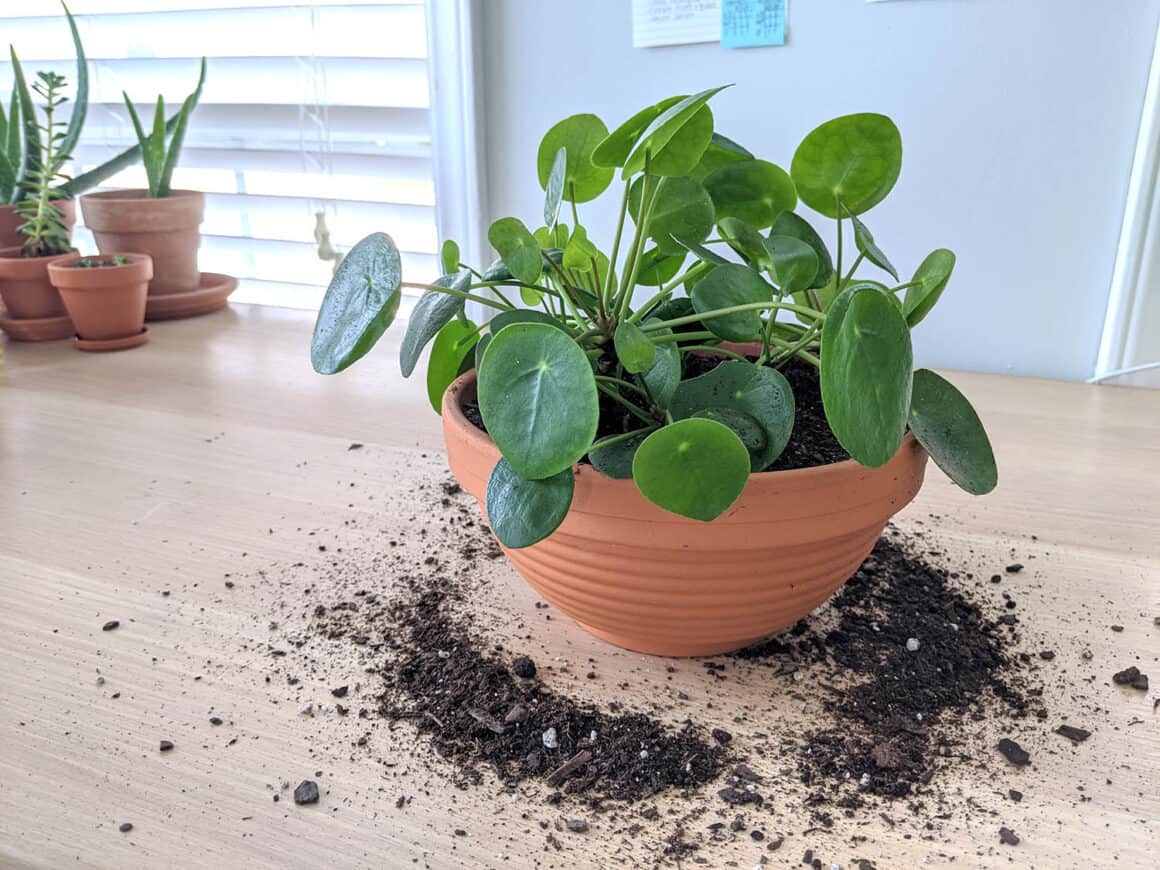
When your Pilea has been arranged with the proper amount of soil, gently pat down the soil around the plant to keep it in place and water it until water runs out from the drainage hole in the bottom.
Now that your plant is in its new container, you can place it back in its favorite spot full of bright, indirect light and resume your watering schedule. If you normally fertilize your Pileas, you wont need to do so for 3-6 months as the potting soil you’ve replanted your Pilea in should be fortified with the nutrients the Pilea needs.
Replanting Pilea Babies and Cuttings
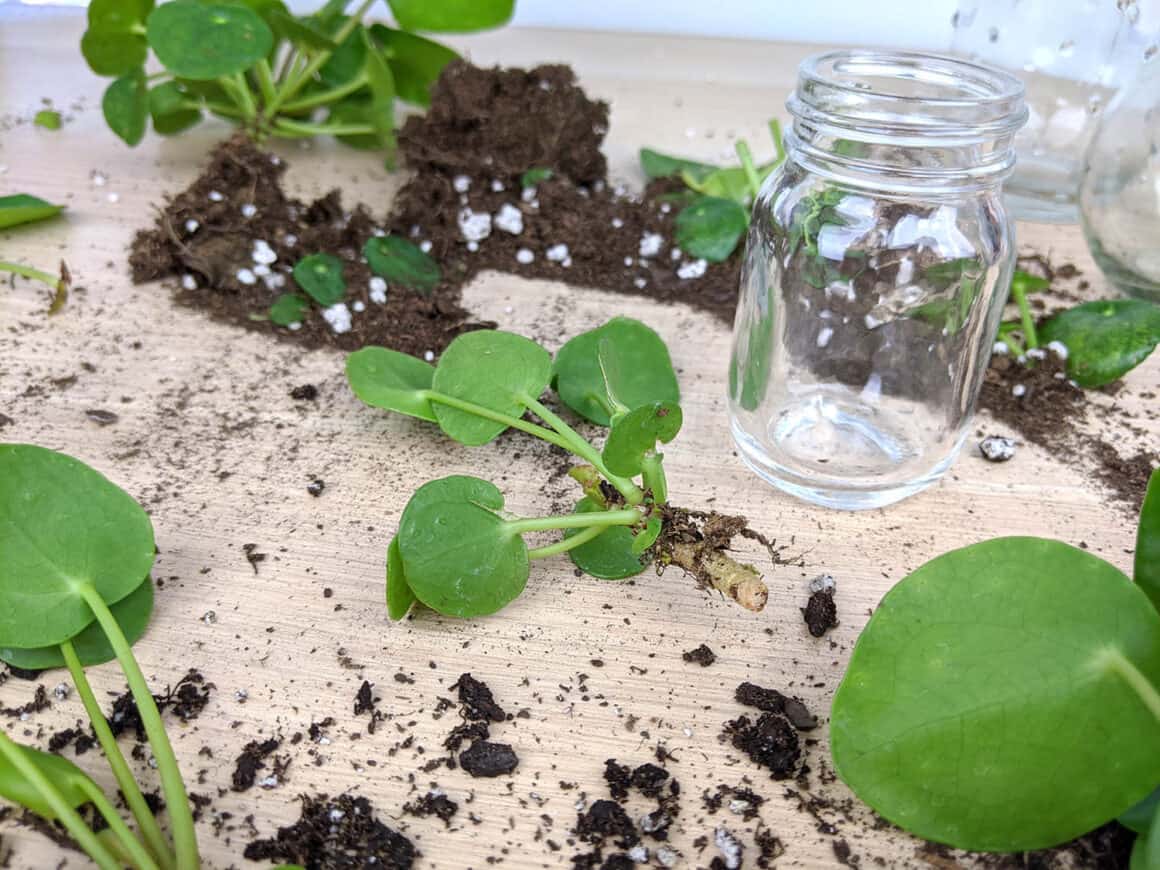
Pileas are extremely simple to propagate. They reproduce themselves by producing new plantlets either on the stem or in the soil nearby the mother Pilea. These small plantlets are known by many names but are most commonly called babies or pups. If you have Pilea pups you’d like to remove and replant or if you’ve purchased or received a cutting that needs repotting, this section will walk you through step-by-step to repot your new baby.
What To Do With Pilea Cuttings
If you have purchased a Pilea cutting or received one from a friend, you may be curious about what to do with it. The next steps will have to do with whether or not the cutting has a root system attached.
If your Pilea cutting has 1-2” long roots, you can simply plant it in soil and set it in a bright area of your home where it will have access to lots of indirect sunlight. Read on for more information about repotting babies.
If your Pilea cutting has no roots or very small roots, the first step is to root it in water. For information on rooting Pilea cuttings in water, find the section below. After your cutting has roots that are 1-2” long, it will be ready to repot in soil.
Prep for Repotting Pilea Babies
When preparing to repot Pilea babies, there are a few things you will need. You will want to find the correct container and soil. If you are wanting to propagate baby Pileas from their mother, you’ll need the proper tools for that as well.
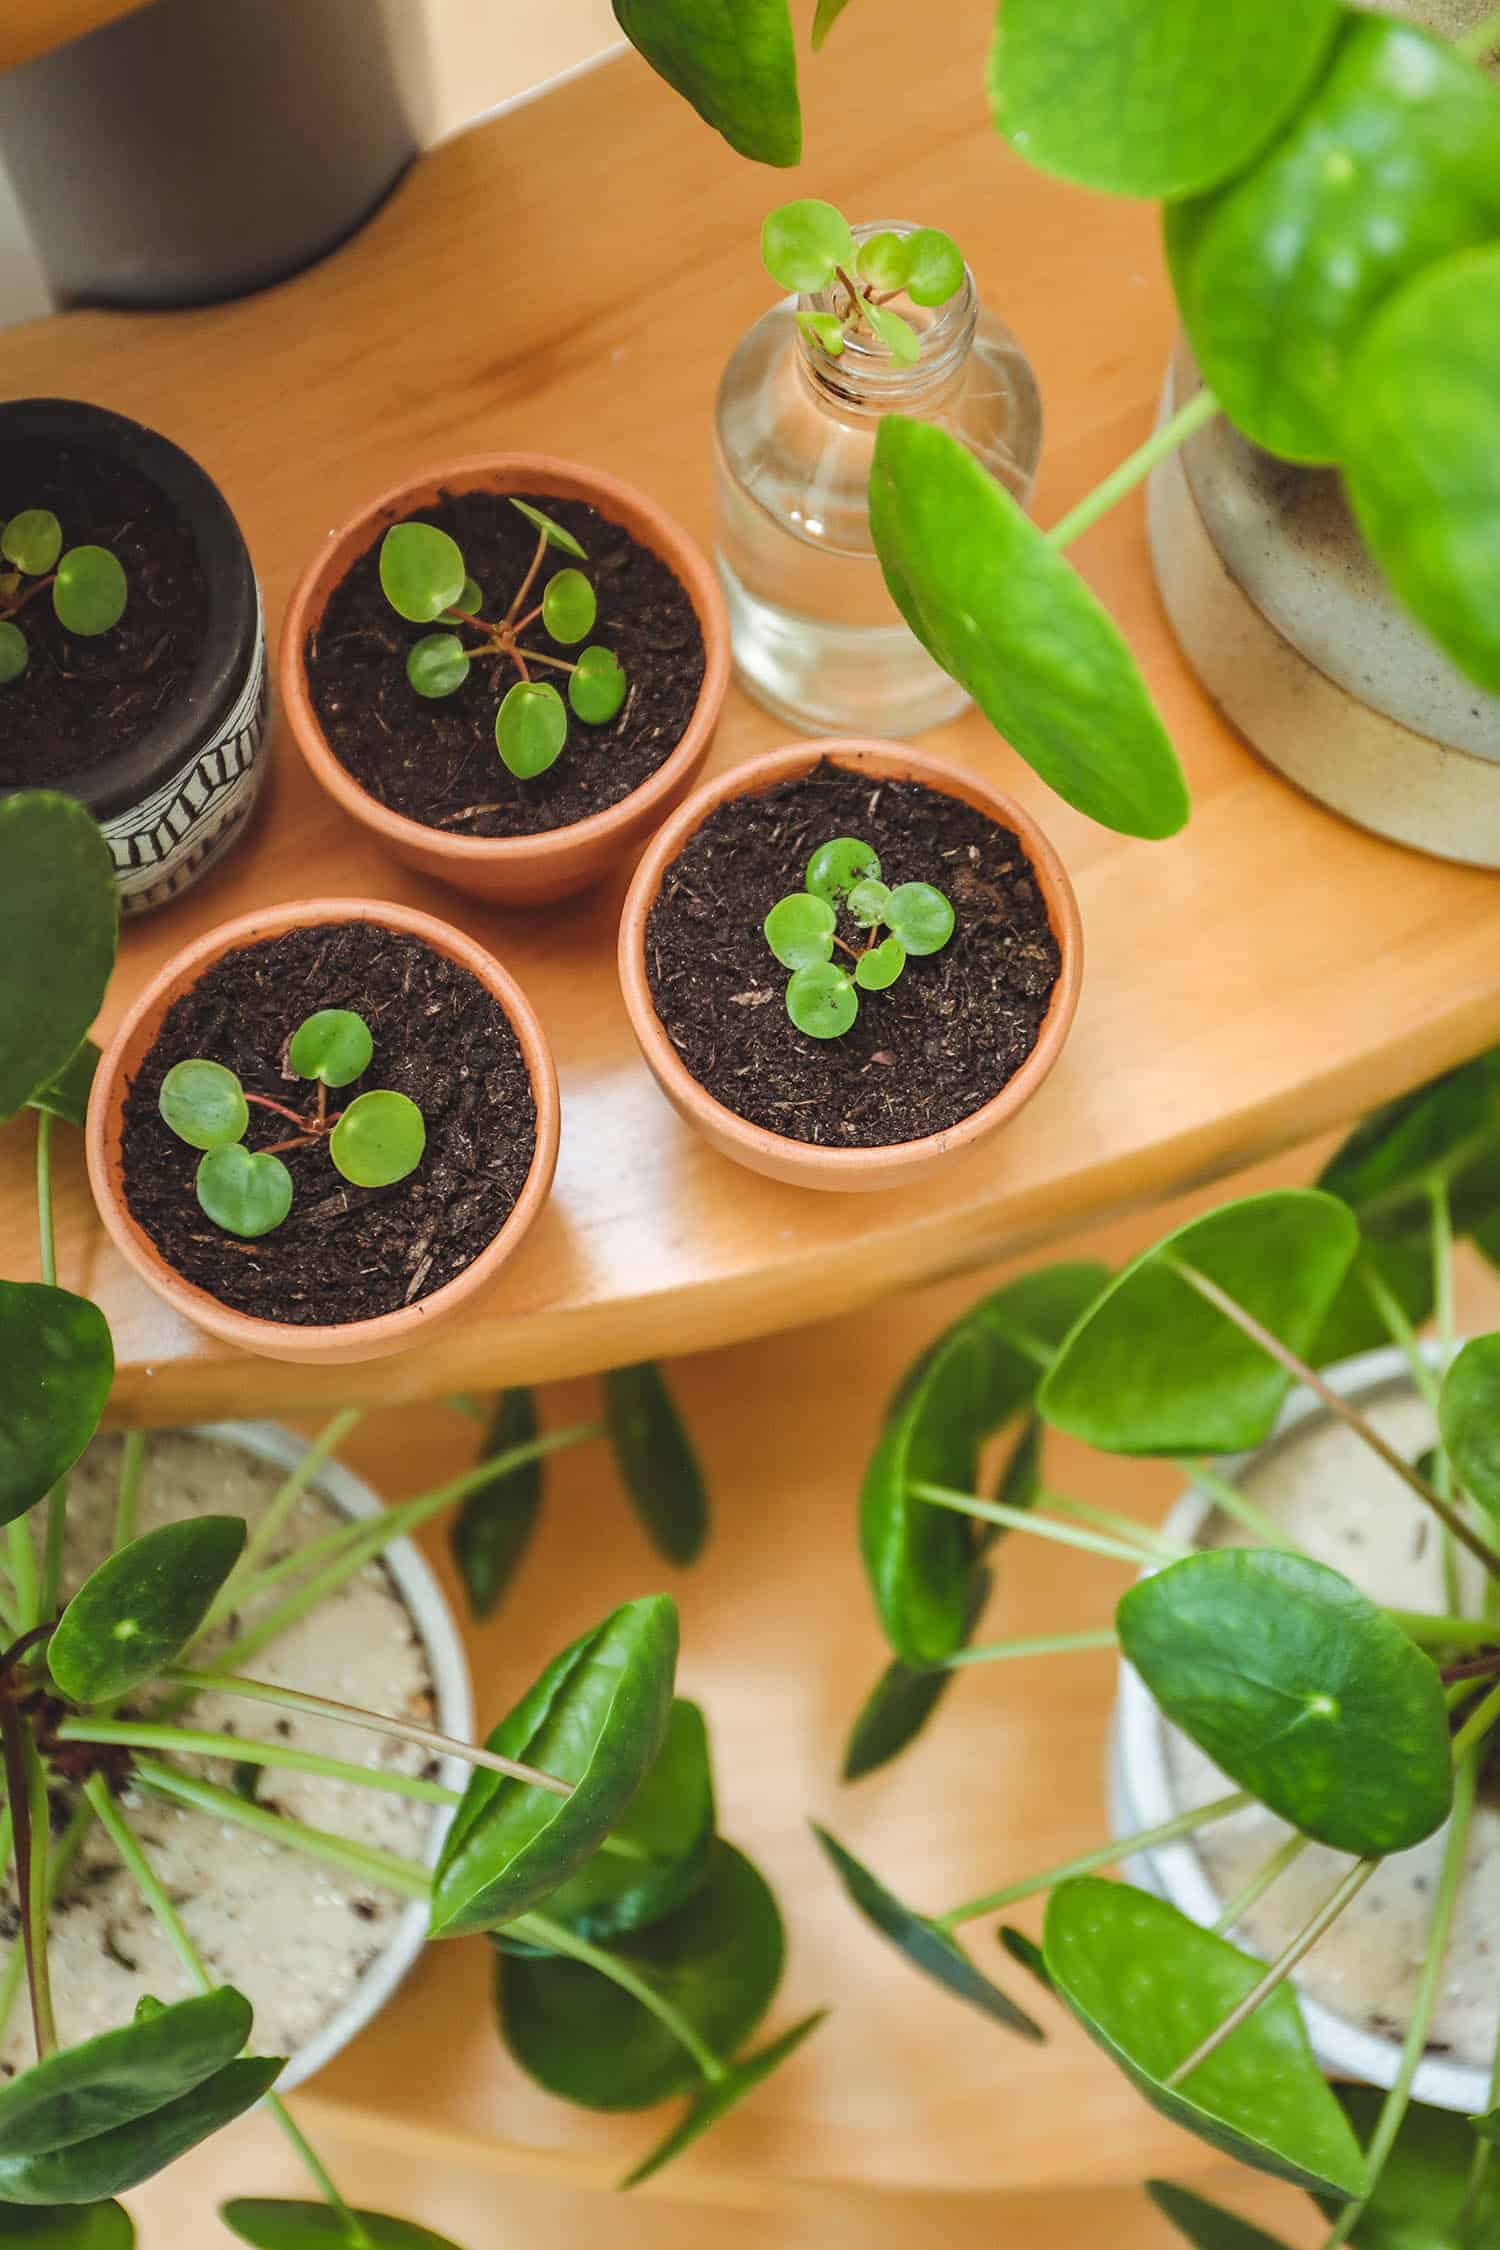
For a baby Pilea, you’ll need a very small container. When my Pileas are young, I prefer to plant them in small 2” nursery pots. This will ensure that water can properly drain through the bottom of the container. I usually just set these nursery pots down inside of nicer containers.
For more information on proper containers and soil, read the section above about prepping your mature Pilea for repotting. I’ve outlined all the details on containers and soil above.
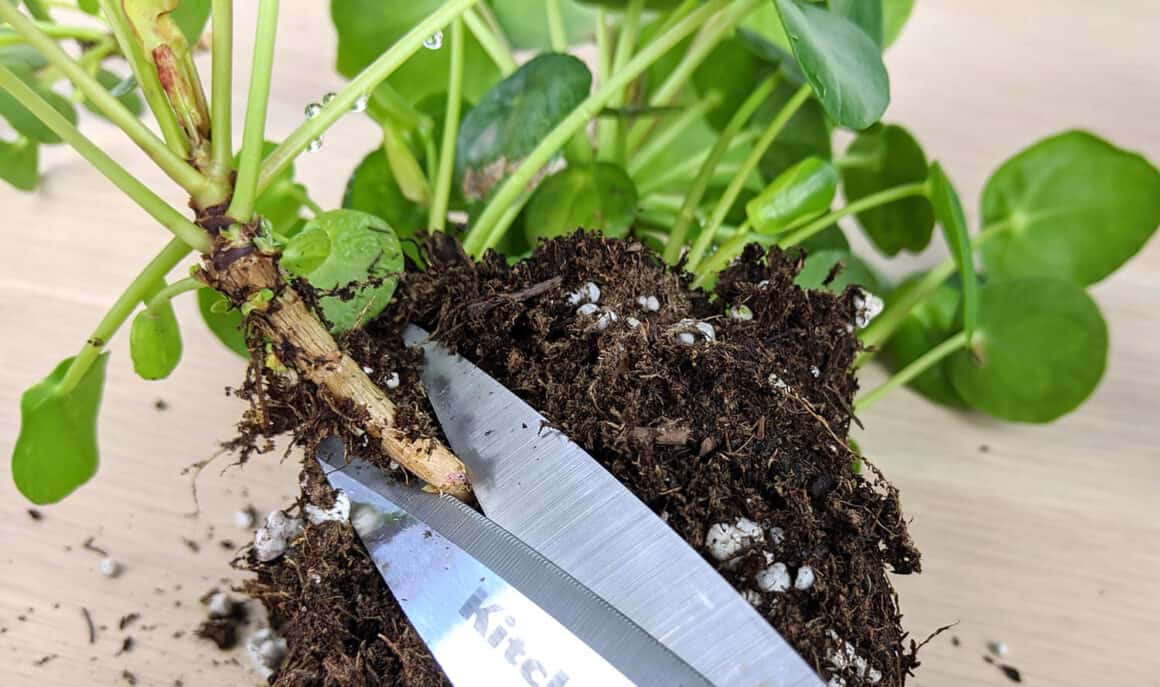
If you need to remove the Pilea babies from their mother Pilea before repotting, you will also need a sharp knife or pair of scissors. It is important that the tools you use for harvesting these small plantlets are clean and sharp.
How To Harvest Pilea Babies
Once the pups from your mother Pilea are 2-3” tall, they are ready to be removed and repotted. To harvest the pup, you will need to make a clean cut at the base of the stem if it has popped up on the mother’s central stalk or just under the soil if it has popped up in the soil next to the mother.
Once the plantlet has been removed, I prefer to root pups in water before planting into soil. For more information on removing Pilea pups, read this article where I walk you through the entire process step-by-step.
Rooting Pilea Pups in Water
Pileas are extremely easy to root in water. To root your Pilea, simply place the cutting into a small bottle of water. Be sure that only the base of the stem is in the water. Do not submerge any of the leaves. Then all you have to do is wait and watch your roots start to grow. This should only take a few weeks.
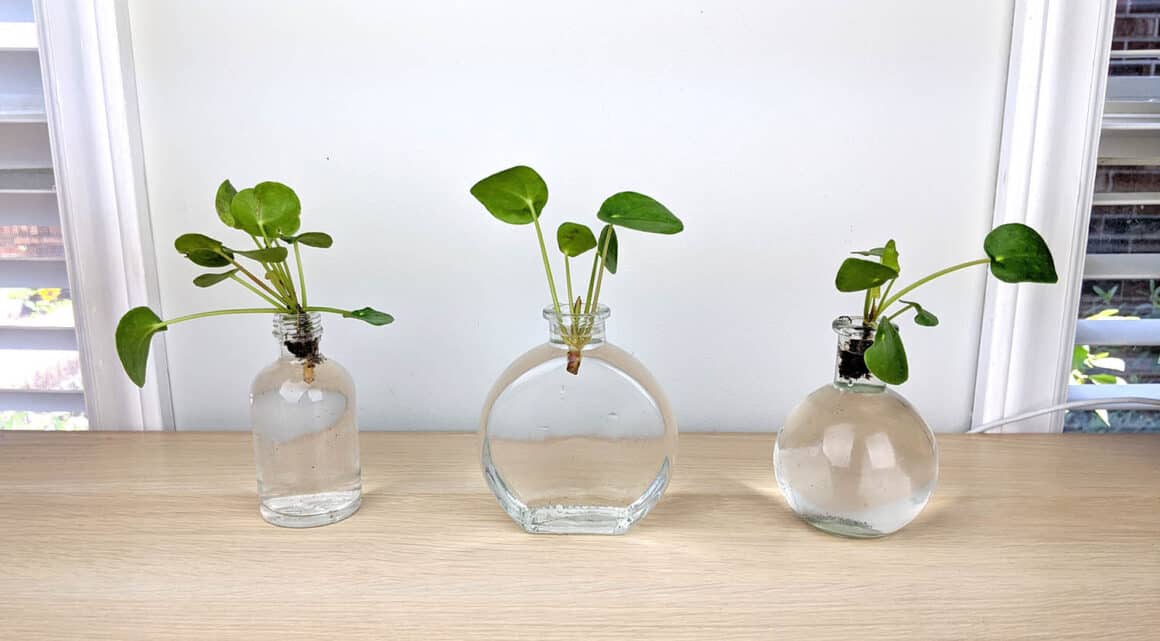
Once your new Pileas are in their water bottles, place them in an area of your home that gets bright, indirect light. Pileas cannot tolerate sunlight directly on their leaves and a new plantlet is at a higher risk for being scorched by the elements. I like to put my baby Pileas on a table that sits about 3 feet from a bright, south facing window.
It is important to regularly change your water. It should be changed at least once a week, or when you notice it looks dirty. Be gentle with your plantlet while changing out the water as the small roots that grow will be delicate.
Replanting Pilea Babies
Once your pup has roots that are one to two inches long, it is ready to plant in soil. Once you’ve secured the proper container and soil for this new plant, you’re ready to begin. For more information on containers and soil, read the section above about repotting mature Pileas.
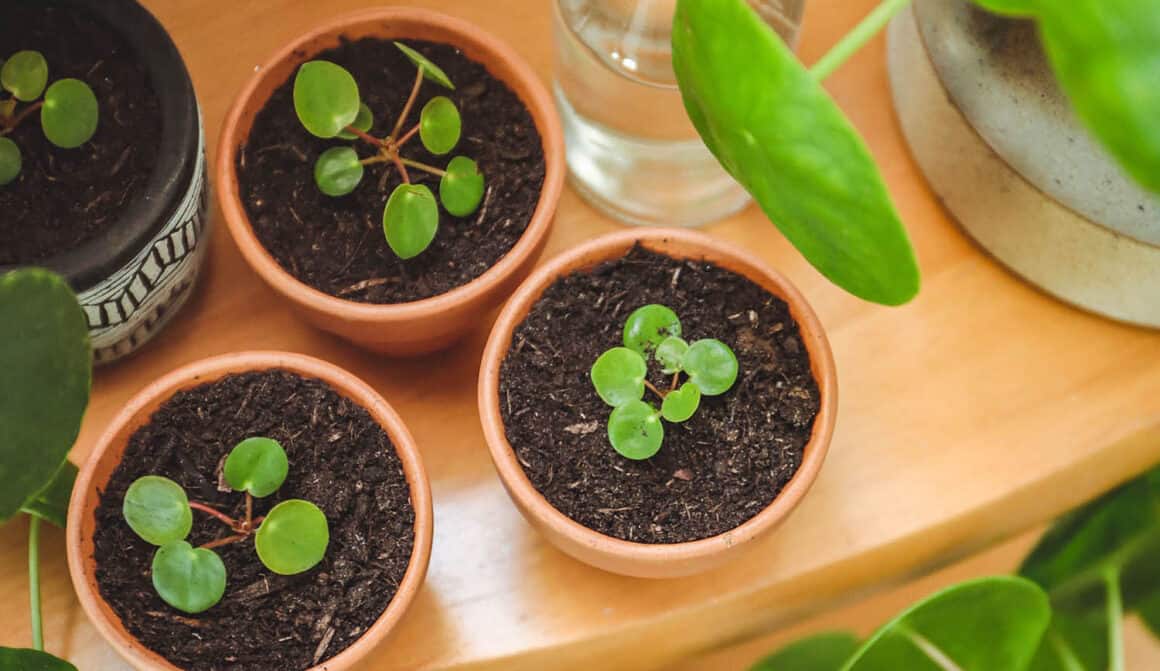
To replant your baby, put a small mound of the quick draining potting soil in the bottom of the container. Set the Pilea and its roots on top of the new soil, making sure that it will sit at the right height. Then, carefully scoop soil, little by little, around the plant until it has filled the container. Be careful not to bury too much of the central stem as you want to make sure your leaves have access to sunlight.
When your Pilea has been arranged in the proper amount of soil, gently pat down the soil around the plant to keep it in place and water it until water runs out from the drainage hole in the bottom.
Caring For Pilea Babies
To care for your new Pilea baby, you’ll want to set it in an area of your home that gets lots of bright but indirect sunlight. Pileas cannot tolerate direct sunlight on their foliage, and new baby Pileas are even more sensitive. I place my babies near a south facing window but on a table about three feet back so that they are not in danger of direct light.
Pileas should be allowed to dry out completely between watering. I only water my Pileas when the top inch of soil is dry. Then, I water thoroughly until water runs through the drainage hole in the bottom of the container.
For more information on caring for Pileas, read this total care guide.
Final Notes & Dropping Leaves After Repotting
If you’ve followed the steps above to replant your mature or baby Pilea, I imagine you will have great success. The process is simple and repotting usually helps your plants to grow more quickly.
However, it is normal for a Pilea to drop one or two leaves after the repotting process. Repotting can be stressful on these small plants, and it’s not unusual for them to respond by dropping a leaf. If you are seeing a lot of leaf loss, you potentially have another issue, the most common of which is overwatering. If you think you’ve overwatered your Pilea, allow it to dry out completely before giving it anything else to drink.