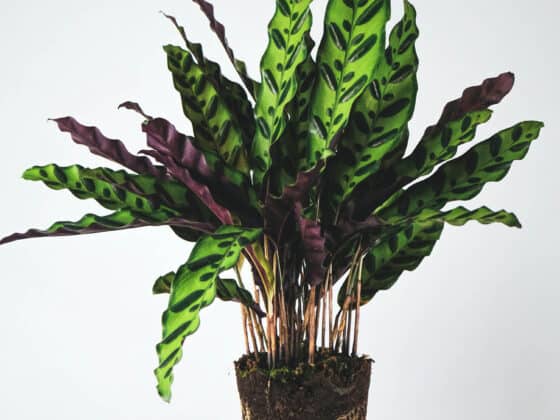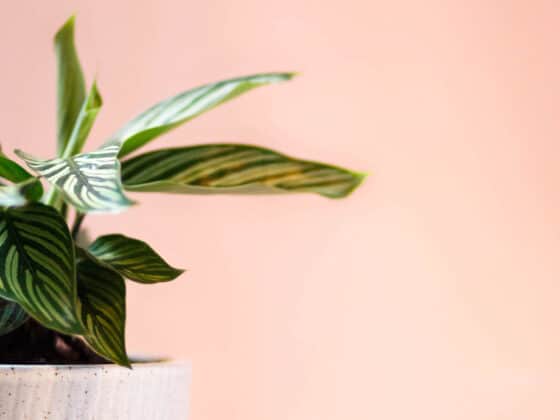
A Calathea plant’s foliage is its star feature – and it’s also the main way this picky plant expresses displeasure if its exacting standards aren’t met. When the growing conditions aren’t just right, this finicky houseplant will quickly develop shriveled, and browning leaves. Knowing when and how to trim this dead growth away will help you improve your Calathea’s health.
To prune away dead leaves from your Calathea, start by removing any leaves that are completely withered, snipping them at the base of their stems with sharp, sanitized shears. Then clean up crisping tips or edges – you don’t need to cut off the entire leaf if only part of it is dead. Don’t trim away more than ⅓ of the living foliage in one sitting, or your Calathea may find it hard to recover.
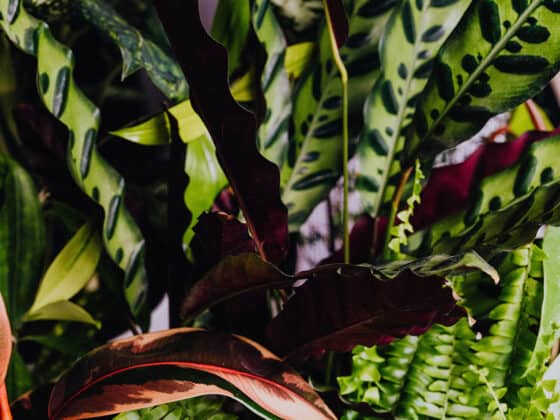
It’s natural for Calathea leaves to wither and die as they age, though you can still remove them to promote new growth. However, if you’re seeing large portions of the foliage turning a crispy brown, it’s usually a sign of a problem. Sunburn and lack of water are the most common causes. See below for more detail on pruning your Calathea’s dying leaves.
Why Trim Dying Calathea Leaves?
The faded leaves on your Calathea will eventually drop off on their own, but “eventually” can be quite a while, even in the case of a leaf that appears completely dead. During that time, your plant is still budgeting some of its energy to maintain the shriveled husks that are still stubbornly hanging on.
Clearing away dead leaves frees up that energy so that your Calathea can put it toward sending out new, healthy leaves. You’ll have a plant with more robust foliage and more vigorous growth.
This process is even more important if you suspect that the leaves are becoming discolored because of disease. Germs can spread rapidly through your plant, and cutting out the infected tissue is the surest way to stop them.
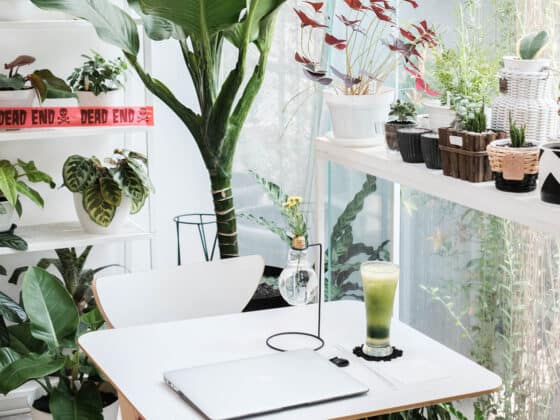
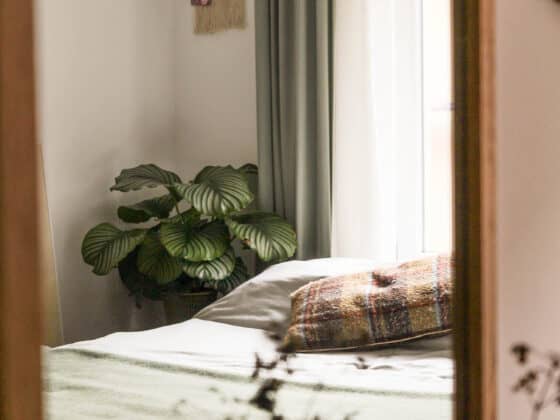
The last benefit is to your plant’s appearance. You want your Calathea to provide a lively splash of tropical greenery inside your home. A bunch of brown and dying leaves will spoil the effect. There’s no shame in giving your plant a bit of a haircut for cosmetic reasons.
What Do You Need to Prune Your Calathea’s Fading Foliage?
Cutting off a few crinkly leaves doesn’t require much hardware, but you’ll want to have a solid set of pruning shears on hand. Calathea leaves are tough, and even mostly dead ones can’t always be removed by pinching them. Our favorite houseplant shears are the dependable and inexpensive Fiskars Bypass Pruners.
A pair of small, sharp scissors might be a good idea as well, in case you need to make small cuts to remove browning tissue at the tips or edges of leaves.
It’s also best to have some kind of disinfectant solution at the ready. Any fresh cut is extra vulnerable to infection, and many plants get sick from germs on the pruning tools their owners use. Isopropyl alcohol is a common and easy sanitizing option; you could also use a household cleaner like Lysol, or dilute some bleach from your cleaning closet down to 10% strength.
Apply your preferred disinfectant to a clean rag and wipe down the blades of your pruners before you get started. Do it again after each cut you make. Even if they haven’t touched anything but the plant itself, your shears can carry germs from one leaf to another.
How to Trim Brown and Withered Leaves From Your Calathea
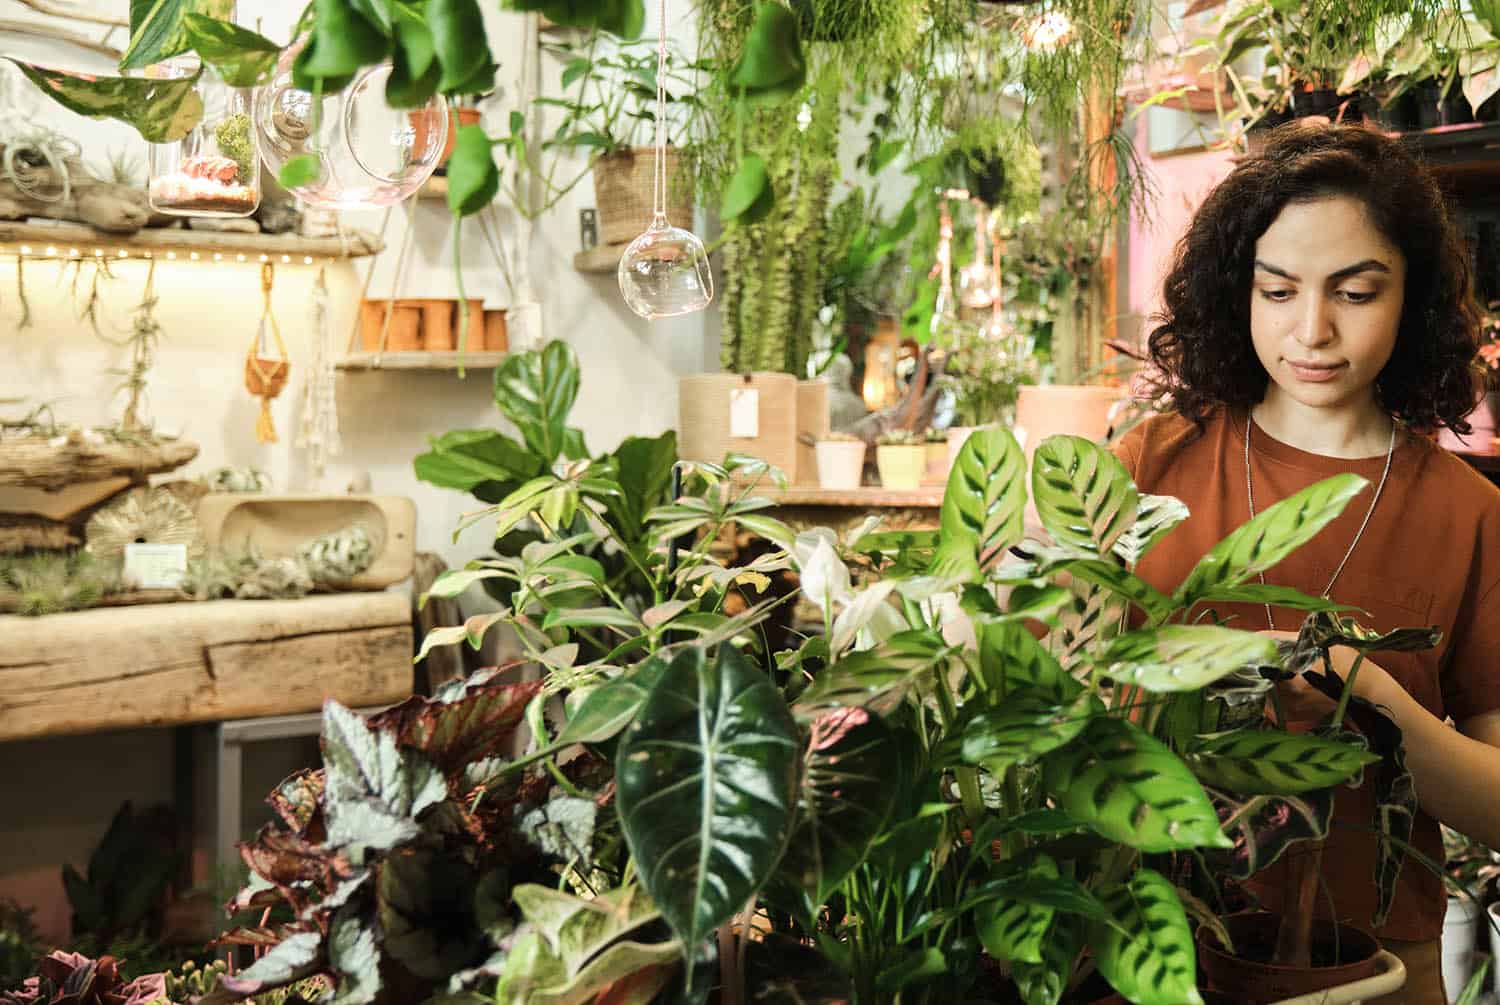
Start with any foliage you’ll want to remove completely. Obviously, that includes any leaves that have gone entirely brown and brittle, but you should also consider taking a leaf off if less than 50% of it is still healthy. Snip the condemned leaves as close to the soil as possible, and try to take each one off with a single clean cut.
Next, look for browning tips or leaf margins and snip them off if desired. This is where your small scissors may come in handy. Often they’ll allow you to make finer cuts than the shears. Again, remember to disinfect your blades between cuts.
Now take a look at your Calathea’s overall shape. It might be looking a bit lopsided after you’ve taken out the faded material. If so, you can make a couple more strategic snips to balance it out. Be sparing with your cuts, though – the plant may not survive if you take off more than a third of its foliage.
If that means you have to leave some brown areas on the plant for now, that’s okay. You can trim again in a month or so after your Calathea has grown a few new leaves to replace what you removed.
Note: Calatheas don’t always flower indoors, but if yours does, you can “deadhead” the blooms once they fade – this will have the same benefits as removing shriveled leaves. You should snip off the stem of each dead bloom right at the base, just as you do when pruning foliage.
What Causes Brown Leaves on Calathea Plants?
As we mentioned in the introduction, Calathea leaves aren’t immortal Highlanders – it’s natural for them to age and die eventually. But if you notice that a whole bunch of leaves at once are doing their impressions of a potato chip, there’s something wrong with your plant. Make sure to address the larger issue after you trim the damaged leaves.
One possibility is that the sensitive foliage has been scorched by exposure to direct sunlight. If you’re keeping your Calathea someplace very sunny, like a south-facing windowsill, move it back into an area where it will receive only indirect light.
Drying and shriveling foliage can also be caused by dehydration. There are a number of related issues that can cause chronic thirst in a houseplant.
Number one is underwatering – if you’re not giving your Calathea enough water, it’s not getting enough water! If you notice that the soil is bone-dry and peeling back from the edges of the pot, you’re probably not watering it enough.
Be careful, because overwatering can be a problem too. Rather than watering a Calathea on a fixed schedule, check the potting mix every few days and give it a drink only when the topmost inch or two has dried out. That should ensure that the lower portions remain damp, but not so wet that the roots can’t breathe.
The right growing medium makes it much easier to get the right balance of water. Many store-bought potting soils are too dense and water-retentive for a delicate plant like a Calathea. Try a mix intended for African Violets, or whip up your own by combining two parts perlite, two parts coconut coir, and one part prepackaged potting soil.
A buildup of mineral salts in the pot can also desiccate your Calathea, pulling water from the roots through osmosis. This can result from long-term use of chemical fertilizers, or from giving your plant tap water that contains high concentrations of minerals.
If you suspect this is what’s happened to your plant, you can flush the soil out by running a steady stream of water through the pot for a few minutes. Do this every three or four months if you use fertilizer. And consider switching to distilled water if you’ve been watering from the faucet.
Can You Propagate Calatheas From Leaf Cuttings?
If you’re going to remove a healthy leaf for aesthetic purposes, you might wonder whether you can root it in the soil and turn it into a brand-new plant. Sadly, Calatheas can’t regenerate from a leaf alone the way that some succulents can. The best way to propagate them is by dividing the plant at the roots.
Final Thoughts
Clearing away spent growth is an easy way to keep your Calathea looking and feeling fresh. Remember to disinfect your tools before and after, and avoid taking too much foliage off at once. Do that, and your plant will be even healthier after its trim.