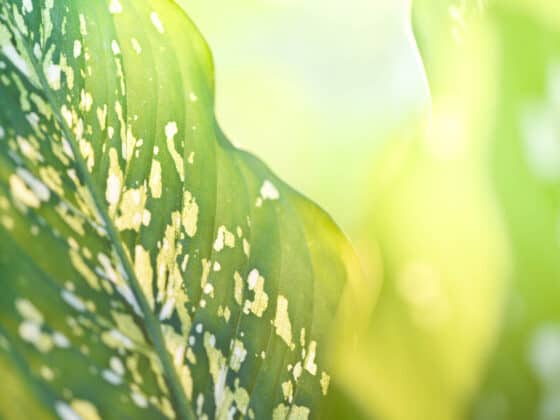
Dieffenbachia plants are usually propagated from cuttings, but if you want to multiply your lovely plant without chopping up its stem, there is another option. It’s often possible to propagate Dumb Canes by dividing them at the roots, creating smaller clones while leaving the original trunk intact. We’ll explain how the process works and provide detailed instructions for splitting your Dieffenbachia into several healthy plants.
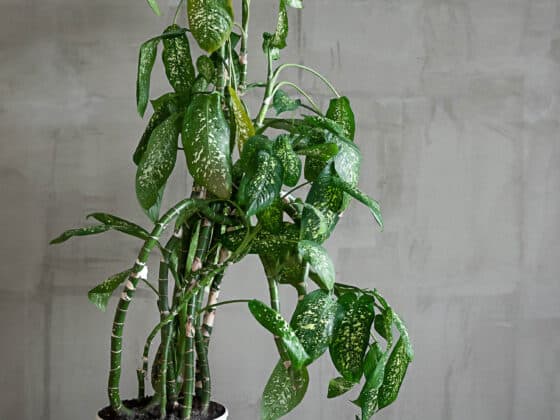
As they mature, Dumb Canes produce shoots from their root balls, which can be divided from the main mass of the plant. Simply uproot your Dieffenbachia, slice the secondary stalks off at the roots, and pot them in new containers. Keep them nice and humid while they’re taking root in their new homes, and take care not to overwater them.
Splitting Dumb Canes offers a couple of advantages over the more common stem-cutting propagation method. It doesn’t take nearly as long for your little bundles of joy to take root and grow, and you don’t have to slice off the top of the mother plant in the process. Read on for an in-depth guide to propagating your Dieffenbachia by division.
Is Your Dumb Cane Ready for Division?
If you’re looking at the thick, woody trunk of your Dieffenbachia and thinking there’s no way you could cut that apart without killing the plant – well, you’re absolutely right.
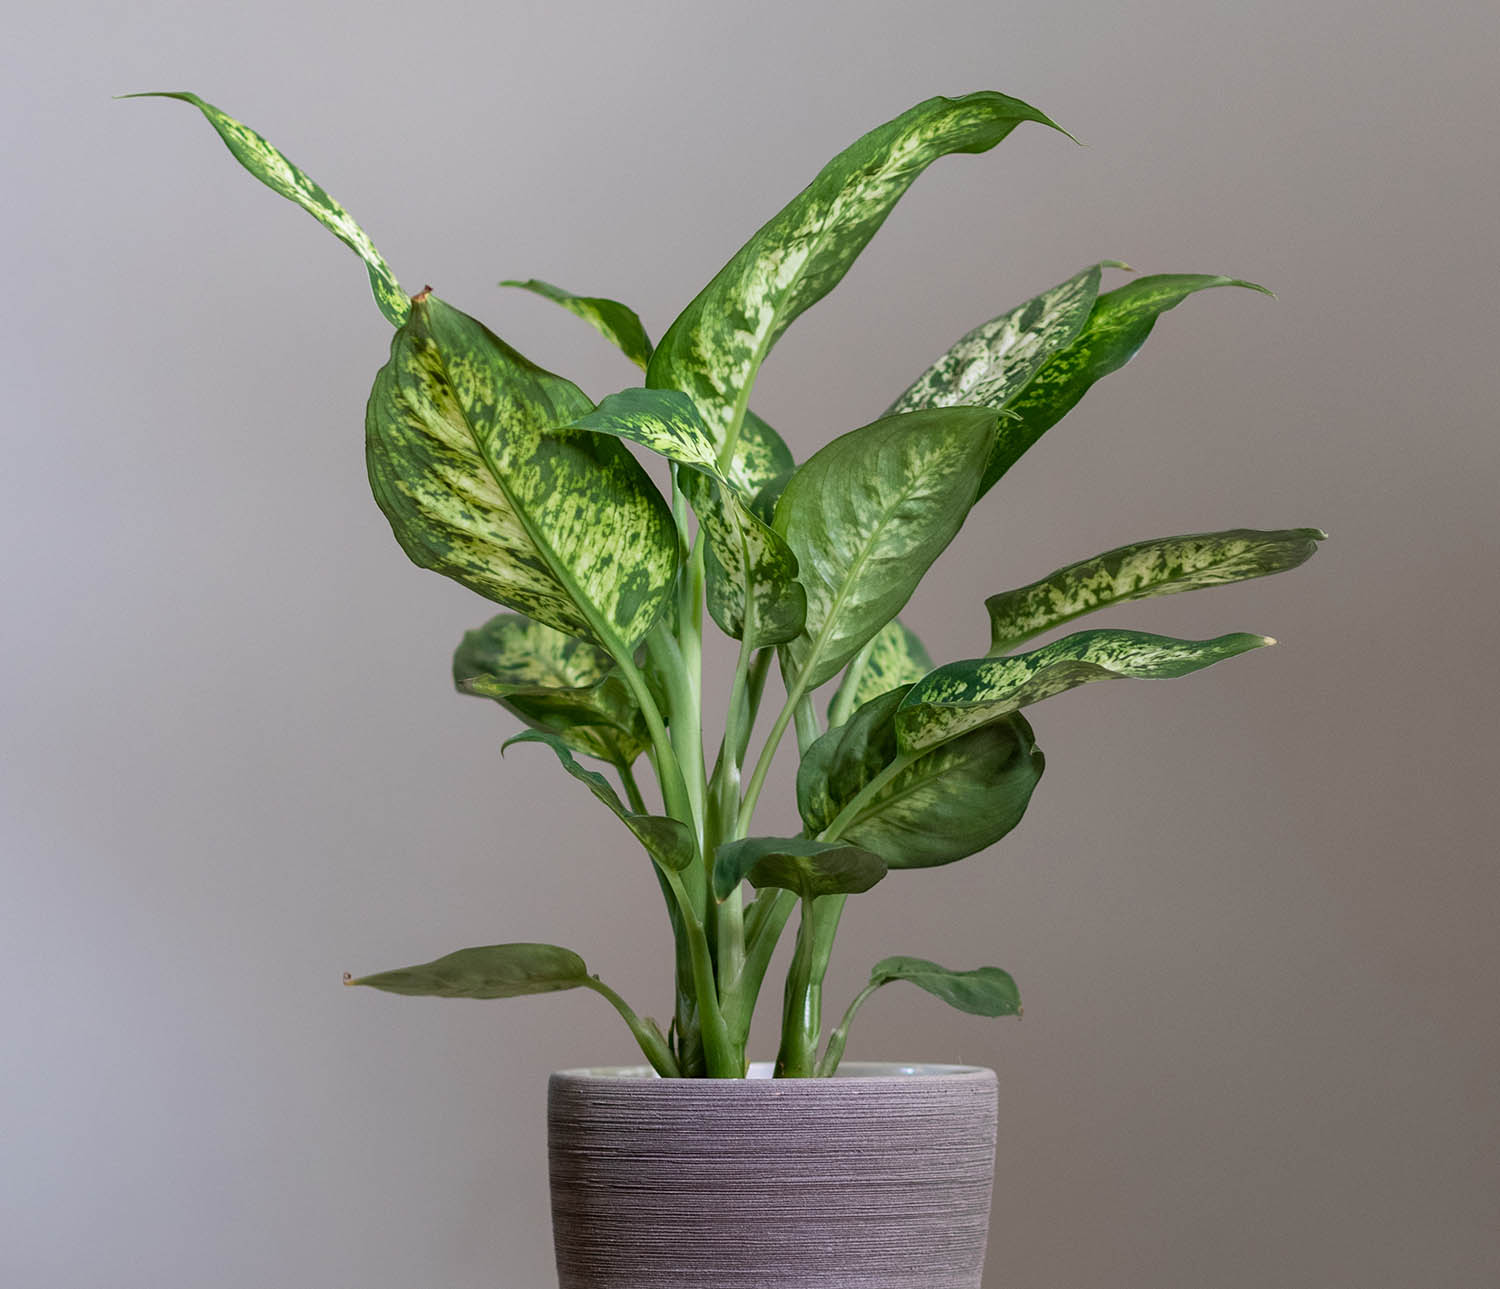
You can’t propagate a Dumb Cane by splitting the actual cane in half. Propagating by division relies on the fact that Dieffenbachias often send up additional canes from their roots as they mature. Though they’re connected at the base, these separate stems – often called offshoots or pups – can easily function as individual plants after you cut them away.
In fact, this is a common way for Dieffenbachias to reproduce in nature. By sending up multiple stems from an underground rootstalk or rhizome, they can clone themselves without going through the tricky and energy-intensive process of producing flowers and seeds. Even if one stem dies, the plant has multiple backup copies that can carry on.
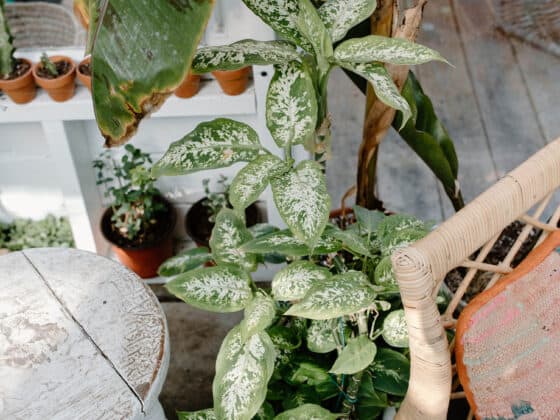
It should be easy to tell whether you’ve got a Dumb Cane that can be successfully divided: just check whether it’s got multiple canes. Even a relatively small and immature offshoot can take root and grow with the proper care.
What You’ll Need to Split Your Dumb Cane
Before you dive in and start slicing through your Dieffenbachia’s roots, make sure you have all your tools and materials on hand. Here’s what you need:
- Cutting tool. A pair of heavy-duty handheld pruning shears should probably work, but for really beefy stems, you may want a serrated garden knife.
- Pots. One for each pup you’re splitting off the main stem. The main requirement is that they all have drainage holes – water backing up in the soil can quickly smother a freshly divided plant.
- Soilless potting mix. Dumb Canes appreciate a potting mix that stays about as damp as a wrung-out sponge. Blending equal parts coconut coir, coarse perlite, orchid bark, and a commercial African Violet potting mix ought to do the trick. Don’t use actual garden soil – it won’t be sterile, and your cuttings are vulnerable to infection. (Click here for more information on the best soil for Dumb Canes.)
- Disinfectant. It’s important to sanitize your shears or knife before cutting into any part of your plant; otherwise, your Dieffenbachia could end up with an infection. Rubbing alcohol or a 10% bleach solution are both good options.
- Garden gloves. Dumb Cane sap can cause a rash if it touches your bare skin, so put on gloves whenever you’re slicing them up.
- Towels, tarps, or newspapers. You’re going to be dumping most of the soil out of your plant’s pot – it’s a good idea to lay something down to keep the mess under control!
How to Divide Your Dieffenbachia
Now that you’ve gathered your supplies, let’s get into the step-by-step process of propagating a Dumb Cane by division.
Step 1: Prepare the Pots
Put some fresh potting mix into the containers for your new plants. Moisten it a little bit so that it’s damp but not soggy. Fill the pots about ⅔ of the way up with soil.
Step 2: Uproot Your Dumb Cane
We don’t recommend grabbing your plant and trying to tug it up out of the pot. Instead, grip the stalks at the base and tilt the pot over. Firmly tap the bottom of the container until your Dieffenbachia slides out.
Step 3: Clean the Roots
Brush the soil off of the root mass with your fingers. Don’t yank too hard, or you can damage the roots – work your fingers in and gently crumble up the clinging chunks of soil. Rinse the roots with water if necessary.
Step 4: Cut Off the Secondary Shoots
Wipe your blades down with the sanitizing solution described above. Then snip or saw through the points where your Dieffenbachia’s pups branch off from the main stalk. Make the cuts as clean as you can – that’s why shears are preferable if the stems are slender enough. Try to include a decent number of roots with each stalk you remove.
Step 5: Plant Your Clones
Place your new Dumb Canes (they’re technically clones since they’re genetically identical to the parent plant) into the smaller pots you’ve prepared for them. Fill in around the base of each one with potting mix, burying all of the roots and enough of the stem to keep the plant upright. If you want to keep the mother plant alive, go ahead and return it to its original pot.
Step 6: Wash Your Hands
Trust us – you do not want to get Dieffenbachia sap in your eyes or mouth. Even if you were wearing gloves, it’s a good idea to wash your hands thoroughly.
Caring For Dieffenbachia Clones After Division
Plants are tough, and your Dieffenbachias should recover nicely from being hacked apart at the roots. However, they’ll be a bit more fragile than usual for a few weeks.
Make sure not to water them until the soil in their pots feels dry to a depth of about 2 inches. This is good advice for Dumb Canes of any age, but it’s especially critical now – developing root systems are very vulnerable to suffocation and root rot.
You’ll also want to keep your clones nice and humid. Setting up a humidifier next to them is the best option if you have one, but covering them with transparent plastic bags or glass jars is also very effective. This will create a miniature greenhouse around each plant, letting light pass through while trapping warmth and moisture.
Speaking of light: avoid leaving your transplants in direct sun. Again, this is best practice even for adult Dieffenbachias, but sunburn is particularly deadly while your plants are still finding their feet.
After a few weeks, your brand-new Dieffenbabies should be through their awkward transitional phase and firmly rooted in their new pots. You’ll know this has happened when they start producing new foliage again.
Other Propagation Methods
As we noted in the introduction, you can also propagate your Dumb Cane by taking cuttings from the stem. This is a good option if you want to increase the number of clones you can get from a single parent, or you simply don’t feel like hauling your Dieffenbachia out of its pot.
Instead of uprooting and dividing your plant, just snip the stalk into as many segments as you want. As long as each one has one or two nodes – the tan rings on the trunk from which new leaves and roots emerge – it will grow into a new plant when rooted in soil. They don’t even need any existing roots or foliage to do so.
Air layering can increase the chances of success for your cuttings. This involves making cuts in the stem and packing them with a damp growing medium for a few weeks. This induces roots to grow from the stem segments before you actually cut them off, giving them a head start on the recovery process.
Plant your cuttings and care for them just as we recommended for clones produced from division. If you didn’t air layer the plant, you can also stand your cuttings in small jars of water to let the roots grow out a bit, then transfer them to the soil later. See our article on taking cuttings from Dieffenbachias for more detail.
Final Thoughts
Dividing Dumb Canes is a great way to expand your collection or produce new plants for sale. As long as you prepare your tools correctly and take good care of your clones afterward, you should have no trouble producing healthy, thriving new plants.