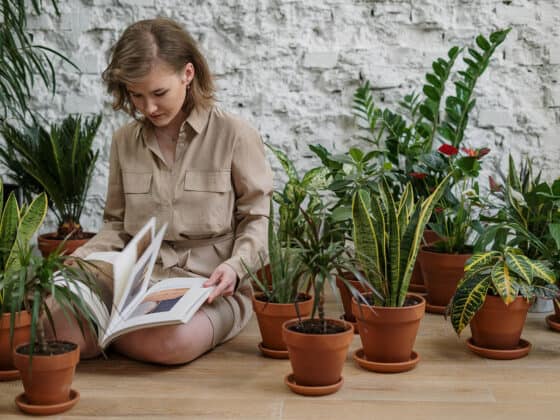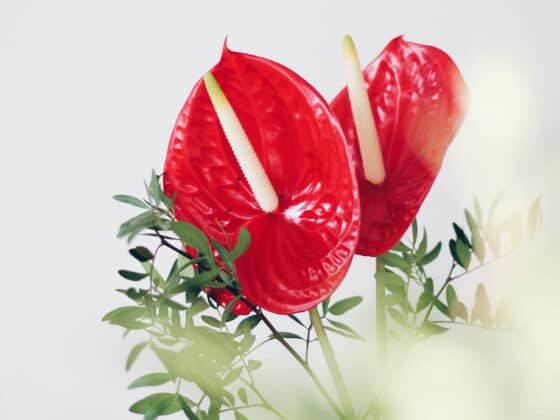
When you purchased your elegant Anthurium, you probably weren’t expecting it to turn into an overgrown beast covered with trailing tendrils. Now you want to get it under control, but it seems like a waste to simply prune it back and throw out the cuttings. Can Anthuriums be divided into smaller plants?
You can easily propagate Anthuriums by splitting. All you need to do is remove the plant from its pot, find a junction between two stems, and tear it apart gently until the root ball separates. If the roots are very long, you can trim them down to make repotting easier – they’ll grow back quickly with proper care.
After dividing, make sure your new cuttings have a humid environment while they recuperate, and be extra careful to keep them out of direct sun. Regular misting or a humidity tray will help them remain moist. Keep reading for a more detailed look at when, why, and how to split an Anthurium.
What Do You Do With An Overgrown Anthurium?
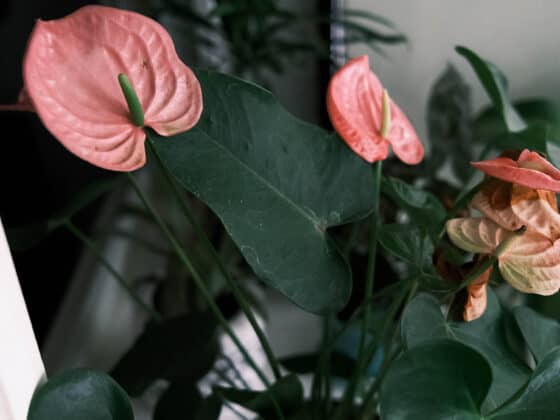
Flamingo Flowers aren’t the fastest-growing houseplants, so it can be a shock when you notice that yours has begun to sprawl out of its container.
Anthuriums are slow but steady climbers. They’ve evolved to creep up the sides of rocks and neighboring plants, and if they’re happy with their growing conditions, they’ll begin to stretch out in search of a higher vantage point. They can wind up looking a little barbaric as they develop long, woody stalks covered with aerial roots.
Some owners simply repot them in larger containers at this point, burying the rambunctious new growth. However, not everyone has enough room to keep expanding their Anthurium’s living space. Fortunately, there’s another option.
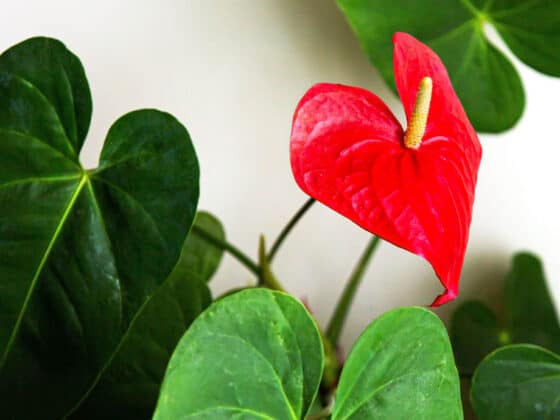
As an Anthurium spreads out, it sends out rhizomes, extensions of its root ball that push up clusters of stems that are separate from the main stalk. These offshoots can quickly grow into independent plants. In fact, that’s what they’re for – in nature. Anthuriums use them to reproduce without diverting energy to seed production.
These extra stalks provide an attractive option for anyone looking to downsize an out-of-control Flamingo Flower. You can easily divide an Anthurium into smaller plants at the natural junction points between rhizomes. And freeing up space isn’t the only reason you might want to divvy up your Anthurium.
Benefits of Splitting Anthuriums
In addition to checking an Anthurium’s growth, dividing them is a simple way to produce extras that you can give away or sell. It’s a versatile method, allowing you split off two or three good-sized plants or a larger number of smaller clones.
You could even peel off a few miniature transplants while keeping the main body of the plant pretty close to its existing size. Splitting can also reinvigorate an aging Anthurium and encourage it to start flowering again.
What Do You Need to Divide An Anthurium?
You can perform the basic operation without any tools at all. But there are still a few helpful preparations you can make.
Before dividing your plant, gather the following:
- Containers. Figure out how many Anthuriums you’ll have after the split and what size pots they’ll need. Make sure all the containers have drainage holes!
- Potting mix. Anthuriums prefer a loose, airy, acidic substrate. A store-bought Phalaenopsis orchid mix works well, or you could make a DIY blend with equal parts coconut coir, perlite, and pine bark chips.
- Pruning shears. These may not be needed to separate the Anthurium, but it’s often a good idea to trim back trailing roots and dying leaves.
- Disinfectant. It’s always advisable to wipe down your shears with disinfectant between cuts to prevent germs from hitching a ride to different parts of the plant. Isopropyl alcohol or a household cleaner like Lysol will work well here.
- Gloves. The sap that Anthuriums produce when cut can irritate your skin, so cover up before snipping.
- A towel or some newspaper. Because pulling plants out of the soil is messy!
For more information on containers and potting mixes for Anthuriums, you can read this guide.
Dividing Anthurium Plants
Now it is time to get down to business. We’ll walk you through the process of splitting your Anthurium step by step.
Step 1: Water the plant thoroughly the day before you divide it. Anthuriums are tough, but this process does put some strain on the roots. Making sure they’ve drunk their fill will help them weather the ordeal.
Step 2: Put some potting mix into the new containers – don’t fill them completely, but lay down a base layer up to ⅓ to ½ of each pot’s height.
Step 3: Grip your Anthurium by the base of the stems and turn the pot upside down to slide the plant out.
If it’s rootbound – common with overgrown Anthuriums – you may need to tap the bottom of the pot firmly to free it. Clear away any soil clinging to the roots, loosening it up with water if necessary.
Step 4: Find the point where you want to divide your Anthurium. The offshoots should be joined together at the level of the roots. Grip one half of the plant firmly in each hand and pry it gently apart.
Yes, you really can usually just tear an Anthurium in half with your hands! Go slowly so that you don’t tear the roots off near the base of the plant, but gentle, steady force should be all that you need. If it’s really stubborn, you can make some strategic cuts with your shears.
Step 5: Repeat as necessary depending on how many plants you want. Snip or pinch off any dead or dying leaves, and prune back the ends of the roots if they’re especially long. You can also clear away the stipules – those bark-like brown scales on the lower part of the stem.
Step 6: Place each plant in its new pot and fill around the base with potting mix. Water until you see the drip trays filling up.
Caring For Anthuriums After Splitting
Keep your newly minted Anthuriums in a warm, humid environment away from direct sunlight. If the air in your home is fairly dry, mist the transplants with a spray bottle frequently. You can also enhance the humidity slightly with a pebble tray – a shallow dish filled with water, with a layer of gravel, pebbles, or clay to support the pot and keep it above the waterline.
You might want to cover any particularly small and fragile clones with a clear bowl or a plastic bag to trap moisture inside. Once you see fresh foliage beginning to emerge, you’ll know your Anthuriums are established in their new homes.
Propagating Anthuriums From Stem Cuttings
If you don’t want to go to the trouble of pulling your Anthurium out of the ground and splitting its roots, you can also divide it by cutting the stem. Just slice away the top portion of the plant, making sure to include a few inches of the stem along with some leaves and petioles.
Don’t try to propagate Anthuriums from a leaf cutting alone. You need to include some of the aerial roots that Anthuriums produce from their stalks, which will form the base of the transplant’s root system.
Plant the cutting in a new pot just as described above. Make sure to cover as many of the aerial roots as possible. Because the plant is likely to be a bit top-heavy, you may need to gently pack the potting mix around it, so it stays upright.
The lower portion of the plant should send up new stalks from the root ball within a few weeks, and now you’ll have two Anthuriums – or more, if the plant had enough stems to allow for multiple cuttings.
Final Thoughts
Now that you know how to convert one Anthurium into many, you can start looking at your overgrown plant as an opportunity instead of a problem. As long as you’re gentle when separating the roots and give your transplants the right environment to recover, they’ll grow back more vigorously than before. Meanwhile, you’ll be well on your way to a side hustle selling Anthuriums to your friends and neighbors.