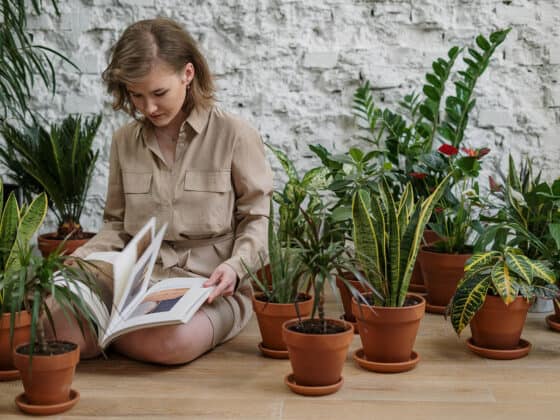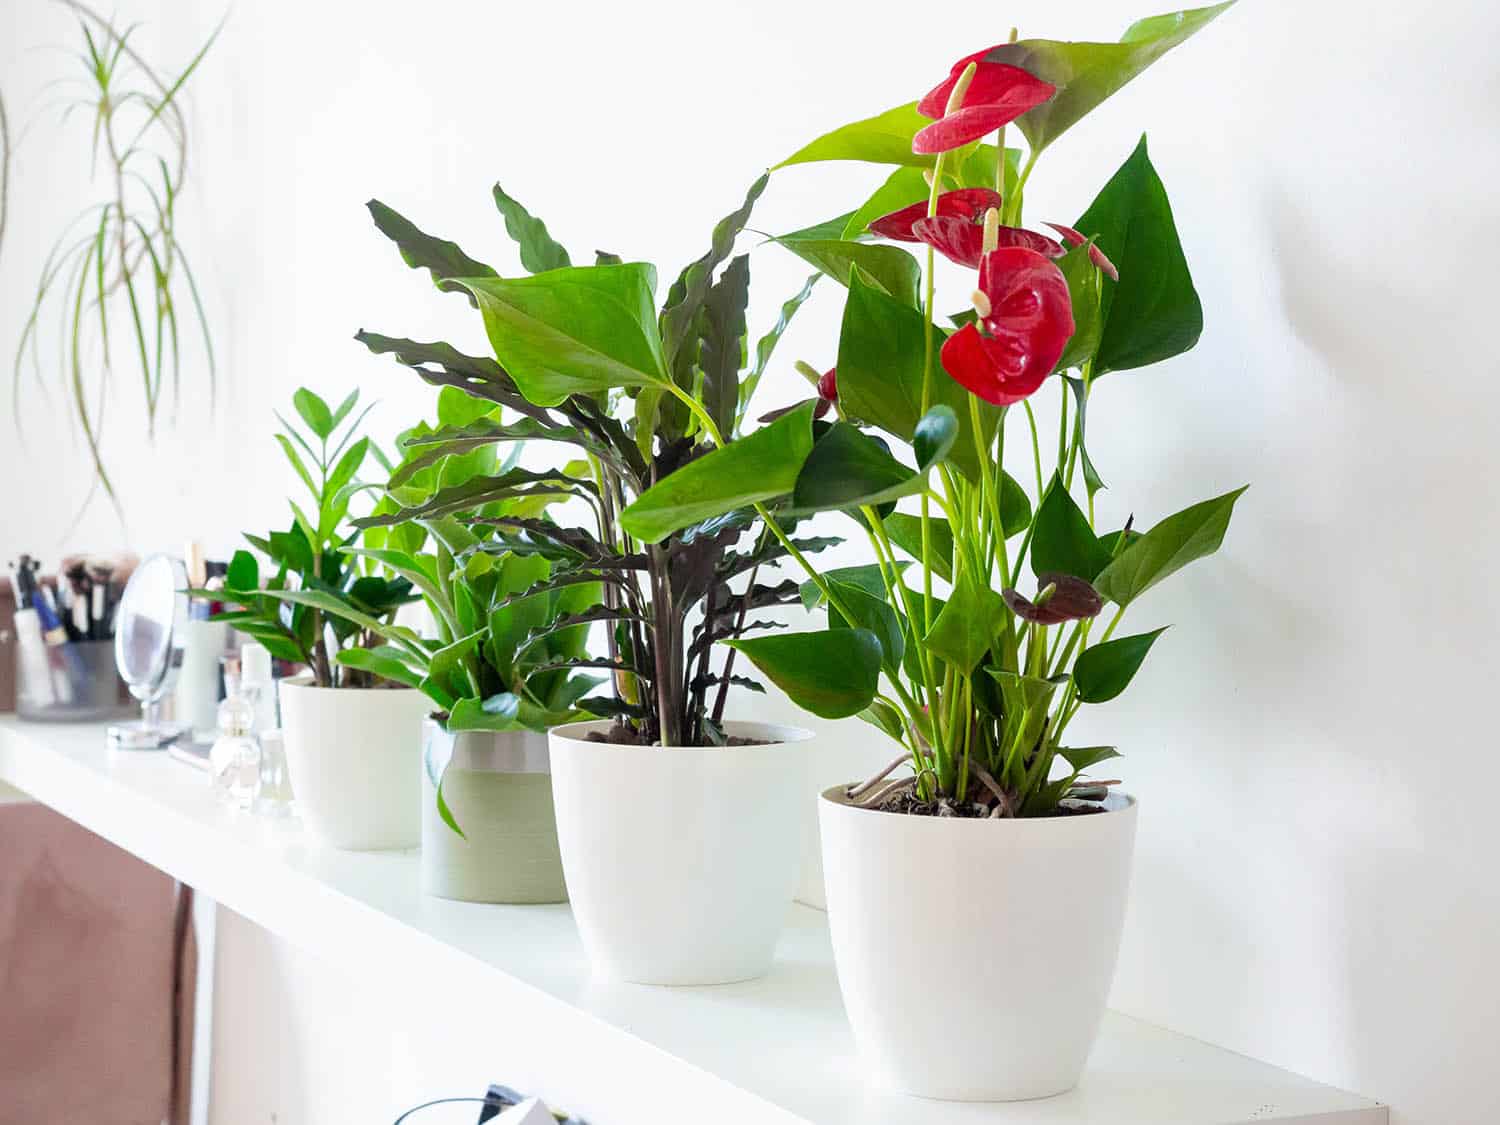
Anthuriums don’t expand as aggressively as some other tropical plants, but in the right conditions, they’ll grow steadily until they’re practically climbing out of their containers. When that happens, it’s time to repot! By following a few simple principles, you can help your Anthurium make the transition smoothly so that it grows healthy and strong in its new home.
How should you repot your Anthurium? Choose a pot that’s around 20% larger than the current one, which will give the plant some room to grow but won’t be so large that it’s hard to water properly. Trim away any dead or fading growth, and give your Anthurium a thorough watering a few hours before moving it.
Most indoor Anthuriums will need repotting once every two or three years, though if yours is already pushing its way out of its pot, there’s no need to wait. Some growers claim that Anthuriums prefer to be cramped, but with the right soil and container, there’s no need to let your plant get severely root bound. Read on for more information on how to ensure Anthuriums thrive in containers, followed by a step-by-step guide to repotting your plant.
When and Why Should You Repot Anthuriums?
Repotting Anthuriums every so often ensures that their roots have enough space to spread out, which supports healthy growth. A root system crammed into too little space will suffocate and stop taking up enough water and nutrients. The result is a less robust plant that can’t put out much new foliage.
Mineral salts from fertilizer or tap water can also build up in the soil and hamper your plant’s growth. On the flip side, if you aren’t supplementing your Anthurium with fertilizer, it will eventually deplete the existing supply in the pot and begin to suffer from a lack of nutrition. All of these problems can be solved by giving your Anthurium a new container with fresh potting mix. It’s best to repot your Anthurium every two or three years to avoid issues of this kind.
Repotting can also be part of the solution for a persistent pest problem or a case of root rot. In the former scenario, creatures like spider mites or fungus gnats can hide in the potting mix; in the latter, the problem is bacterial or fungal contamination. Repotting the plant in clean soil after you treat it can reduce the risk of reinfection.
How To Tell When Your Anthurium Needs Repotting
The most common reason for moving an Anthurium to a new pot is that it has outgrown the old one. Sometimes it’s easy to tell that it’s reached that point because the plant is visibly stretching up and out in search of more room to grow.
Anthuriums, especially the varieties that are popular as indoor plants, are epiphytes. That means that in nature, they climb up larger plants to grow well above the ground. Many of them don’t root themselves in the soil at all.
Over time, Anthurium stalks will elongate and send out aerial roots meant to cling to other surfaces for support. Sometimes the underground roots also begin poking up through the soil’s surface as they look for something to grab onto. Mature Anthuriums often start to resemble woody vines, especially since their stems are covered with brown husks called stipules that look like peeling bark.
Some growers describe this appearance as “leggy.” However, this is a bit of a misnomer; calling a plant leggy typically means that it’s receiving too little sun and has started to stretch in an attempt to reach a light source. But an Anthurium attempting to climb is actually thriving – and might be thriving so much that it’s time to give it more legroom. Health concerns aside, switching it to a deeper pot can cover up the exposed stem and make the plant look tidier.
Too little growth could also tip you off that your Anthurium needs repotting. The roots may be stifled from lack of breathing space, preventing the plant from producing new foliage.
If the leaves are turning yellow or getting brown tips, it might be a warning sign that the potting mix has been depleted of nutrients or filled with mineral salts. There are lots of other things that could cause discoloration – see our article here for more detailed information – but it’s worth considering whether your Anthurium needs an upgrade to its living space.
Finally, if you notice that the roots are beginning to poke out of the drainage holes of the container, this is a sign that the plant has become excessively root bound and should be transplanted.
But Don’t Anthuriums Like to be Root Bound?
When talking with houseplant owners or reading online care guides, you may run into the claim that some plants – Anthuriums included – should be kept in small containers because they “prefer” to be root bound. This is a misconception, but it’s based on some truths about Anthurium care, so it’s worth examining in more detail.
For those unfamiliar with the term, root bound or pot bound means that a plant’s root system has run out of room to spread out and is now curling back in on itself in a tangled clump. In severe cases, the root mass will take on the shape of the pot – kind of like sticky rice that turns into a block when it’s packed into a takeout container.
If you’re wondering why any plant would prefer to have its roots bunched up in a ball, well, the simple answer is that none of them do. Being pot bound reduces the root system’s access to water, nutrients, and oxygen. A severe enough case will kill your Anthurium.
So why do so many people still buy into the idea that being root bound is good for these plants? There are two main reasons.
Reason One: The stress of being root bound may induce Anthuriums to bloom. A plant that senses its environment is too cramped will often produce flowers earlier in its life cycle than it normally would, in a desperate bid to reproduce before it dies. Many growers take advantage of this response to trigger faster or more vigorous flowering.
It should go without saying that this is a risky tradeoff. Root stress might force a plant to bloom, but it also leaves it more susceptible to dehydration, malnutrition, and disease. You could be paying for those early flowers with a sickly plant later on.
Reason Two: Many novice growers make two related mistakes: watering Anthuriums too often, and planting them in potting mix that retains too much moisture. Sitting in waterlogged soil suffocates Anthuriums and can lead to a nasty case of root rot. The risk is even greater in a larger pot because all that soil takes longer to dry out.
Rather than giving detailed advice on how to water properly and prepare the right growing medium, some growers just tell newbie Anthurium owners to keep their plants root bound. When most of the space in the pot is taken up by a big knot of roots, there’s less room for soggy soil, reducing the chance that inexperienced growers will accidentally drown their plants.
Despite these minor perks, we don’t recommend keeping your Anthurium deliberately root bound. A potting mix with good drainage is a better defense against root rot, and proper lighting is a better way to promote blooming.
The Best Time to Repot Anthuriums
Anthuriums are tropical plants without a built-in seasonal cycle. In a climate-controlled environment with enough light, they can grow and flower all year round. But in areas where the light and heat levels vary throughout the year, most Anthuriums will slow down or stop their growth during the winter.
You’ll have the most success repotting your Anthurium between early spring and midsummer. The best time is toward the beginning of the growing season when the plant is emerging from its semi-dormant winter state and eager to put out new growth. That vigor will give your Anthurium an edge as it works to get its roots established in the new container.
When you see the first new leaves appearing on your Anthurium in the spring, you’ll know it’s warming up and can be repotted safely.
Of course, if you think your plant is extremely root bound, suffering from a bad case of fungus gnats, or dealing with some other problem that requires immediate repotting, it’s okay to transplant it without waiting for the spring.
Choosing the Potting Mix For Your Anthurium
Providing your Flamingo Flower with the right pot and growing medium is even more critical than selecting the right time to move it. In fact, using an unsuitable potting mix is probably the single most common way that Anthurium owners kill their plants.
The crucial factor is drainage. Anthurium roots prefer a damp but well-aerated environment similar to what they’d encounter in the canopy of a tropical rainforest. The best way to provide this is by combining spongy and absorbent ingredients with coarser elements that space out the mix and create air pockets.
If you’re buying growing medium at the store, avoid standard potting mixes. They’ll usually be too dense and clingy for Anthurium roots. Instead, look for a blend that’s meant for orchids – bonus points if it’s specifically intended for Phalaenopsis orchids (like this one), which are epiphytes like Anthuriums and have similar growing needs.
If you want a custom blend that’s tailor-made for your Anthuriums, it’s relatively simple to make your own potting mix at home. The key is to use roughly equal amounts of three types of ingredients:
- Chunky, woody elements like bark or charcoal.
- Porous minerals like perlite or pumice
- Fluffy, water-retentive ingredients like peat moss or ground-up coconut husks.
A simple recipe that your Anthurium will love includes ⅓ fir bark, ⅓ coconut coir, and ⅓ coarse-grade perlite. These ingredients should be available at your local garden store, but if not, you can find them easily through online retailers. For more information on the best soil for Anthuriums, read this article.
Picking a New Pot For Your Anthurium
When repotting an Anthurium, use a container that’s roughly 20% larger than the one the plant is currently occupying. If you’re not sure how to estimate that, look for a pot with a diameter 2 to 4 inches greater than the one you have now.
It’s not a good idea to scale up more than that. Although Anthuriums don’t like to be root bound, they may have difficulty adjusting to an extra-large pot. And a huge amount of space could encourage the plant to focus on expanding its roots and foliage at the expense of flowering.
Pretty much any material is okay for your Anthurium’s pot as long as there are one or two good-sized holes in the bottom to release excess water. Note that a container made of terracotta (unglazed clay) will tend to dry out more quickly than other options, so adjust your watering habits accordingly. We offer a more in-depth look at containers and growing media for Anthuriums in this article.
Preparing To Repot Your Anthurium
Repotting doesn’t call for many specialized tools, but there are a few things that will make the process go more smoothly. Use this simple checklist when you’re getting ready to move your Anthurium:
- New container. Probably a no-brainer, but everyone needs a reminder now and then!
- Potting mix. Store-bought or mixed at home as described above.
- Pruning shears. The roots and foliage of your Anthurium may need a trim before you place it in its new pot. Our favorite tool for the task is the inexpensive but effective Fiskars Bypass Pruner.
- Disinfectant solution. Whenever you prune, you should wipe down the blades between cuts with a rag dipped in disinfectant, reducing the risk of spreading disease-causing microbes. Good options include Lysol, isopropyl alcohol, or bleach diluted to 10% strength.
- Gloves. Anthuriums ooze an irritating, itchy sap when they’re cut or torn, so it’s best to glove up whenever trimming may be called for. We have a recommendation here, too: this breathable bamboo set from Pine Tree Tools.
- Some newspaper or an old towel. If you’re repotting indoors, you’ll want to lay something down first and spare your floors from a lot of messy soil.
In addition to gathering your materials, you should prep your Anthurium for the move by making sure it has plenty of water stored up. There’s always an adjustment period after you uproot a plant and place it in a new home; the roots won’t be able to take up as much water while they’re recovering from the shock. Watering it ahead of time helps to safeguard against dehydration.
Check the plant’s growing medium the day before you transplant it, sticking your finger to about the depth of your second knuckle. If it’s dry, water your Anthurium until you see seepage from the drainage hole at the bottom of the pot.
Repotting Anthuriums: A Step-by-Step Guide
You’ve chosen the date, prepared your potting mix, bought your new container, and watered your plant. Now it’s time for the main event. We’ll go one step at a time through the process of repotting an Anthurium.
Step 1: Put down a base layer of potting mix in the new container until it’s between ⅓ and ½ full. Moisten it just a bit with some lukewarm water.
Step 2: Prune any leaves or blooms that look like they’re beginning to fade. It will be easier for your Anthurium to recover from the shock of transplanting if it doesn’t have to waste energy on foliage that’s already on its way out. You can also remove the flaky brown stipules from the stem; the plant grew them to shield its emerging leaves, but they’re no longer needed.
Step 3: Grip the edges of your Anthurium’s pot, holding the base of the stem between your fingers. Turn the pot upside down and slide the plant free. You’ll probably need to give the bottom of the pot a firm smack or two in order to knock the root mass loose. If that doesn’t work, run a butter knife around the inside of the pot to loosen the roots’ grip on the old container.
Step 4: Clear away as much of the soil as you can. It’s pretty likely that your Anthurium is a bit pot bound, so work your fingers gently into the roots and loosen them up. You want them to be spread out so that they look more like an upside-down tree than a clumped-up cylinder. Go slowly and gently at this stage to avoid breaking any major roots off too close to the stem.
Step 5: Once the roots are trailing out instead of wrapped up tight, you might find that they’re too long or too numerous to fit into the new pot you’ve chosen. If that’s the case, trim them down to size, beginning with the ones that sit lowest on the plant. You can actually take off as much as a third of the root mass; this won’t hurt your Anthurium, and will stimulate it to produce new roots.
Note: Trimming the roots is a key step if you’re repotting your Anthurium due to root rot. In that case, you need to prune off all of the decaying tissue. Anything that looks even a little bit gray or feels a little bit slimy must go. This may mean that you’re removing even more than a third of the root ball; in that case, you should trim back the foliage to match. Remove any blooms to let your Flamingo Flower put all its energy into rebuilding its roots.
Step 6: If there are still any significant clumps of potting mix clinging to the plant’s roots, you can wash them off with some lukewarm water.
Step 7: Place your Anthurium in its new pot and fill in the remaining space with your potting mix. Spread it around and work it into the roots with your fingers to get it settled into all the nooks and crannies. If the plant has a significant amount of exposed stem, you can bury it right up to the level of the lowest petioles. The little aerial roots forming on the stem will spread into the potting mix and help your Anthurium take hold in its new location.
Step 8: Soak the soil until the water is draining out the base of the container. This will help settle the potting mix around the roots and encourage the plant to spread through its new pot.
Caring For Anthuriums After Repotting
Your Anthurium will need a little time to really feel at home after its big move. In particular, it will be at a higher risk of sunburn since it won’t be able to release much water to cool itself off. Keep the plant in an extra-shady area for the next 4-7 days.
Be extra careful to keep your Anthurium’s environment humid. If you don’t want to spring for a humidifier, spritz the foliage daily with lukewarm water from a spray bottle. You can also help your Anthurium stay humid by placing its pot on top of a tray filled with pebbles and a little bit of water.
Don’t worry too much if the plant seems to wilt somewhat immediately after repotting. It’s normal for Anthuriums to undergo a bit of a slump after the shock of transplanting.
If you normally provide your plant with regular doses of fertilizer, hold off for a few months after repotting. New root growth is especially susceptible to fertilizer burn, so wait until your Anthurium is good and settled.
Alternatives to Repotting
Sometimes an Anthurium is so overgrown that you’re not sure a bigger pot will fit in your apartment. In that case, you might want to consider propagating the plant instead of simply switching containers.
Propagating means taking one plant and turning it into two or more. In this case, we’re talking specifically about cloning your Anthurium – creating genetically identical copies. Cloning might sound like something only a mad scientist would try at home, but it’s a lot easier to do with plants than people. There are two basic methods, both of which involve dividing up a single Anthurium into multiple smaller plants.
Option 1: Splitting
You can divide your Anthurium apart at the roots to produce two or more clones. Unless the root mass has grown really huge and tangled, it’s possible to do this with no tools except your hands. Anthuriums like to branch off new clusters of roots called rhizomes that grow their own separate stalks. It’s very easy to split the plant at the junctions between these sections.
Find the point where you want to divide your Anthurium and grip half of the plant in each hand. (as with repotting, it’s best to hold it right at the base of the stalks). Then peel it apart slowly until the roots pull free.
Repot the new plants and care for them just as described above. If the new clones are really small, you may want to cover them with clear plastic bags to trap as much humidity as possible. For more info on dividing Anthuriums, see our detailed guide here.
Option 2: Take Cuttings
Believe it or not, even small sections of Anthurium stems can grow into full-grown plants if kept in the right conditions. You can often produce many more clones this way than you can get from dividing the plant at the roots, though they’ll usually be smaller and take longer to reach full size.
To go this route, use your disinfected shears to slice up the stalk of your plant. The cuttings can be as large or small as you like, provided that each one has at least two nodes (the paler sections of the stem that send out new roots and leaves).
Nestle one of the sliced ends of each cutting into an appropriately-sized pot filled with a growing medium like the ones we described above. For an added boost, you can dust the bottom end with powdered rooting hormone to encourage vigorous growth.
Many growers also like to start cuttings off in a sterile medium like perlite, or even pure water, then move them into potting mix once they’ve grown an inch or two of new roots. As with splitting, it’s best to keep your clones extra-humid while you’re waiting for them to take root. You can find more information on growing Anthuriums from cuttings in this article.
Final Thoughts
Anthuriums benefit from a change of scenery once in a while, so make sure to repot yours every few years, especially if it’s looking overgrown or undergrown. Now that you’ve studied up on the process, you should be well-prepared to guide your plant through the transition seamlessly.
Don’t worry too much about damaging the plant. Anthuriums are a lot more resilient than you might guess. As long as you handle it gently, give it a loose potting mix, and keep it out of direct sunlight, it should be growing happily in its new pot in no time.