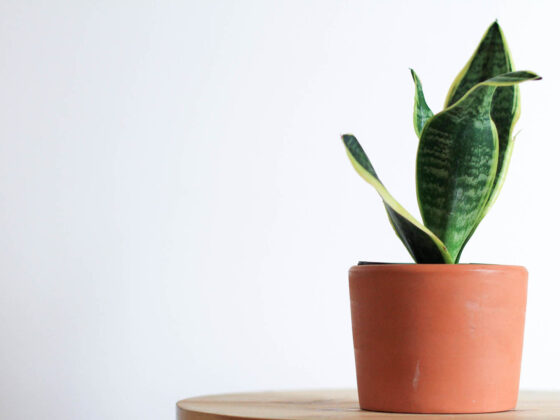
A note on names: In scientific circles, Snake Plants are now considered part of the Dracaena genus, and the name Sansevieria has been retired. However, many people still know these plants by their former name, so we’ll sometimes refer to them as Sansevierias. We have an article on the subject here.
As tough as they are, Snake Plants can still get hurt or sick. Lots of things can throw off their normally gorgeous leaves, including dehydration, overwatering, extreme temperatures, or ordinary physical damage. When your Sansevieria’s foliage is showing signs of wear and tear, is there anything you can do to fix it?
Unfortunately, when a Snake Plant leaf gets damaged, it stays damaged. Your plant should start creating lively new growth once you fix its problem, but any scars, brown spots, or crispy edges will stay where they are. You can prune the affected leaves if you want to spruce up your Snake Plant’s appearance or stop the spread of pests or disease.
If you decide to remove your Snake Plant’s leaves, it’s usually best to take them off completely. A trimmed leaf won’t grow anymore, even if you only take off a small bit at the end. On the plus side, if the tip isn’t dead, you can transplant the chopped-off leaf and turn it into a second Snake Plant. We’ll explain the best ways to prune and propagate damaged Sansevieria leaves below.
What’s Hurting Your Snake Plant’s Leaves?
You won’t be able to fix a damaged Snake Plant leaf. But knowing why it’s hurting will help you decide whether you need to remove it. Here are a few reasons your Plant’s leaf might be broken, damaged, or discolored:
- Overwatering. Watering too often can cause a Snake Plant’s leaves to turn yellow or brown, flop over from stem rot, or swell so much that they split. If the soil feels damp more than 3-4 days after your plant’s last drink, you’re probably watering too much or using a potting mix that’s too heavy.
- Underwatering. Snake Plants are very well-adapted to droughts. But if you put your plant through serious neglect, its thirsty leaves will start to turn brown and crunchy, usually starting at the edges. They’ll also probably wrinkle up like deflated balloons.
- Sun scorch. Most Sansevierias will be happy with up to 5 hours of direct sunlight per day. However, you can give your plant a sunburn if you leave it in full sun or suddenly move it from a dark room to a bright window. You’ll see spots of dry tissue, faded to white or light brown, where the light is hitting the leaves.
- Fertilizer burn. Too much nutrition is almost as bad as too much water. Fertilizing when your Snake Plant isn’t growing much – like in the winter or when it’s too low on water – will hurt the roots. This leads to crunchy, brittle, brown tips and edges, along with other symptoms of dehydration such as rumpled and yellowing leaves.
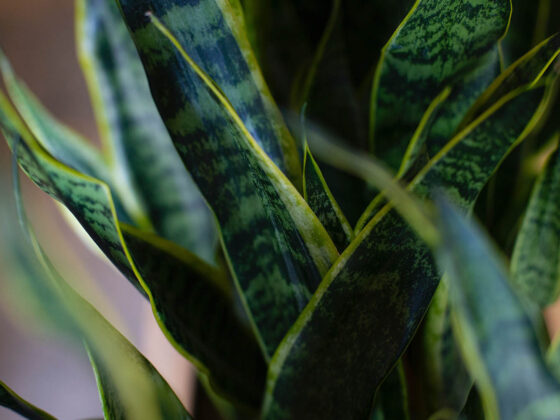
- Pests. Unwelcome guests like spider mites, mealybugs, and scale insects can leave your Snake Plant’s foliage dappled with tiny gray or white marks. They may also stunt or deform any new leaves growing in. Look for bugs on the leaves or telltale signs like wispy cobwebs (spider mites) or sticky fluid (scale, aphids, and mealybugs).
- Bumps and bruises. If you accidentally jostle or scratch your Sansevieria, you may leave behind a scar. Rowdy kids or over-curious pets can cause the same thing. If you spot a few random dead patches too big to be the work of spider mites, they’re probably from everyday physical damage.
Should You Remove a Damaged Snake Plant Leaf?
Some of the problems we just mentioned may require you to amputate some of your Snake Plant’s leaves to save the rest.
First, remove any leaves that have soft, squishy spots. That goes double if they’re drooping over because they’ve gone mushy at the base. Those soft spots are likely infected with rot that can continue to spread throughout the plant. We’d also recommend taking a look at the roots – see our article on spotting and treating root rot in Snake Plants.
You should also get rid of any leaves that are completely overrun with pests. This won’t completely stop the invaders, but it should slow them down by taking out a big chunk of the breeding population.
With other problems, like sunburn or underwatering, it’s not as crucial to put affected leaves out of their misery. But you still may feel like giving the plant a trim to freshen up its look. Just remember that the healthy parts of the leaves are still feeding your Snake Plant. Don’t remove more than ⅓ of the foliage unless it’s the only way to save the plant’s life.
How to Prune a Damaged Snake Plant Leaf
There’s not much of a trick to taking leaves off your Sansevieria. The most important question is where to cut.
A Snake Plant’s leaf can only grow from the tiny cluster of cells at the tip. If you chop off the top of one, the bottom part will remain a flat-topped stub until it dies of old age. In most cases, your best bet is to cut a broken leaf down to the soil and leave room for new growth to replace it.
Snake Plant leaves get pretty thick, so you’ll probably need at least a hefty pair of pruners, or maybe a big garden knife. Sharper blades are better; you want a clean cut without ragged edges where bacteria can grow.
For the same reason, you should disinfect your blades before cutting. Wipe them down with rubbing alcohol or a 10% dilution of household bleach. Then slice or saw through the leaf as close to the soil as you can go.
Propagating Cut Snake Plant Leaves
If any of the leaves you remove have a few inches of healthy tissue below their tips, you can put them into some fresh soil and turn them into brand-new Snake Plants. (Though certain kinds of variegation, like the yellow stripes on a Sansevieria Laurentii, won’t show up on the offspring.)
Don’t do this with a leaf that’s infested with pests. You should toss those into a volcano or a vat of acid. (Yes, an outdoor trash can is fine if you don’t live in a supervillain lair. We just really hate spider mites.) A leaf with some rot near the base should be okay, as long as you slice off everything but the firm, healthy portion at the top.
Wait a day or two for the leaf to scar over where you cut it. This will form a seal to help keep out bacteria.
Now bury the lower part of the leaf in coarse, well-aerated soil. You can buy a cactus and succulent mix or make your own. For the DIY approach, we suggest:
- 10% vermicompost
- 20% coconut coir
- 30% orchid bark
- 40% coarse perlite (rinse it first, to remove the dust and small particles)
Make sure to choose a small pot. Transplanting a cutting into a container big enough for an adult plant will make overwatering much more likely.
Keep your baby Snake Plant out of direct sunlight, and water the plant only when the top few inches of soil feel dry. Once new leaves emerge from the soil around the cutting, you’ll know it’s gotten a foothold in its pot. This usually takes at least a month.
Don’t hold your breath waiting for the transplanted leaf to grow – it will stay the same size for the rest of its life. But from that little stub, a tall, strong plant will grow.
Some houseplant owners like to root their cuttings in small glasses of water, moving them into pots only once fresh leaves appear. This can reduce the risk of infection and overwatering, but it takes a lot longer. And your Snake Plant will have to deal with transplant stress all over again when you move it back to the soil.
In our opinion, the added strain of water propagation outweighs the benefits. We recommend placing your cuttings right into the soil.
Final Thoughts
Damaged Snake Plant leaves can’t truly heal, but if you slice them off and replant them, they can grow into new plants. If your plant has a few unsightly leaves, why not try your hand at propagating them? It’s a fun experiment, and as long as you stick to the instructions above, you should wind up with at least one Snake Plant you didn’t have before!