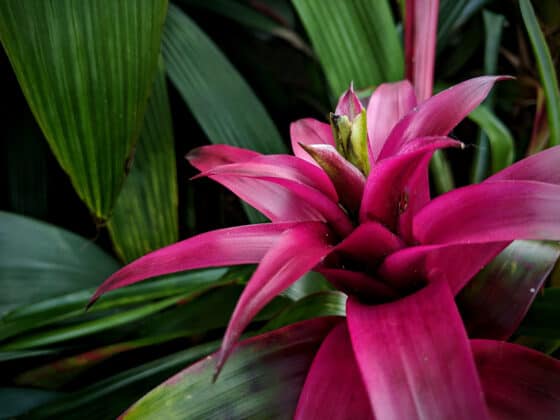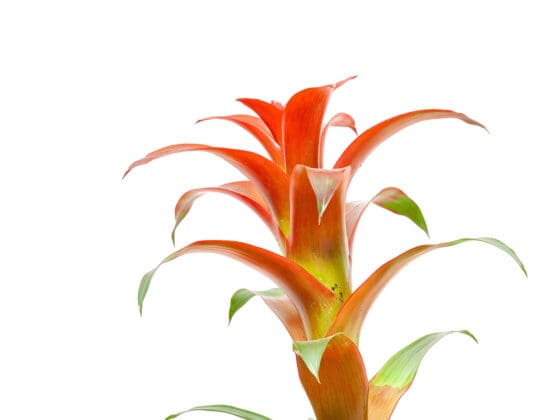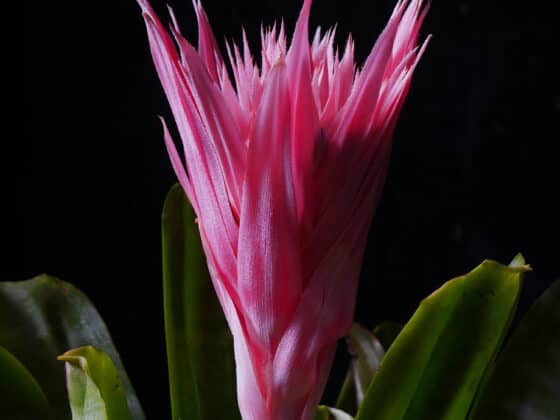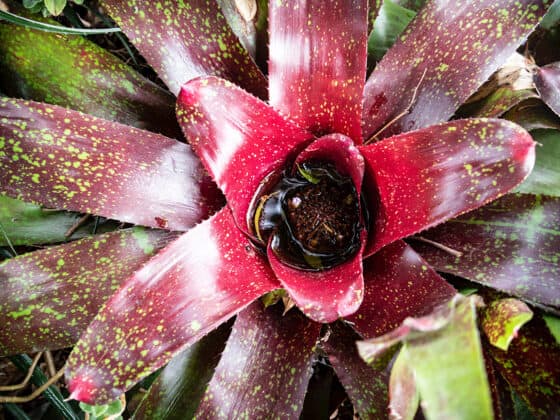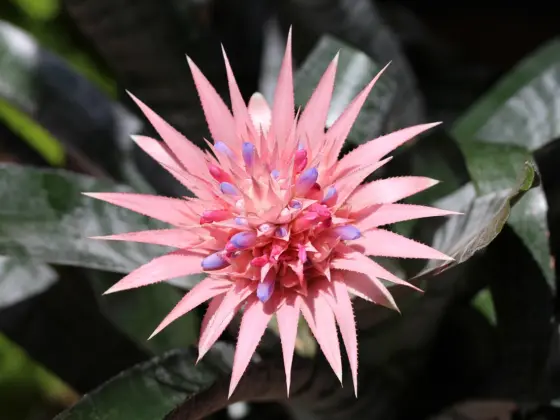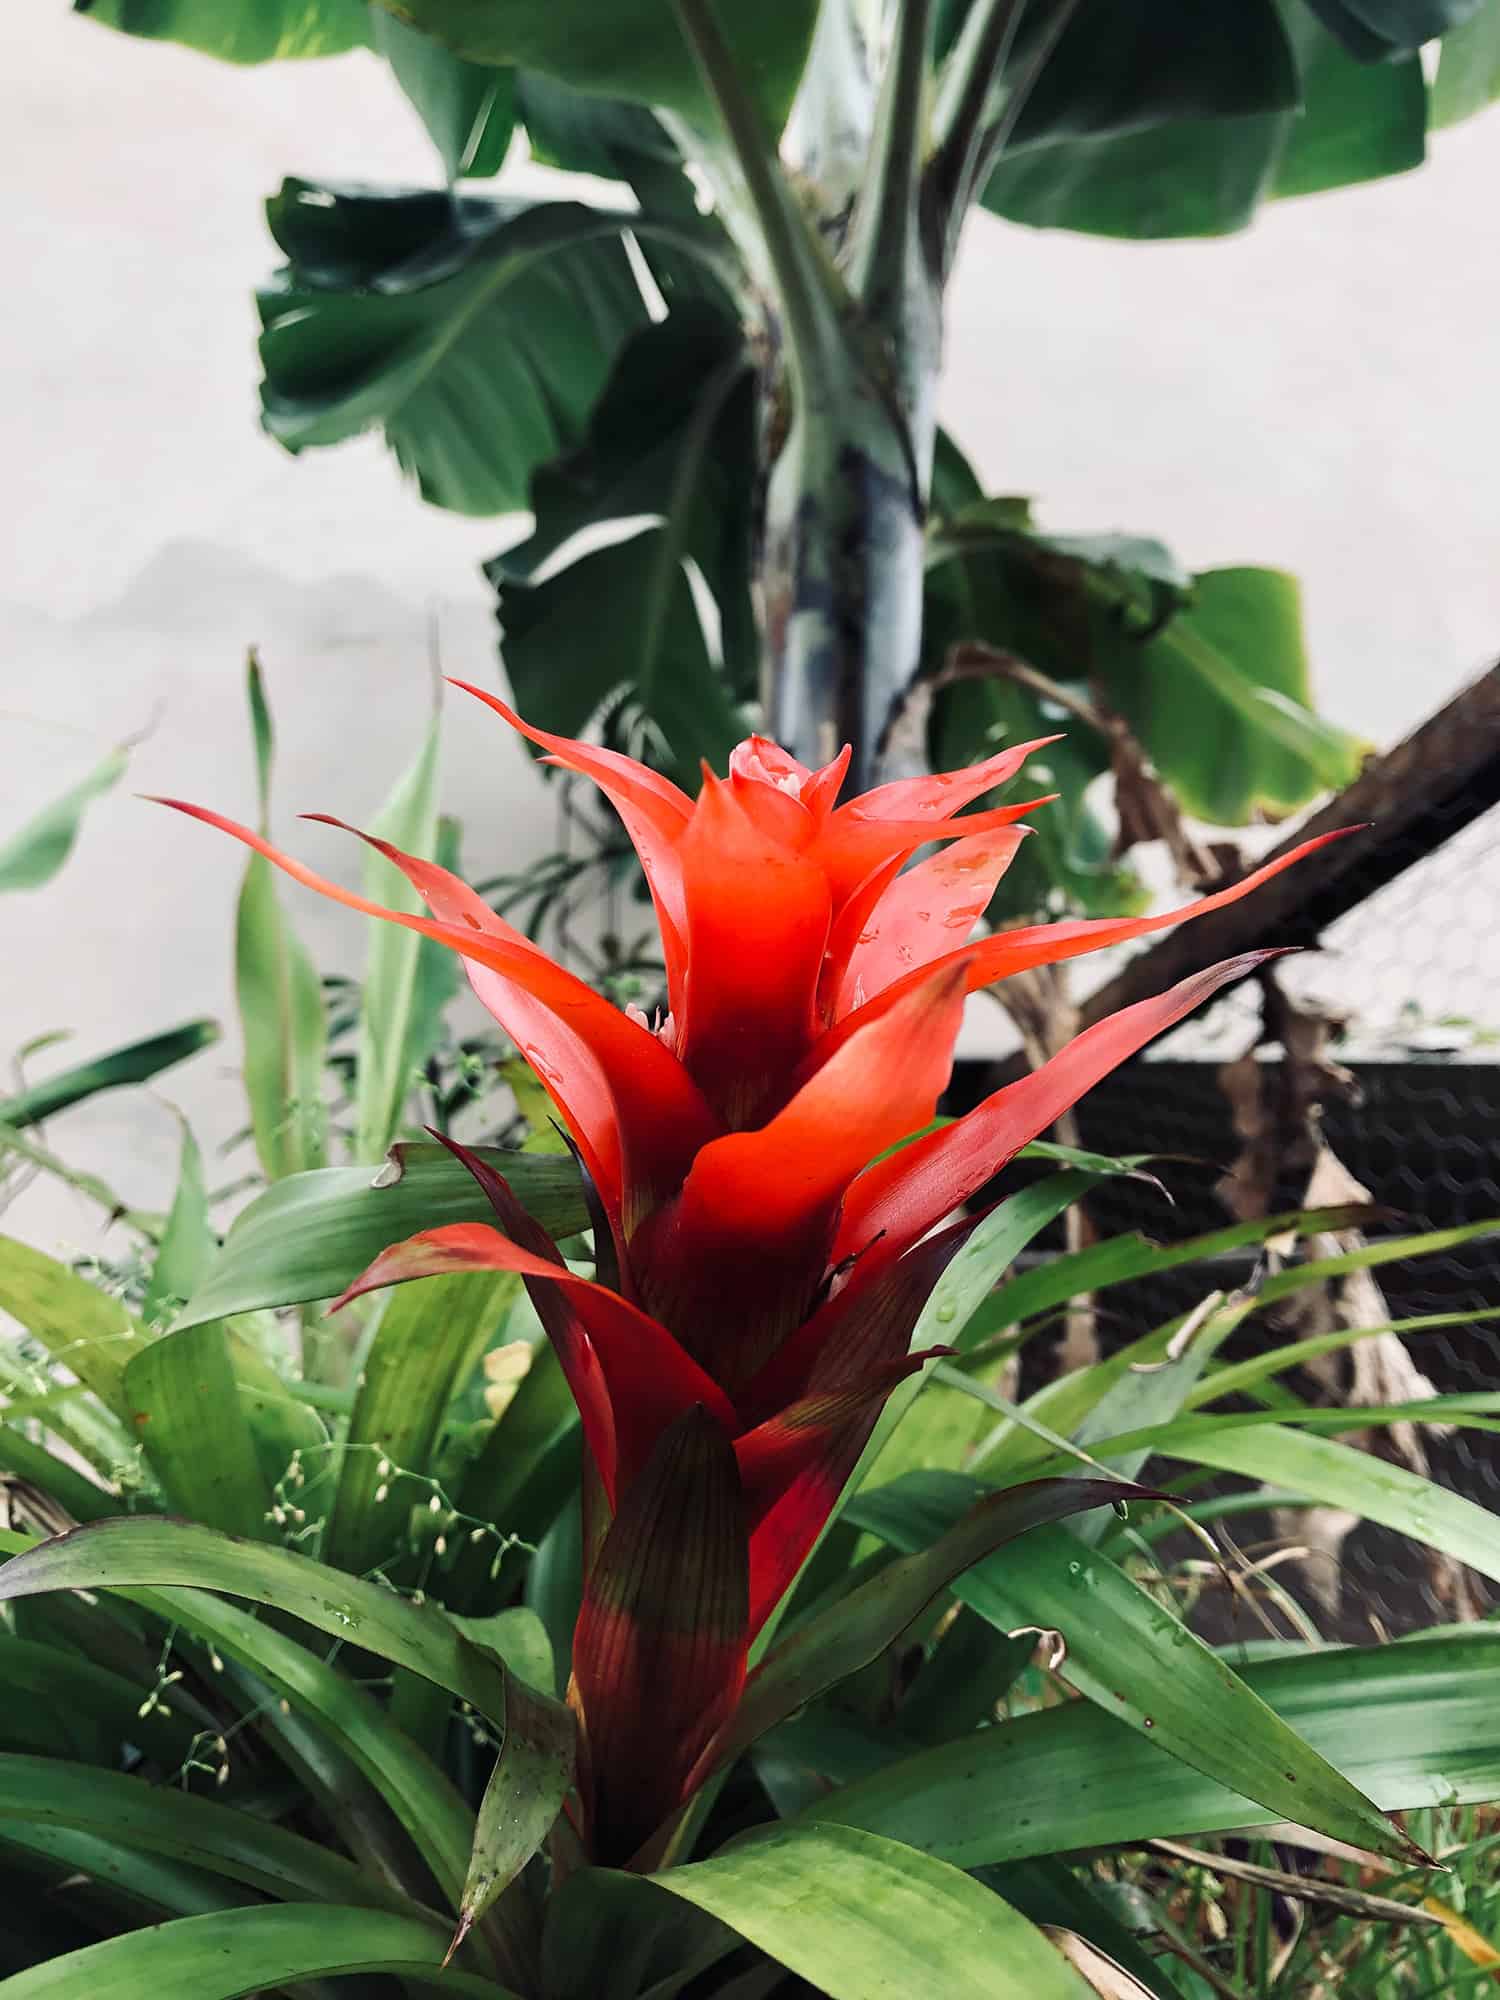
Growing a Bromeliad for the first time? One of the first decisions you’ll have to make is what to grow it in. What kind of container should you keep it in, and what kind of soil should go inside? Getting those answers right will make it much easier to avoid some of the care mistakes most likely to kill your plant. Here’s how to pick the perfect pot and soil for your Bromeliad.
Bromeliads should be grown in relatively small containers — most species can live in pots with a diameter of four to six inches. Avoid metal pots, and make sure the container has drainage holes. Don’t use dense, water-retentive soil for your Bromeliad. Instead, give it a coarse, fast-draining potting mix.
You may need to modify your choice of potting mix and container a bit based on the type of Bromeliad you have. Remember that this is an incredibly diverse plant family, including species adapted to very different conditions. Do your research and make sure you know exactly what you’re growing before selecting a substrate and pot.
What Does Your Bromeliad Need From Its Soil?
Picking the right kind of soil for your Bromeliad can be a little confusing, since in nature, many of them don’t live in soil at all. The Bromeliaceae family has thousands of members, and they can be divided into three categories:
- Epiphytic plants that grow on the sides or in the branches of trees.
- Saxicolous plants that cling to rocks, sometimes anchoring in small crevices.
- Terrestrial plants that grow in the ground like more familiar species.
Even the Bromeliads that live in soil generally have shallower root systems than many other plants. This means that the best soil for Bromeliads is actually a soilless potting mix.
True garden soil is much too thick, absorbent, and clingy for these plants when you’re growing them indoors. Though we may sometimes still refer to your Bromeliad’s “soil” in this post (because it’s less repetitive than saying “potting mix” every time), you don’t want to give them anything you dug out of the ground.
When choosing a potting mix, you’re always trying to balance two opposing factors: drainage and moisture retention. A mix that’s too coarse and dry won’t hold enough moisture to keep your plant hydrated. But if it’s too dense and water-retentive, it will deprive the roots of oxygen and cause fungal infections.
For a Bromeliad, this balance should always be tilted pretty heavily in favor of drainage. These plants can withstand short periods of drought. Overwatering, on the other hand, kills them quickly. Since their roots are often shallow and used more for anchoring than moisture absorption, root rot tends to spread quickly to the main mass of the plant.
Buying Potting Soil for Your Bromeliad
One option is to purchase a store-bought mix for your plant. The problem is that most name-brand potting soils are much too damp. They tend to be heavy on peat moss, a highly water-retentive ingredient, and low on the chunky ingredients that allow drainage.
Some cactus mixes can work well for Bromeliads, but even these are sometimes overly absorbent. (You probably shouldn’t use them for cacti, either.) They appear to be designed for forgetful growers who kill plants by forgetting to water them for weeks. The downside is that they make overwatering much easier.
You’re probably better off looking for something from a smaller niche brand. Some of these companies produce high-quality potting mixes for succulents, aroids, and epiphytes. These should all work well, and some may even be designed specifically for Bromeliads. Look for blends that look like they’re mostly made of pebbles, sticks, and bark.
Making Your Own Soil for Your Bromeliad
Another good approach is to put together a growing medium from a handful of pre-existing ingredients. This means you can tweak the exact ratios and combinations of ingredients depending on the type of Bromeliad you’re growing.
A little experimentation should let you find the perfect blend for your local climate, your plants, and your care habits. In the process, you’ll learn a lot about your Bromeliad’s watering needs.
Here are some guidelines to help you get started:
Roughly 60% (by volume) should be made up of gritty, coarse ingredients. This helps ensure that there are plenty of air pockets and water can drain out. The remaining ingredients should be absorbent, storing moisture so your Bromeliad doesn’t die of thirst while waiting for you to water it.
When choosing your water-retentive elements, go for light and fluffy ones wherever possible. These are less likely to block airflow, even when wet. A small amount of compost can be a good addition, but it shouldn’t be more than 10% of the mix.
While lightweight ingredients like bark chunks can be good for drainage, they aren’t as good for anchoring. Taller, heavier Bromeliads may benefit from having some rocky ingredients in their potting mix. Otherwise, they may tip over because their shallow root systems make them top-heavy.
Drainage Ingredients for Bromeliad Soil
The following materials help give structure to your potting mix, promoting aeration and drainage:
- Perlite. The classic “drainage ingredient”, perlite is a kind of volcanic glass that’s been popped like popcorn. It’s porous, making it good for hydration as well as drainage. On the other hand, it’s lightweight and dusty, and some people find that it “floats” to the top of the pot when watered. Perlite comes in different grades; coarser ones, such as #3 or #4, tend to be better for Bromeliads.
- Pumice. When crushed into pebbles, this volcanic stone acts like a heavier version of perlite. It’s a great ingredient for big, heavy bromeliads that need better anchoring. Unfortunately, it can be harder to find locally than perlite.
- Bark. Rigid, woody bark chips are excellent for drainage. They’re often sold as “orchid bark” since they’re popular for growing orchids (like Bromeliads, orchids are epiphytes and tend to like similar substrates.) Make sure to use big chunks, not shredded or powdered bark.
- Coconut husk chips. These have very similar properties to bark chips. They’re a bit more absorbent. They also have a higher pH, which may help them last longer without decomposing.
- Horticultural charcoal. These airy hunks of charcoal are very different from the briquettes you’d use to light a grill. Note that they’re even lighter than perlite, so they won’t do much to stabilize the pot.
- Coarse sand/pebbles. It’s best not to use these as your only drainage-promoting ingredient — this can make your mix too dry. But as a healthy fraction of the potting mix, they can be superb for drainage.
Absorbent Ingredients for Bromeliad Soil
When making soil for your Bromeliad, these materials act as the “reservoir”, holding water and nutrients to sustain the roots:
- Sphagnum moss. This moss is usually sold dry, but it can hold lots of water, and it’s fairly fluffy. Some people grow Bromeliads and other epiphytes in just beds of sphagnum moss, though we wouldn’t necessarily recommend it. It may be too damp on its own unless you’re very careful about watering.
- Peat moss. Old, decayed sphagnum moss scooped from bogs. It’s absorbent and acidic, which is good for Bromeliad potting mix. However, if a potting mix with a high peat moss content ever dries out completely, it can become hydrophobic. That means you’ll have to soak it for a while before it will absorb water properly again.
- Coconut coir. Made from dried and shredded coconut husks, coco coir is a popular alternative to peat moss. It’s often considered more sustainable, since peat bogs are unique ecosystems and important carbon sinks that can take decades or even centuries to regenerate. There are some environmental issues around the production and shipping of coconut coir, though.
- Compost. A sprinkling of this in your potting mix — no more than 10% by volume — can be great for your Bromeliad. It provides a small amount of nutrition, and at a micro-level, it’s very airy and porous. Vermicompost (AKA worm castings) are easy to find if you don’t make your own compost.
- Vermiculite. Vermiculite is a little like perlite, but the particles are much finer. This makes it much less effective at promoting drainage while increasing its ability to soak up water.
Sample Recipes for Bromeliad Potting Mix
Here are three different ways you can use the ingredients above to make soil for your Bromeliad. These recipes should be good for most members of the family, but may need to be modified for certain species.
Recipe #1:
Combine equal parts perlite, coco coir, and bark chips by volume. This is a simple, easy-to-make blend that’s unlikely to make your Bromeliad rot. You can replace the perlite with pumice if you need to weigh down the pot.
Recipe #2:
Combine:
- 30% bark chips
- 30% coarse sand
- 20% peat moss
- 10% vermiculite
- 10% compost
This mix incorporates the nutritious qualities of compost and the acidity of peat moss. It could be a good option for a terrestrial Bromeliad that needs a more “earthy” formula.
Recipe #3:
Combine:
- 50% bark chips
- 20% sphagnum moss
- 20% perlite
- 10% compost
This is an even lighter potting mix that should work well for Bromeliads that normally grow on tree bark rather than in the soil.
You can also split the difference between the convenience of pre-packaged potting mix and the precision of DIY soils. Start with a bag of a relatively loose orchid potting mix, then mix it with coarser ingredients to give it better drainage. Use about 60% perlite or bark chips (or an equal blend of both) and 40% orchid mix.
The Best Pots for Bromeliads
Getting the right soil for your Bromeliad is critical. However, it may not do you much good if you choose the wrong pot. Here are the most important things to consider when picking a container:
Drainage
First of all, your Bromeliad’s pot should have drainage holes, the more the merrier. Even if your soil lets water drain freely, it can still pool at the bottom of the pot if it has nowhere to go.
If you have a particularly good-looking pot you want to use, but it has a solid bottom, try using it as a cache pot. That means placing a slightly smaller pot that does have holes inside it. You can grow your Bromeliad in the inner pot. Just remember to empty the cachepot after watering.
Pot Size
Because most Bromeliads have small root systems, they usually do best in small containers. When a pot is mostly full of soil, with very few roots to soak it up, it takes longer to dry out. That means you’re more likely to overwater your plant.
Most Bromeliads are happy in standard nursery pots about 4 inches in diameter. Mature, full-sized ones may require a six to eight inch pot, but you’ll hardly ever need anything bigger than that. If you want to use a wider, shallower dish, that’s probably fine too. For top-heavy Bromeliads, you might want to add some gravel in the bottom of the pot to keep it weighted down.
Material
For the most part, the material you choose for your Bromeliad’s pot doesn’t matter much. They’ll be fine in plastic, clay, stone, wood, fiberglass, or even containers woven from rope. The main difference is how heavy the pot is — if you have a top-heavy Bromeliad, a plastic pot will be much more likely to tip over than one made of stone.
There are two specific materials worth discussing, however. The first is terra cotta, which is a fancy term for unglazed clay. Those earth-colored pots you’re always seeing in garden stores are terra cotta. This material is porous, so it will soak up a fair amount of water from the soil and wick it into the air.
That’s good news if you have a habit of overwatering your plants, you’re growing your Bromeliad in a dimly lit area, or your local weather is often cloudy and cold. These factors all increase the likelihood of root rot. Having a pot that helps the soil dry faster is great. Terra cotta is more problematic if the climate is hot and sunny, or if you often forget to water.
The other material to watch out for is metal. Bromeliads are highly sensitive to certain metals. Copper and zinc are the biggest offenders, but you’re probably better off avoiding any kind of metal pot. There are lots of other kinds of containers you can use.
When to Repot a Bromeliad
If you bought a Bromeliad when it was already in bloom, you’ll almost certainly never need to pot it up. Most members of this family only flower once in their lives, then slowly die. They’ll never outgrow their current container.
Younger Bromeliads, on the other hand — such as the clones or “pups” that bud off from the mature parent — may have years of growth ahead of them. It can take anywhere from one to six years before a pup sends up its once-in-a-lifetime bloom.
When you split off a clone from your Bromeliad, you can usually put it into a four inch pot. When it fills this container, you may need to move it to a new container that’s about two inches bigger.
Growth rates can vary depending on the species of Bromeliad and the amount of sunlight, water, and fertilizer it receives. In general, though, you’ll be able to wait at least two years before potting up your plant. And you’ll probably only need to do this once in its lifetime.
Signs That You Need to Repot a Bromeliad
You can spot a plant that’s getting a little tight in its container by looking for indicators like:
- Slow, stunted growth
- Browning, curling leaves
- Roots poking out of drainage holes
- The pot isn’t holding water
The last sign is especially important. It indicates that the roots have mostly filled the pot, leaving little soil for your Bromeliad.
You might also need to repot your Bromeliad if the potting mix has broken down, becoming dense and water-retentive. This happens faster in soils with a lot of organic material like peat moss or pine bark. And if you accidentally overwater your plant, repotting is necessary if you’re going to have any hope of saving it.
How to Repot a Bromeliad
Unless you’re responding to an emergency like root rot, you should repot your Bromeliad in the early spring. It will be emerging from winter dormancy, so transferring it to a new home will be less disruptive.
Aside from your potting mix and your new container, it’s often a good idea to have some garden gloves. Many Bromeliads have sharp spines on their leaves that can make them painful to handle with your bare hands. A set of pruning shears may be helpful, too.
First, moisten your potting mix lightly, getting it damp but not dripping wet. Then place some into the new container. It should be about half-full, though you may have to adjust the level later anyway.
Grip your Bromeliad near the base of the leaves, then tilt it out of the pot. Clean as much of the soil off its roots as you can, and check for any signs of rot. Leaves or roots that are black, brown, slimy, or squishy are diseased and should be clipped off. Sanitize your shears before and after each cut with rubbing alcohol.
Once you’ve cleaned up your Bromeliad and removed any rotting tissue, settle it in the center of the new pot. Then cover the roots with moistened potting mix. Make sure you’ve planted to the right depth — the base of your Bromeliad should be just above the soil, not touching it. If the plant is having trouble staying upright, you can add some wooden or plastic stakes around it.
Keep your plant away from any direct sunlight for the next couple of weeks. Make sure it gets a good amount of indirect light, though. Placing it near a humidifier should also speed its recovery.
Growing a Bromeliad Without a Pot Or Soil
We mentioned earlier that many Bromeliads grow on tree branches or rocks in nature. Some indoor gardeners like to simulate this by mounting their plants on decorative logs or stones, which can look very cool when done right. But note that it will only work with epiphytic and saxicolous species. You’re also usually better off mounting pups rather than adult plants.
You can use almost anything rigid enough and large enough to mount a Bromeliad. Objects with textured surfaces or lots of protrusions for the roots to grip work best. Make sure to clean and disinfect your chosen mount first, removing any material that could rot. If you’re using driftwood or something else you found outdoors, sterilize it by boiling it.
When you’re ready to mount your Bromeliad, clean off any soil from the roots. Then wrap the stem with strong twine or wire (never use copper wire). It should be firm, but not so tight that it’s digging into the leaves or stem. Settle the plant in place on the mount, then wrap the trailing ends of the twine or wire around it to hold your Bromeliad in place.
You can also glue some sphagnum moss or coco coir to the mount before attaching your plant. This adds an extra moisture reservoir.
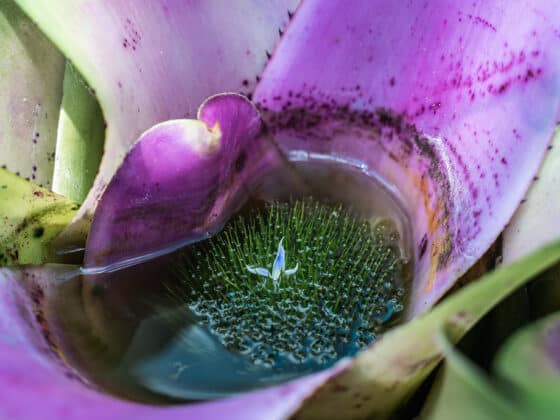
Caring for a mounted Bromeliad is fairly similar to growing one in a pot. The main difference is that you’ll water it by misting the leaves and occasionally dunking the whole plant underwater. If it has a central “vase” in the middle of the foliage, keep it full, rinsing it out once a week or so. After about a month, your Bromeliad should be anchored by its roots and you can remove the twine or wire.
Final Thoughts
Providing the correct pot and soil for your Bromeliad is an essential part of caring for these plants. With the advice above, you should be able to prepare a potting mix and choose a container that will help it thrive. Make sure you’re accounting for the species you’re growing, your local climate, and your individual care style. There’s no perfect growing medium for every Bromeliad — just the right one for you and your plant.