A note on names: In scientific circles, Snake Plants are now considered part of the Dracaena genus, and the name Sansevieria has been retired. However, many people still know these plants by their former name, so we’ll sometimes refer to them as Sansevierias. We have an article on the subject here.
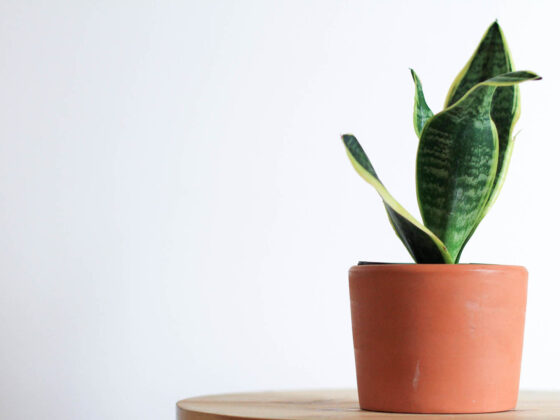
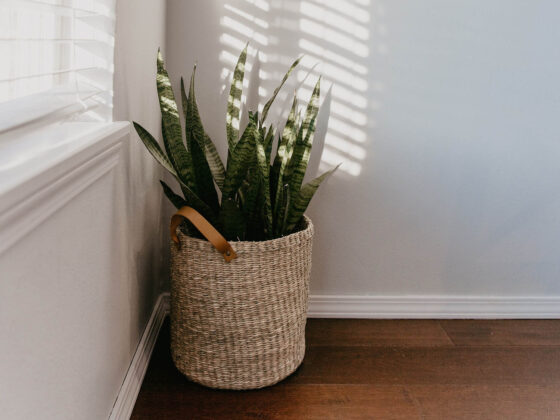
You know something’s not right with your Snake Plant. Its leaves are slumping over like it just can’t be bothered anymore. Why does it look so down in the dumps? And how do you get it looking lively again? This article will explore the most likely reasons for your Snake Plant’s misery and give you some pointers on how to revive it.
The most common cause of drooping leaves on a Snake Plant is overwatering, which smothers the roots and causes them to rot. But there are lots of other suspects to consider. Pests, lack of light, excessive heat or cold, and a lack of space to grow can all make a Snake Plant’s foliage go limp.
That list of possible problems may sound a little overwhelming. Not to worry – this post will walk you through the process of troubleshooting your floppy Snake Plant. We’ve created a step-by-step guide to identifying and treating a droopy Sansevieria.
Step 1: Inspect the Leaves
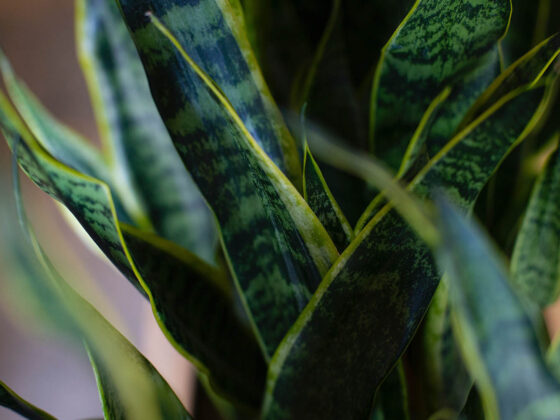
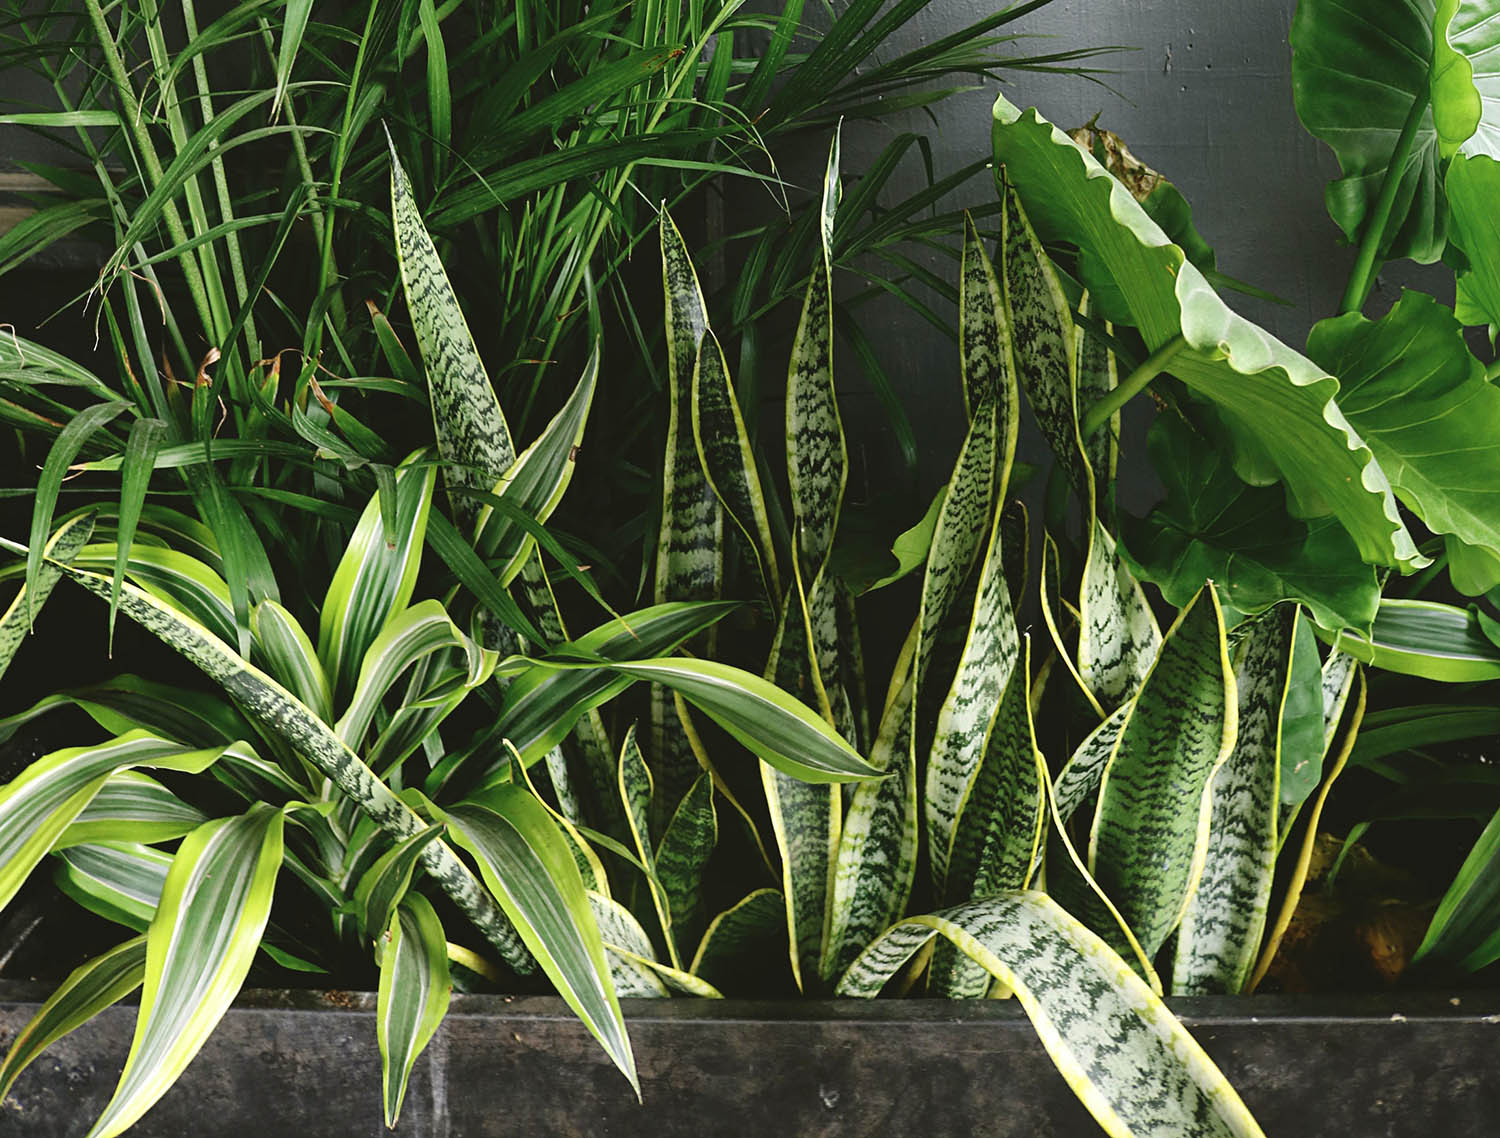
The state of your Snake Plant’s foliage may reveal what’s making it sag. Look over the leaves from top to bottom. We recommend sanitizing your hands occasionally while you’re touching the plant. You don’t want to help bugs or diseases travel from one leaf to another.
The first thing to look for is signs of pest infestation, including:
- Leaves with tiny white speckles that make them look dusty. This is scarring left by spider mites or thrips.
- Little salt-and-pepper flecks. These could be aphids and their exoskeletons, or scars and droppings from thrips.
- Small brown bumps on the leaves. These are scale insects.
- Bits of white fluff. These are mealybugs.
- Clusters of pear-shaped blobs. These are aphids. They can be green, black, orange, red, or white.
- Patches of sticky fluid, often covered with soot-colored mold. This is honeydew, a sugary fluid that aphids, mealybugs, and scale secrete.
- Wispy cobwebs. These are most likely from spider mites, not actual spiders.
You should also be on the lookout for indicators that your plant isn’t getting enough light. Lack of sun makes the leaves grow long and skinny until they droop under their own weight. The normally vivid stripes may also look muted.
Finally, probe for soft spots. Healthy Snake Plant leaves should feel fleshy and springy. Mushy areas, especially at the base of the foliage, are a warning sign that your plant might have root rot.
Now What?
- If the leaves look faded or stretched out, move your Snake Plant somewhere with more sunlight. For suggestions, check out our article on proper lighting for Sansevierias. No need to go on to the rest of the steps – improper lighting is an easy fix.
- If you found squishy areas, continue to Step 2.
- If you didn’t find any of the danger signs we mentioned, skip to Step 3.
- If your Snake Plant has a pest infestation, it will need a special course of treatment. Ignore the other steps in this article and do the following:
First, quarantine your plant so the bugs can’t spread. Then rinse the leaves with the strongest stream of water you can use without damaging your Snake Plant.
You can also wipe the foliage down with a cloth dipped in rubbing alcohol to kill the more stubborn critters. If your plant has scale, you may have to pry the bugs off the leaves with an old toothbrush or a cotton swab.
Next, spray your plant with soapy water. Mix a teaspoon of mild soap with no degreaser additives into a liter of lukewarm water.
Neem oil, a natural pesticide, works even better. Add a teaspoon of neem, along with ⅓ of a teaspoon of soap to help it dissolve, to a liter of water. Shake your mixture up, put it in a spray bottle, and spritz every inch of the plant that you can reach.
Keep doing this every seven days for a few weeks – it will take several rounds to get rid of most infestations. You may want to switch up your treatment each time so that the bugs can’t develop resistance. Change out the neem oil for hydrogen peroxide or insecticidal soap, for example.
Note: Neem oil makes leaves more sensitive to sunburn. Keep your Snake Plant away from direct sunlight when you’re treating it with neem.
Step 2: Check the Temperature
Mushy spots in a Snake Plant’s leaves are often due to temperature shock. Usually, that means excessive cold, but extreme heat can have a similar effect. When the plant gets too far outside its ideal temperature range, its tissues begin to die and decay.
If it’s winter and your Snake Plant is sitting next to a drafty window, you’ve probably found the problem. Other problem spots include fireplaces, air conditioning units, heating vents, and south-facing windows (not always bad, but watch the heat in the afternoon).
Any area that drops below 55 degrees Fahrenheit or climbs above 90 is a bad spot for a Sansevieria.
Now What?
- If you’re sure that temperature shock is your Snake Plant’s problem, move it to a spot that’s between 60 and 85 degrees Fahrenheit. Then skip to Step 5.
- If there’s no temperature issue, go on to Step 3.
Step 3: Inspect the Roots
When your Snake Plant can’t stand up straight, it’s often because the ground is too soggy. These plants come from dry, rocky climates. Sitting in wet soil cuts their roots off from oxygen and leaves them vulnerable to root rot.
This nasty infection is bad enough while it’s devouring the roots. It gets even worse when it spreads to the foliage. That’s when the leaves go soft at the base and start tipping over.
Uproot your Snake Plant and clean off any clinging soil. You need to be able to see the roots clearly. If they’re healthy, they’ll be white or bright orange. Rotting roots turn black, brown or gray. They also develop a squishy and slimy feel.
You should also take note of whether the plant is root bound. This should be obvious when you take it out of the container. The roots will be bunched up tight, wrapping around each other in a single dense mass. This is another condition that can make the plant’s leaves droop.
Now What?
Step 4: Trim and Disinfect the Roots
Disinfect a set of pruning scissors with a 10% bleach solution or some rubbing alcohol. Then clip off every single rotting root. The only way to succeed here is to be as thorough as possible. Any root that feels even a little slippery or looks a little discolored has to go.
Snip well above the rot to be safe. And make sure to keep disinfecting your blades between cuts. You don’t want to carry hostile fungi into an uninfected part of the root system.
Once you’re sure you’ve gotten rid of all the unhealthy tissue, you can rinse the roots with a mild disinfectant. This helps to clear out any lingering pathogens. 1 part hydrogen peroxide in 2 parts water should do it. Dunk the roots into this mixture and swish them around for a bit.
Now What?
- Continue to Step 5.
Step 5: Prune the Foliage
It’s time to deal with any rotten spots in the foliage. Leaves with some mild sagging may perk up once the plant’s conditions improve. But any area that’s become noticeably spongier has to go. The decay will only spread if you leave it in place.
Disinfect your pruning tools the same way you did when trimming the roots. Then snip off any rotting leaves, making your cuts well below the soggy parts.
This may mean removing some leaves completely. You may also prefer to take off the ones that are only partly rotted, since they won’t keep growing after you cut them.
If you removed more than ⅓ of the root mass in Step 4, you’ll need to cut off a similar proportion of leaves. Your Snake Plant no longer has the resources to support all its foliage. This may mean getting rid of some healthy leaves, though you should clip the most damaged ones first.
When pruning Snake Plants, go ahead and trim down to the soil line. A leaf that with the tip cut off will never grow any taller. If you are only snipping a few leaves, take them all the way down. If you have to cut most of the leaves in your snake plant, do just cut off the top portion as they’ll need some foliage to photosynthesize correctly.
Now What?
- Continue to Step 6.
Step 6: Repot Your Snake Plant
Get rid of all the old potting mix. If you found any root rot, the soil is contaminated too. If not, it might still have an excessive concentration of minerals from fertilizer or tap water. This can also make your plant slouch over.
Repotting is a good opportunity to make sure you’ve got the right kind of soil for your plant. Many store-bought potting mixes don’t drain fast enough for Snake Plants. This drives up the odds of root rot. Pick a cactus and succulent soil that has lots of big, inorganic chunks. Or make your own using 40% coarse perlite, 30% coconut coir, 20% orchid bark, and 10% worm castings.
If your Snake Plant was root bound in its old container, give it a bigger one. It’s usually enough to increase the diameter by about 2 inches. Make sure the new pot has a drainage hole! Knead the roots apart with your hands to break up the knot, being careful not to snap or tear them.
Bury the plant’s roots, but don’t pack them too tightly. You can give it a thorough watering to help it settle in.
Now What?
- Continue to Step 7
Step 7: Keep it Comfortable
At this point, your Snake Plant has been through a serious ordeal. No plant likes to be uprooted and replanted, even if it’s the only way to save it from disease. So be gentle with your Sansevieria while it recovers.
The leaves will be more sensitive to sun than usual, so keep the plant away from direct sun. It still needs light, but it should be indirect light.
The root system is also under strain and vulnerable to root rot. Make sure to test the soil with a chopstick or a moisture meter before each watering. If it’s still damp, hold off for a day or two and check again. And don’t give it any fertilizer.
You should follow these precautions for 4-6 weeks. That’s about how long it will take your plant to start feeling like itself again. New leaves popping up are a good signal that the plant is back to normal.
What If Your Snake Plant is Beyond Saving?
We’d love to be able to guarantee that the steps above will save your Snake Plant. Unfortunately, it doesn’t always work out that way. Sometimes the rot has spread too far by the time you catch it.
If the entire root system is rotting, your plant is a goner. But you may still be able to propagate it and grow some new plants from what’s left. Like many succulents, your Sansevieria can produce new leaves and roots from foliage cuttings.
Can you find a few inches of healthy tissue on your plant? If so, you can snip them off and replant them. As always, we recommend disinfecting your scissors first.
Take as many cuttings as you think you can grow! It’s a good idea to have some spares in case they don’t all take root.
Don’t pop your cuttings right into the pot. Fungi and bacteria in the soil could worm their way into the wounds. Leave the leaf segments out overnight and the cuts will scab over. You can plant your cuttings the next day.
Use the same kind of potting mix we recommended in Step 6. Fill up a small pot with it and bury half of each cutting in the soil. (Some growers like to let their cuttings grow roots in jars of water before moving them to soil, but we don’t think this helps much with Snake Plants.)
Once your leaf segments are in the soil, baby them the same way we described in Step 7. It may take a while before you see signs of life – Snake Plants are never going to win any awards for speed. But after a few months, you should see new leaves poking up next to the cuttings.
Final Thoughts
A drooping Snake Plant is a sad sight, but the process we’ve laid out should help you get yours back in fighting shape. Remember that even if you do everything right, the plant will still look sad for at least a week or two. But if you’re thorough and patient, you should soon have a happy Sansevieria once again!
Want to keep reading? Check out the following articles to help your ailing Snake Plant or to prevent an unhealthy spell in the future.
- Step By Step Instructions to Save your Snake Plant from Root Rot
- 4 Reasons Why Your Snake Plant May Be Soft, Mushy, or Soggy
- Snake Plant Roots: What to Expect From the Roots of Your Healthy Plant
- Snake Plant Watering 101: When, How, and How Much to Water Your Plant
- Is Your Snake Plant Healthy? 5 Signs of a Healthy Houseplant