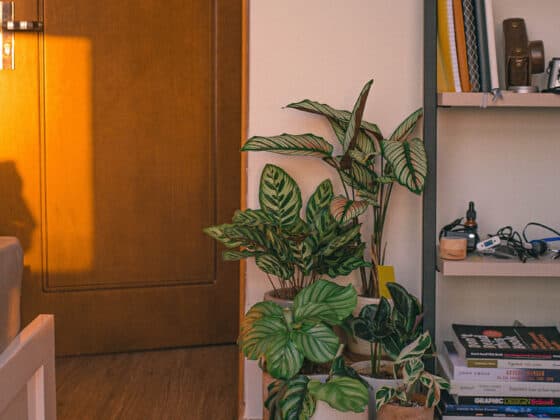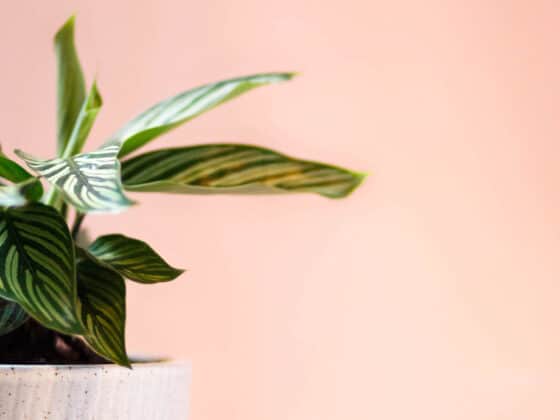
No matter how perfect your Calathea’s pot seems at first, you’ll have to replace it at some point. It’s only a matter of time before a happy Peacock Plant reaches the limits of the space you give it. In this article, we’ll explain how to recognize when you need to repot your Calathea, and how to help the plant survive and thrive after its transition.
Calatheas should be repotted every 1-2 years to ensure they have enough room for healthy growth. Repotting will keep the root system from running out of space and losing its ability to absorb enough water and nutrients. Repot your Calathea in a container that’s 20% larger or 1-2 inches greater in diameter than its current pot, using fresh potting mix with good drainage.
Sluggish growth, wilting leaves, and roots emerging from the pot’s drainage holes are common warning signs that your Calathea is becoming root bound and needs a new container. Transplanting can also help when the plant is suffering from an excess of fertilizer salts or has depleted the nutrients in its potting mix. We’ll get into these scenarios in more detail below, then provide a step-by-step guide on how to repot your Calathea.
Why Repot Your Calathea?
When your plant seems to be growing vigorously, it’s tempting to leave everything just the way it is. This is especially true with a plant as sensitive as a Calathea. Like a parent whose fussy toddler has finally gone to sleep, you may be reluctant to disturb it.
Unfortunately, it’s possible to wait too long, harming your Calathea by inaction. A plant that’s growing at a healthy pace will eventually need more spacious accommodations. Here are a few reasons you might want to repot your Calathea.
Reason One: Your Calathea is Root Bound (AKA Pot Bound)
When a plant’s roots reach the edges of its pot, they begin to curl back in on themselves. Over time, they wrap around one another and become so densely packed that they’ll hold onto the shape of their container even after you uproot them, like cranberry jelly slid out of a can. This is what we mean when we say a plant is root bound.
Some growers claim that Calatheas “like” to be root bound. This misunderstanding arises from the fact that the plant may droop for a while after repotting, as though it preferred its former cramped conditions. In reality, this wilting is a temporary response to the roots being disturbed, and will clear up quickly with proper care.
Your Calathea will be much worse off if you allow it to get badly root bound. The crowded roots won’t have enough available surface area to take up the water and nutrients they’ll need, and the foliage will begin to starve.
One early indicator that your Calathea is becoming root bound is its growth slowing down or stopping even though you’ve provided the right balance of sunlight, water, humidity, and fertilizer. In more advanced cases, your plant will display symptoms of dehydration, despite having moist soil. These signs include:
- Drooping stems and foliage
- Leaves curling in at the edges
- Crispy, browning leaves, especially at the tips and edges
- Yellowing foliage
Sometimes you can confirm your Calathea is root bound by simply lifting up the pot – if you see roots pushing their way out of the holes at the base, it’s because they’ve run out of room inside. Otherwise, you should slide the plant out of its pot to check on the root mass directly.
Reason Two: Depleted Nutrients
Many Calathea owners like to use potting soil with fertilizer mixed in, a lower-maintenance option than dosing the plant regularly with liquid fertilizer. But unless you refresh it periodically, the plant will use up everything you’ve given it and be hungry for more.
At that point, you can either start adding plant food periodically or repot your Calathea with a fresh batch of nutrient-rich soil. The choice ultimately comes down to personal preference. Repotting takes a little more effort up front, but it means you’re less likely to scorch your Calathea’s roots by over-fertilizing.
The symptoms of a nutritional shortfall can vary quite a bit, but they usually include new leaves coming in stunted, deformed, or discolored. Be sure to check for other issues, like rotting or pot bound roots, before concluding that you need to supplement your Calathea’s diet.
Reason Three: Mineral Salt Buildup
An excess of fertilizer can do more damage to your Calathea than a deficiency. Any nutrients the plant doesn’t absorb linger in the soil in the form of mineral salts, and when the concentration of these chemicals gets too high, it interferes with a plant’s ability to absorb moisture. In fact, salts can actually pull water directly out of the roots by osmosis, damaging them and leading to a condition known as fertilizer burn.
Fertilizer isn’t the only potential source of unwanted minerals, either. Tap water in many areas contains high levels of elements like magnesium and calcium. Calatheas are even more sensitive to high salt concentrations than your average plant, and you can easily distress them by watering from the tap rather than using distilled water or rainwater.
Salt accumulation in the soil produces the same symptoms as underwatering or root binding, so identifying this problem requires taking stock of your care habits. If you’re confident you’re not letting your Calathea get thirsty, but you do regularly give it fertilizer or tap water, there’s a good chance that its apparent dehydration is caused by a buildup of minerals in the pot.
Flushing the soil out with distilled water can act as a reset button when your soil is oversaturated with minerals. However, you can also achieve the same goal by repotting. If your Calathea has been in the same pot long enough that it will need a transfer soon anyway, repotting may be a more efficient solution.
Reason Four: Root Rot
Though indoor gardeners tend to worry about killing their houseplants through neglect, overwatering can be every bit as deadly. Waterlogged potting soil smothers roots and allows for the rapid growth of bacteria and fungi, which can colonize a plant’s root system and transform it into useless mush. This condition is known as root rot.
Repotting alone isn’t enough to save a plant suffering from root rot, but it’s a necessary step. The existing soil is hopelessly contaminated and will need to be thrown out and replaced.
Like other conditions that interfere with your Calathea’s roots, root rot looks like dehydration at first. Monitoring the soil is the best way to correctly diagnose the issue. If the potting mix regularly remains moist for more than 5 or 6 days after watering, your plant is in danger of rotting. And if it appears to be dying of thirst even though the soil’s surface is damp, an infection may have already set in.
When you suspect your Calathea might have root rot, don’t hesitate – take it out of the pot and inspect the roots thoroughly. Healthy roots should be pale and firm. If they’re black, brown, or gray and have a soft, slimy texture, they’re rotting. Trim away all infected tissue with a set of disinfected shears, then repot using new soil and a clean pot.
We offer more in-depth instructions on saving your Calathea from root rot here.
When to Repot Your Calathea
Calatheas typically stop putting out new growth during the winter due to the reduced availability of light. This reduces their ability to dig into a new pot and bounce back from the shock of being transplanted. So unless your plant is severely root bound or suffering from root rot, you should hold off on repotting it until you see new growth emerging in the spring.
The time of day doesn’t matter as much, but you do need to make sure that your plant is shielded from the sun after you repot. Calatheas can’t handle direct sunlight, and they’re even more vulnerable as they recover from being uprooted and moved.
What You’ll Need to Repot Your Calathea
Get your supplies ready in advance to minimize the time your Calathea’s roots will be exposed to the air. It’s best not to let them dry out completely if you can avoid it; this species tends to pout if it gets thirsty, even for a short while.
You should have:
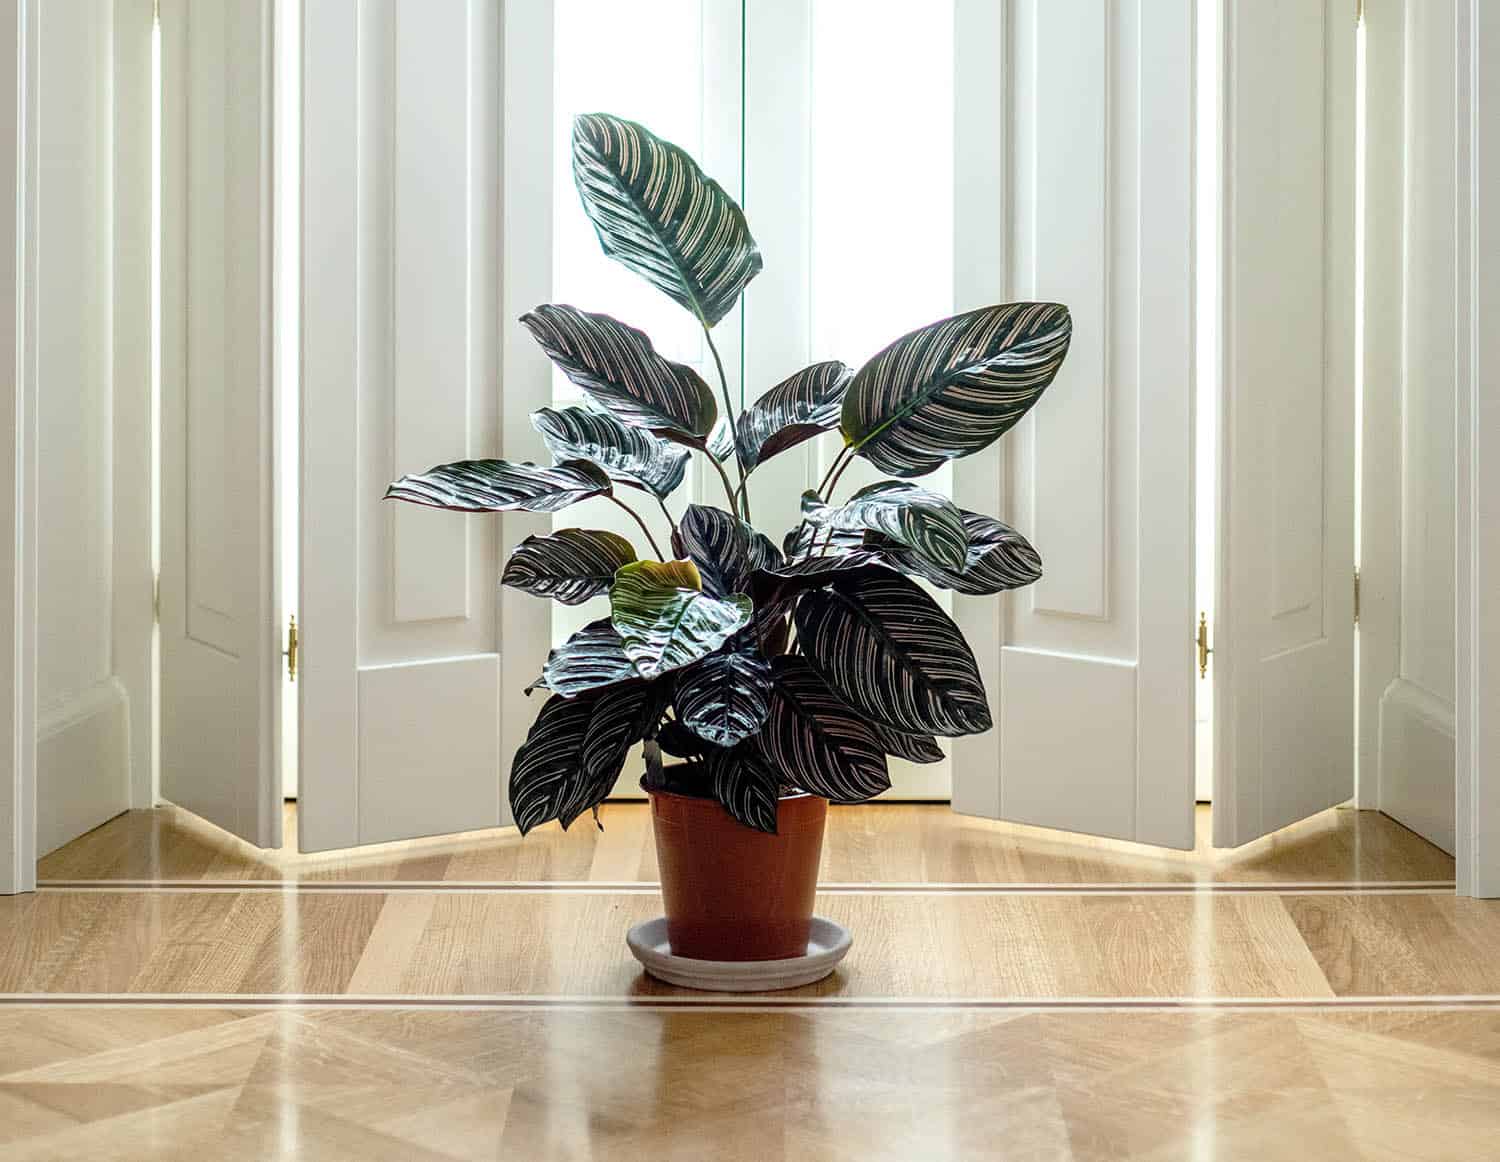
A pot. The primary requirement for a Calathea’s pot is at least one good-sized drainage hole to keep the soil from getting oversaturated. As for size, choose a container about 20% larger than the plant’s current home, increasing the diameter by an inch or two. It’s usually best not to size up more than this; when a pot contains a much greater volume of soil than roots, it takes longer to dry out, making overwatering and root rot more likely.
Feel free to choose the material that looks best with the rest of your decor. Just keep in mind that something porous like terra cotta will allow moisture to evaporate more quickly, so you’ll have to water the plant more frequently.
Potting mix. Choose a mix with a high fraction of coarse ingredients like pine bark and chunky perlite, which will keep the soil well-aerated. There should also be some fluffier organic material to hold on to a bit of moisture. If you’re going with an off-the-shelf potting soil, choose one that’s labeled for African Violets, which appreciate roughly the same balance of moisture and drainage as Calatheas do.
Even this kind of mix will usually err on the side of moisture retention, meaning you’ll have to watch out for overwatering. To improve the drainage, you can incorporate the store-bought soil into a custom blend. Try a ratio of 20% African Violet potting soil to 40% coarse perlite and 40% coconut coir. Our article on choosing a pot and soil for your Calathea offers more detail.
Pruning shears. These may not be strictly necessary, but a badly pot bound Calathea may require some pruning at the roots to let it take hold in its new environment. And, of course, any indications of root rot call for immediate plant surgery.
We recommend a sturdy but inexpensive set of shears like the Fiskar’s Bypass Pruners, though you can make do with a serrated knife or a sharp pair of scissors if need be.
Disinfectant. If you’re using shears on your plant, sanitize them first. Cuts are common vectors for infection, and you don’t want to risk introducing germs to your Calathea through the blades. Common and reliable disinfectant options include isopropyl alcohol or a mix of 1 part household bleach and 9 parts water. Apply a bit of either one to a clean rag or cloth and use that to wipe down your trimmers.
A tarp, towel, old newspapers, etc. Few among us possess the grace required to pull a plant out of its pot without spilling soil all over the place. Unless you’re in that elite club, we recommend laying something down to cover your floor. It will make the cleanup phase much easier.
One final phase of preparation: water the plant thoroughly the day before you move it. You don’t want the soil to be too wet, but you do want to give your Calathea the chance to store up some water to hold it over while its roots recover.
How to Repot Your Calathea
Step One: Fill ⅓ of the new container with your chosen potting mix. Sprinkle a little water over the soil and stir it around, getting it slightly damp. Then scoot it into the bottom of the pot and gently tamp it down. Don’t compact the soil, just help it settle into place.
Step Two: Check for any roots protruding from the holes in your Calathea’s pot and make sure they won’t stick or catch as you lift the plant up. If the container is plastic, you can give the sides a light squeeze to loosen it a bit.
Then grasp the stems just above the soil and turn the pot over, letting the root ball slide free. You may need to smack the base of the pot a few times if the plant refuses to budge.
Step Three: Brush off any potting mix that’s clinging to the plant, or rinse it off with room-temperature water. Then examine the roots for any signs of infection or fertilizer burn. As we noted above, rotting roots will be dark brown, black, or gray and have a mushy, slimy feel. Roots dehydrated by fertilizer salts will be crispy, shriveled, and brown.
Step Four: If your Calathea is severely root bound, you may need to loosen it up. This can be a tricky judgment call; the more you disturb the root mass, the longer it will take your plant to get back on its feet after you transplant it.
However, if the roots are so densely packed that there’s hardly any soil mixed in with them, or if many of them are growing horizontally to encircle their neighbors, you’ll want to give them some breathing room. Work your fingers gently into the root ball and spread it out a bit.
Step Five: Prune away any rotting roots, then check to see if the plant can fit into its new pot. If it has become so root bound that you need to spread out the root mass, it may be too wide for the container. In that case, you can trim back the healthy roots a bit, starting with those at the very bottom. Be sparing, and disinfect your shears before and after each cut.
Step Six: If you had to trim away more than ⅓ of your Calathea’s roots, prune down the foliage to reduce the energy demands on the plant. Start by taking off any leaves that look dead or unhealthy. Once again, wipe down your blades with disinfectant between snips.
Step Seven: Nestle your Calathea into the pot you’ve prepared for it. Fill in the remaining space with lightly moistened potting mix, patting it down gently to ensure that the roots remain in place, but don’t pack it tight. Try to make sure your Calathea is at the same depth it was before. Water the plant lightly.
Step Eight: While your Calathea works to establish itself in its new pot, keep it in a warm location where it will receive only indirect sunlight. Wait at least a month or two before adding any fertilizer, and be extra careful about overwatering.
You should also do everything you can to boost the humidity around your Calathea as it recovers. Keep levels above 60% if you can. A humidifier works best for this, though frequent misting and pebble trays can help as well.
Final Thoughts
Your Calathea will probably kick up a bit of a fuss after you repot it, but sometimes being a plant parent means doing things your plant won’t like in order to keep it healthy. If you follow the tips above, you’ll be able to get the job done with minimal disruption to your leafy diva’s lifestyle. Soon your Calathea will be lifting healthy leaves to the sky once more.