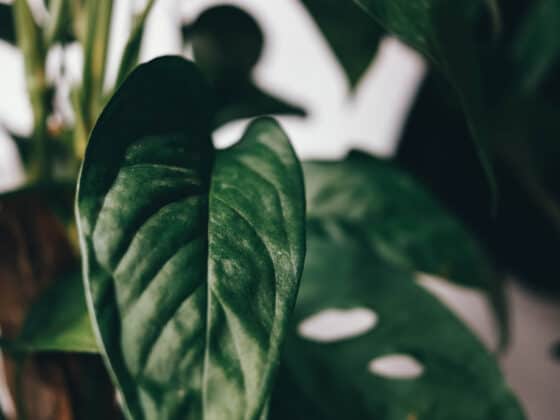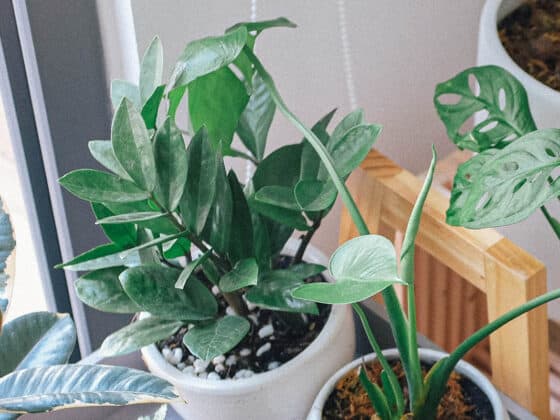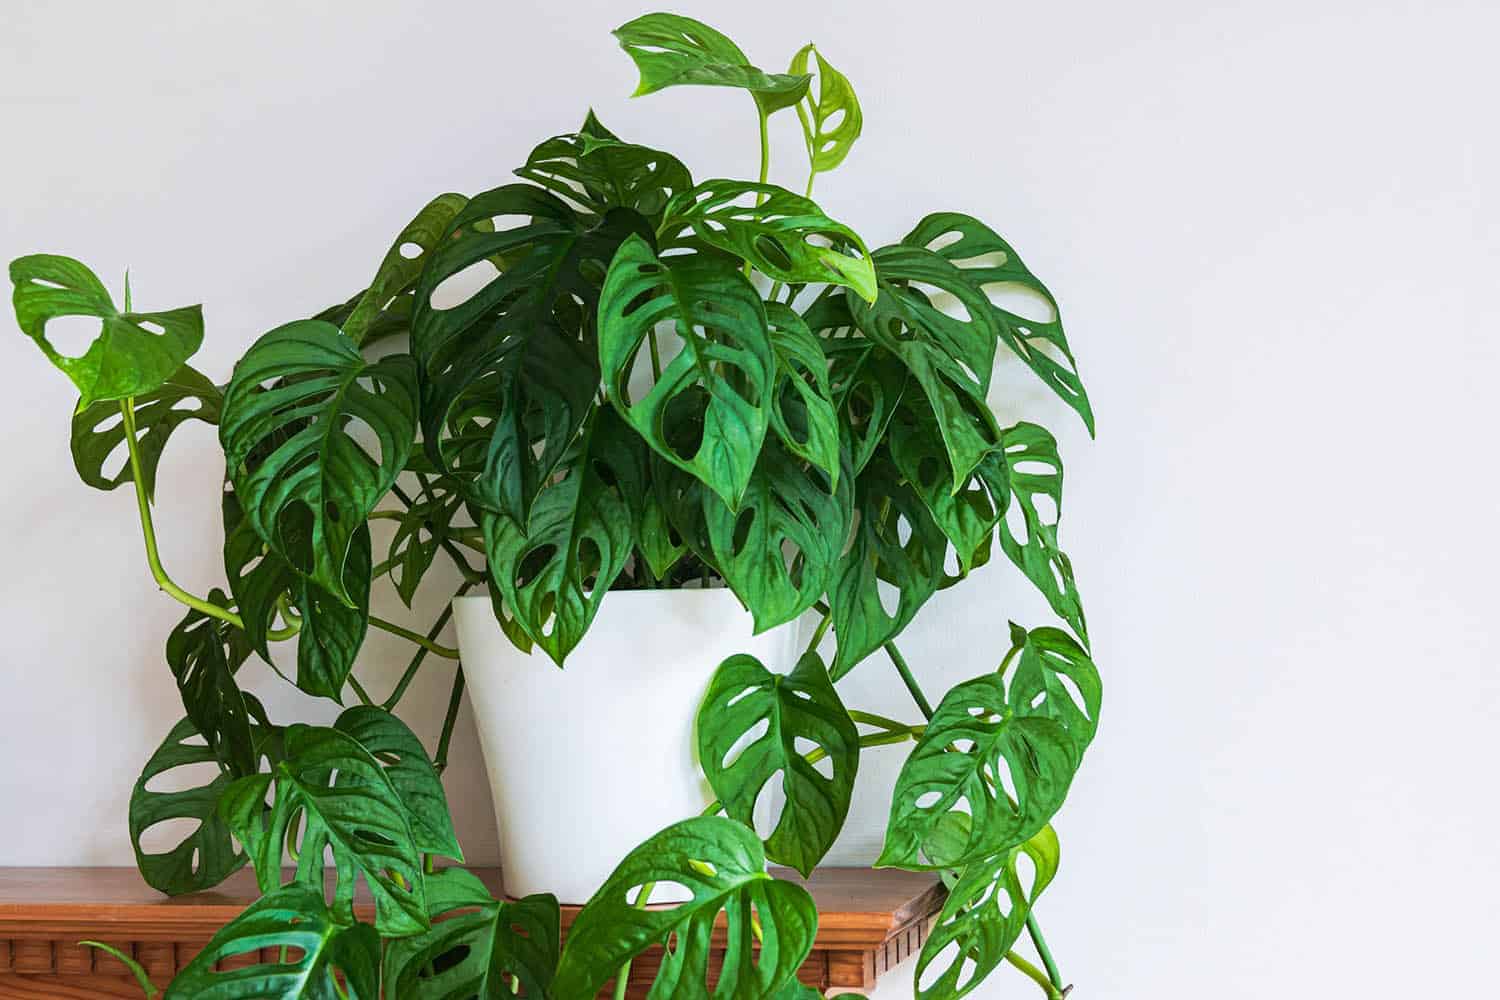
Of all my plants, my Monstera Adansonii is my fastest grower. I’m constantly surprised at how quickly new leaves emerge, filled with lacy holes, and run down the side of my pot. But with all this growth above the soil’s surface, I know a lot is going on beneath as well. That is why Monstera adansonii should be repotted every so often.
Monstera adansonii need to be repotted every 1-2 years to achieve their full potential. However, Monstera owners will be happy to know that repotting a Swiss Cheese plant is a quick and easy process. With gentle handling, as well as attention to soil conditions and drainage, your repotted Monstera will thrive throughout the growing season.
Do you have a Monstera that has been residing in the same planter for years? Are you ready to get your hands dirty? Below is a how-to guide to help you repot your Monstera adansonii like a pro!
Why Does a Monstera Adansonii Need to Be Repotted?
Repotting is a simple way to increase the growth rate and long-term success of your plant. For every inch of growth that you can see above the surface, your plant is expanding beneath the soil, as well. And there are some important reasons for this unseen growth.
First, having strong, broadly distributed roots helps provide a plant with a stable base for growth. These roots anchor the plant to the soil, allowing it to grow tall and wide without tipping over.
Second, it takes a lot of energy for a plant to grow. Since the roots play an important role in absorbing water and nutrients, a rapidly growing Monstera needs a hardy root system to keep the plant nourished. But this relationship works in reverse, as well.
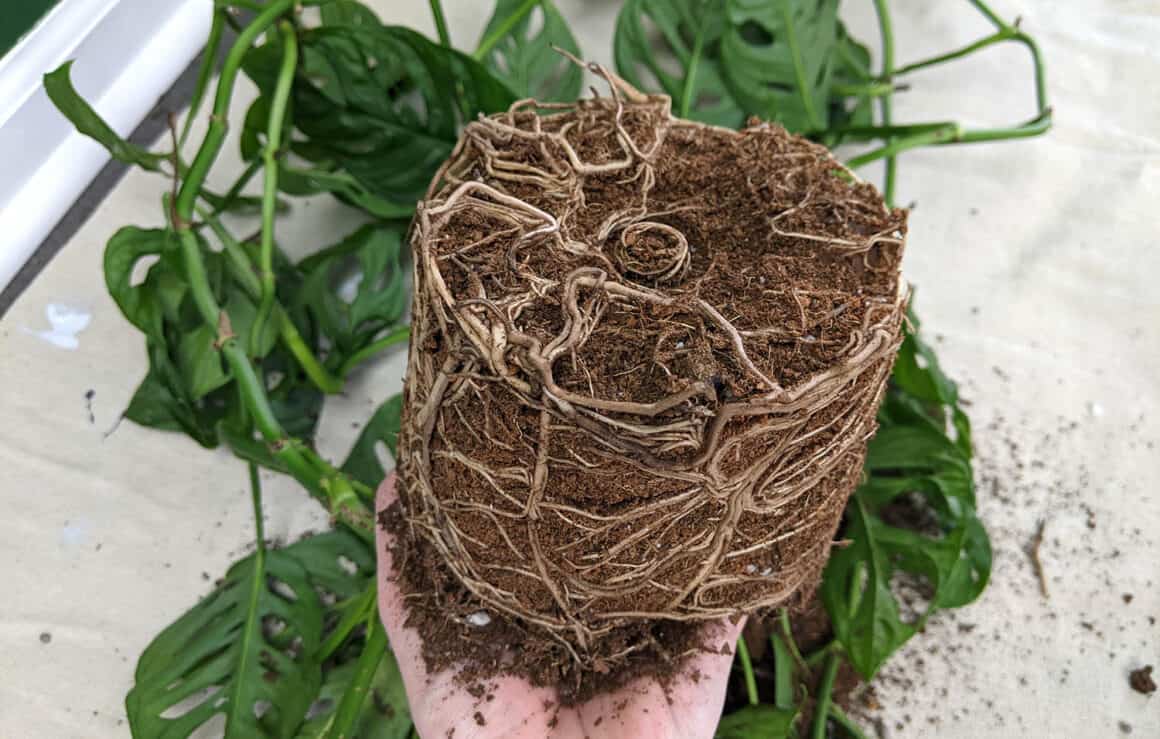
If the plant becomes cramped for space in its pot, it will become root-bound. Once the roots become too densely packed into the planter to grow further, it will signal to the plant that it cannot support new growth. As a result, the plant will appear to stop growing, even if it is otherwise healthy.
Another reason to consider repotting your Monstera is that nutrients in the plant’s soil tend to deplete with time. While this can be offset with fertilizer use, simply repotting a plant with fresh potting soil provides fresh nutrients that can help boost a plant’s health and vibrancy.
When Should Monstera Adansnoii Be Transplanted?
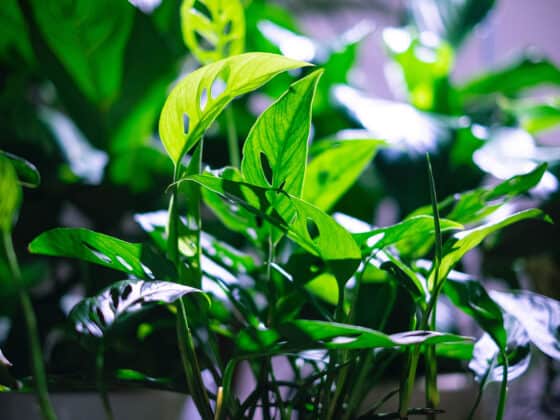
Spring is the best time to repot Monstera adansonii since this is the start of the growing season. But what does that mean, and why does it matter?
During the warmest months of the year, these plants expend significant energy on growing new leaves, stems, and roots. In fact, during these months, you may see the plant add up to two feet of additional height or length.
However, all plants undertake a period of rest called dormancy, which usually starts in the fall. This is because, just as plants can detect the warmth and sunlight that comes with spring, they perceive the shorter days and cooler nights that come with the winter season.
When dormancy begins, your Monstera plant will refocus its energy on its roots, since healthy roots enable the plant to survive in harsh conditions. Furthermore, with less sunlight, the plant would struggle to sustain new growth, resulting in wasted effort for the plant. Like hibernation for animals, dormancy allows the plant to maintain essential functions without expending unnecessary energy during colder months.
But this also means that the plant is a little more vulnerable during dormancy since it is conserving its resources. This means that it will heal more slowly if damaged and that it will be more prone to shock. Shock results from sudden changes to the plants environment, such as being moved to a new location or exposed to different conditions, like a new planter.
Since repotting a plant often involves introducing it to a new planter and new soil and possibly damaging the roots in the process, transplanting a Monstera when it is dormant can lead to prolonged shock or sickness.
Instead, repotting your plant when it is beginning its growth season ensures that your Swiss cheese plant has the energy required to heal quickly and to begin taking advantage of its new location by expanding through new, healthy growth.
Signs It’s Time to Repot Your Monstera
As previously mentioned, one of the first indications that your Monstera needs to be repotted is reduced growth. While not every Swiss cheese plant will grow two feet in a season, if a young, healthy plant does not produce new leaves or increase in size, it is likely time to consider repotting.
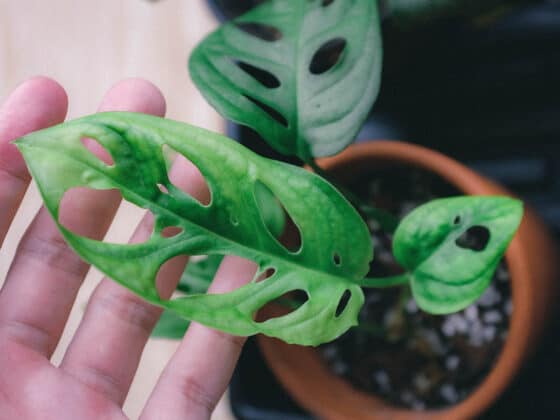
Additionally, upon close inspection, you may notice that there are roots visible above the soil line. It’s important to note that a Monstera adansonii plant does produce aerial roots, which are how the plant clings to moss poles or trellises. These roots emerge from the stems of the plant and are not indicative of a root-bound plant.
However, the appearance of knotted root clusters emerging from the soil around your Monstera or from the drainage holes beneath is a strong indication that the plant is seeking additional room for growth.
Since the soil in which your plant is potted can lose nutrients over time, you may also notice that your plant is looking less healthy. If this is the case, introducing new soil may be the solution to revitalizing your Swiss cheese plant.
A potential nutrient deficiency is most likely to become evident in the leaves of your Monstera. Do they look smaller than expected? Are the droopy, lacking a healthy sheen, or are they starting to yellow? If your plant’s leaves are looking lackluster, and you know that the plant is receiving appropriate water and light, then consider repotting as a potential solution.
Time can also be a sign that your plant needs to be repotted. Once again, as a general rule, you will want to repot your plant every 1-2 years, so if you know it’s been over a year since the last repotting, it might be time to give your plant a healthy new home.
Remember, repotting does often cause a bit of damage to the roots of your plant. With this in mind, don’t repot your plant more than once a year. If you feel that your plant might need a bit of additional nutrition between repottings, consider using a bit of water-soluble fertilizer to keep your plant looking and feeling its best.
Choosing the Best Soil for Your Monstera
Native to the rainforests in Mexico and Panama, Monstera adansonii thrive in humid environments. However, humid air does not translate into soggy soil. (For information on the difference between adding humidity and adding water, check out our article here.)
The issue of damp soil is significant because overwatering is one of the most common mistakes plant lovers inflict upon their plants. A plant can become overwatered when excessive moisture is added to the planter, but also when the container lacks adequate drainage holes and when the soil is designed to trap water close to the plant.
When soil grows saturated, it can become a breeding ground for bacteria, which can result in root rot – a condition that can quickly destroy your plant’s ability to absorb nutrients and can potentially kill your Monstera. While selecting the right soil won’t entirely prevent overwatering, the right soil can also help provide necessary drainage and help your Monstera adansonii grow more quickly.
Not all potting soils are the same. Some soils are designed with water-absorbing crystals or large amounts of clay, which are intended to keep the soil damp for plants that thrive in wet environments. Meanwhile, other soil blends are highly sandy in texture, intended to prevent any water accumulation around the plant.
Your Monstera will thrive best with soil that is somewhere in the middle. Make certain to select a soil labeled as well-draining, but not one that is designed for cactuses or other low-moisture plants.
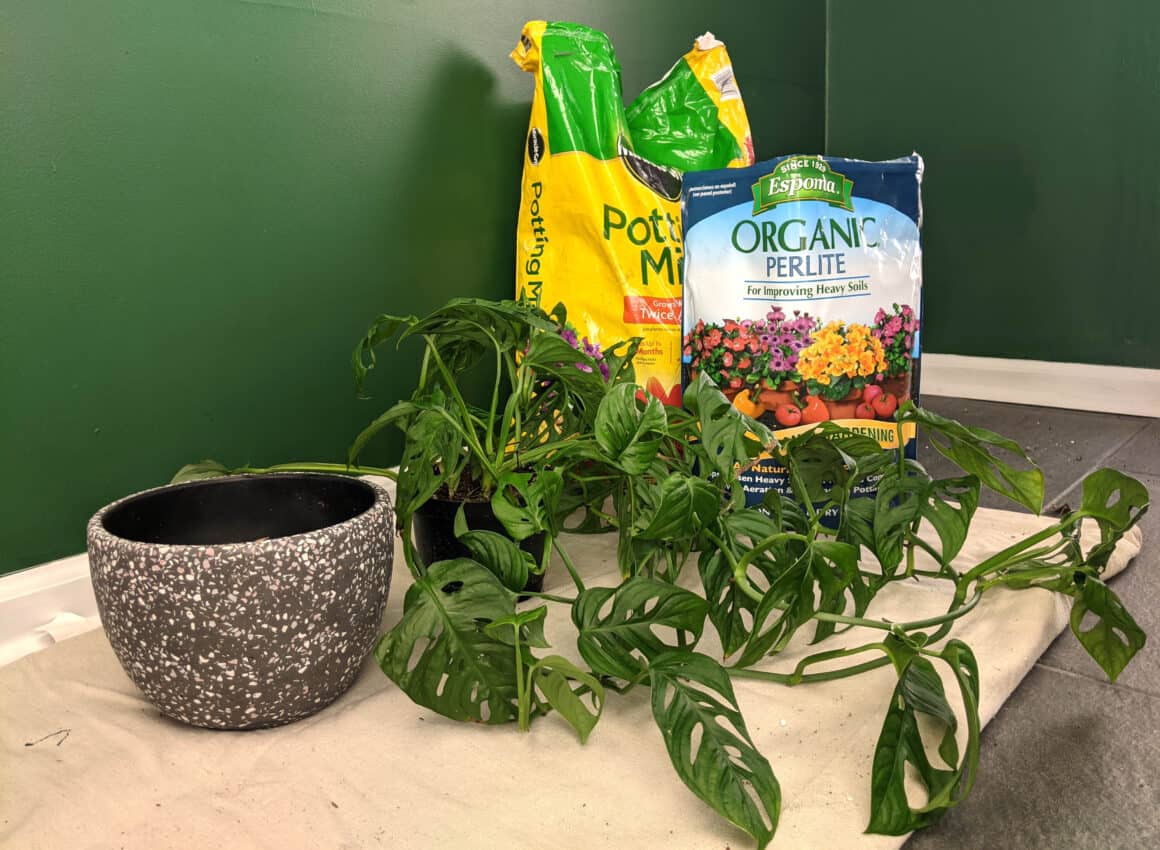
Uncertain of what to choose? Look for soils that contain ingredients like peat, orchid bark, and perlite. These will help retain the right amount of moisture and nutrients to help your plant thrive during the growing season. Personally, I like Black Gold’s Organic Potting Mix.
The Best Containers for Monstera Adansonii
When it comes time to choose a new pot for your Monstera Adansonii, think of your plant’s container like its home. Once you’ve selected the best soil for your Monstera, it is also important to choose a container that will provide adequate drainage and the right amount of room for growth.
Make sure to select a container that has at least one unplugged drainage hole. If you choose a planter that has a saucer, make sure that the saucer does not block the drainage hole. If there is no built-in way to elevate the plant above the saucer, consider using pebbles to lift the plant above the saucer, so that water can flow easily from the bottom of the pot.
Be careful not to pick a pot that is too large. While it might seem that this will allow the water to diffuse in the planter, it actually allows water to accumulate in the bottom of the pot, resulting in muddy soil and root rot.
Instead, the safest strategy is to look for a planter that is roughly 2″ wider than the pot in which your plant currently resides. This will give your plant room to grow without risking that the container will become waterlogged beyond the reach of your plant’s roots.
Lastly, consider the material from which the container is constructed. Clay and terra cotta are more absorbent materials, which means that they can help wick extra moisture in the soil away from the plant’s roots. This doesn’t mean that you can disregard proper watering habits, but it may provide a bit of additional protection if you are concerned that you may overwater by mistake.
Conversely, ceramic can be a good choice for those who may be prone to underwatering their plant. Unlike clay and terra cotta, the glaze on ceramic pots prevents the material from absorbing water and will cause your plant to dry out over a longer time.
Plastic is also a popular material for containers because it is lightweight and difficult to break. Additionally, since it is easy to drill/cut plastic safely, you can modify these planters by adding additional drainage holes or (if the plastic is thin) cutting the plant from the container when it is time to repot. Cutting the plastic can reduce trauma to the roots resulting from the plant being pulled or wiggled from its planter.
How To Remove a Monstera From Its Container
A couple days prior to repotting your plant, give your Monstera a thorough drink of water. This will help soften the soil, making it easier to extract the plant. Hydrated roots are also more resilient and less likely to break as you remove the plant from its container.
Keep in mind that Monstera plants are delicate, even when they have grown large. Since the leaves and stems of the plant are fragile, you must use patience when repotting your plant.
If you are repotting your Monstera indoors, make certain to cover your workspace with a tarp, plastic trash bags, or other coverings that will keep dirt and water from damaging surfaces in your home.
Also, grab a pair of garden gloves and disinfected pruning scissors. Shoo away any pets that might come to play in the dirt or chew the Monstera’s leaves. Since Monstera adansonii can cause irritation to the mouths and stomachs of pets, it is wise to keep them away from any stems or leaves that may drop in the repotting process.
If your Swiss cheese plant is heavy, you may want to gently lay the planter on its side. And don’t hesitate to ask for help if needed – tipping a heavy planter can result in injury to yourself or damage to the plant if you are not careful.
Once the container is on its side, run your finger, or your scissors, around the inner rim of the pot and gently wiggle the planter back and forth, pulling on it slightly to loosen it. You may also want to consider tapping on the bottom or sides of the pot to help loosen the soil.
Remember, don’t yank the plant from the pot or jostle its stems. If you need to apply any pressure to the plant to extract it, grip as close to the base of the plant as possible and do not tug – simply guide the plant out. If the plant does not come loose right away, continue the steps above until it comes free from the container without any hard pulling required.
How to Repot a Monstera Adansonii
Once your Monstera is free from its planter, look carefully at the roots. The roots of a healthy houseplant should be firm and white. Any roots that are dark or mushy are likely suffering from root rot. However, if the plant itself looks healthy, you may have caught the issue early enough to protect your plant.
Remember the disinfected pruning scissors? Use those to carefully trim away any roots that are slimy, mushy, and dark brown/black in color. Since your plant needs every healthy root it has, make sure you don’t accidentally snip away firm, healthy roots when trimming away the rotted ones.
When trimming a root that appears to have rotted, make sure to cut above the squishy sections. Leaving a portion of the molding root may allow the bacteria to spread. Throw away the rotted portion of roots, since you don’t want any diseased plant matter near the rest of your plant.
While you are always encouraged to prune away any yellowing leaves if you did not need to trim any rotted roots, don’t feel any need to prune away large portions of the plant.
If you are not looking to encourage new growth and choose to reuse the previous planter, wash and dry it carefully. Any mold or bacteria in the bottom of the planter can infect your plant. If you are encouraging new growth, grab your larger planter.
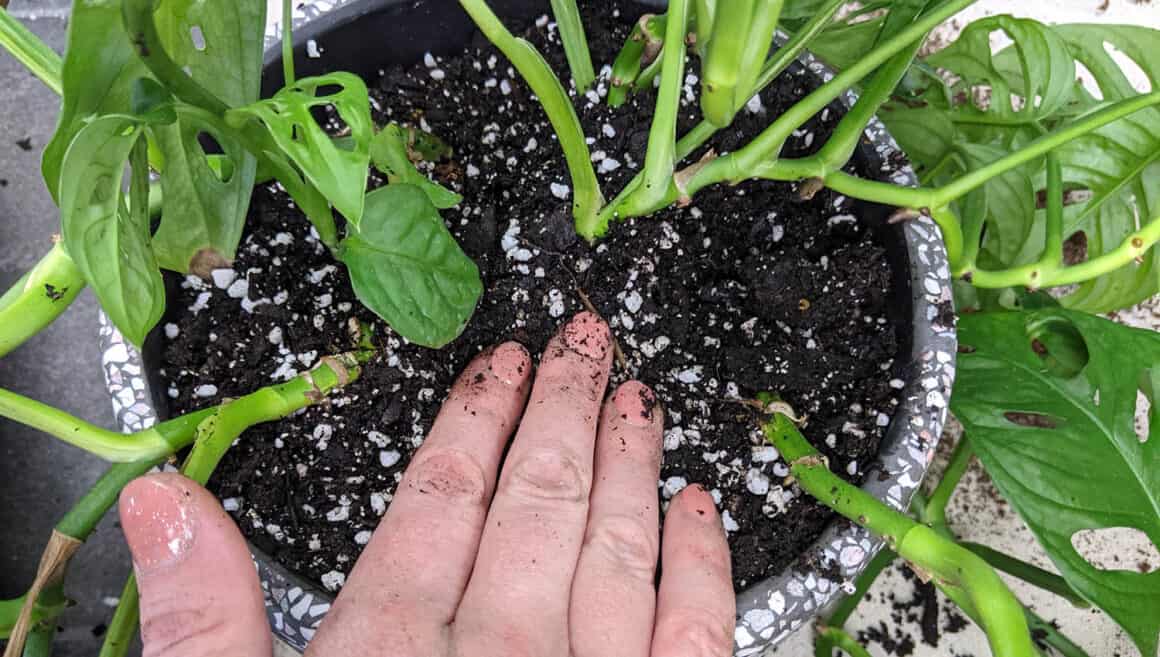
Now, fill your planter with fresh potting soil, creating space in the center to lower in your Monstera. Pressing gently on the top of your Monstera’s roots, make certain that your plant is well positioned in its new home and that none of the roots that should be resting beneath the soil are exposed.
After repotting, your Swiss cheese plant will likely experience a mild shock, so it may stop growing or drop a few leaves over the next few weeks. This is natural and will lessen as the plant heals.
During this recovery period, avoid fertilizer and be especially careful about overwatering. Place your Monstera in a humid space, away from direct light, and protect it from any extreme conditions. Soon you will see signs of new growth, and your plant will be thriving happily in its brand-new home.
How to Repot a Monstera With a Moss Pole
Because Monstera adansonii is a climbing plant, it is common for plant owners to use structures to provide stability. For many owners of Swiss cheese plants, moss poles are the solution.
A moss pole is a support made from a pole, stick, or PVC pipe, that has been covered in organic moss. The poles can be purchased from garden centers or online, but they can also be easily made by wrapping stakes or sticks in a pliable form of moss.
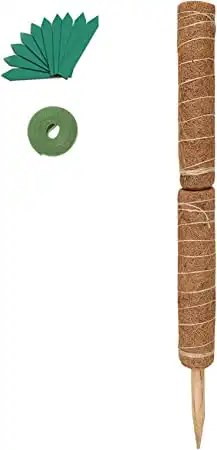
Moss poles are popular due to their compact size and because their natural appearance often blends well into indoor gardens. Also, since the moss provides a soft structure onto which your Monstera can attach, it can provide exceptional support for your plant to achieve its full height.
But if your plant is firmly attached to a moss pole, how are you supposed to repot the plant? Repotting with a moss pole is actually easier than you might think. And with a bit of guidance, you can transfer your Monstera to a new pot with its moss poll still intact.
When you are ready to repot, simply follow the instructions we covered above for turning the planter on its size and coaxing the plant from the container. You can use your Monstera’s moss pole to provide some stability as you guide the Monstera from the planter. However, be careful not to yank on the pole.
Since your Swiss cheese plant is clinging to its moss pole by its delicate aerial roots, pulling too hard on the pole can tear those fragile structures. Support the plant and the pole as you make the transition, and don’t attempt to carry the plant by the pole alone.
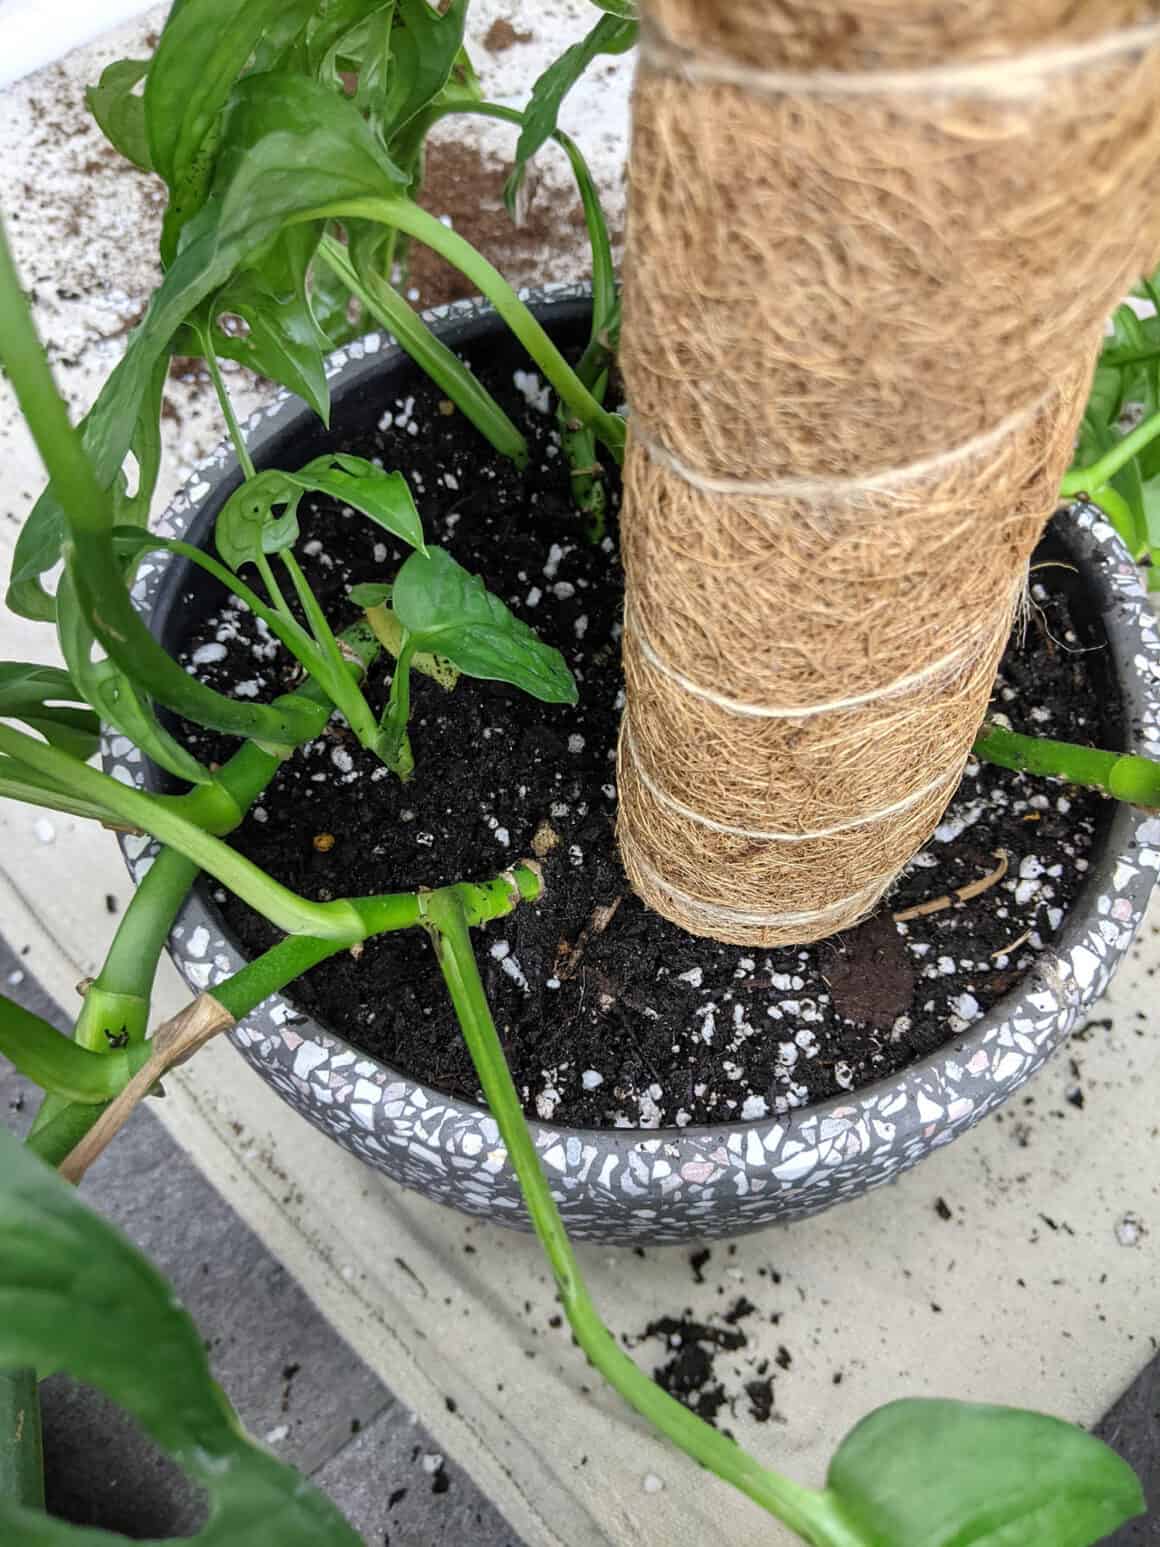
As you introduce the plant to the new container, place the moss pole deep enough into the planter to provide structure while being careful not to cover the plant’s stem with soil. Mounding potting soil over the stem can trap moisture against the plant, leading to bacterial buildup and potentially rot.
If portions of your plant have become detached from the moss pole during the repotting, you may need to go through the steps of training your plant to reattach in those locations. For more information on training your plant to cling and climb, check out our article here
Potting Monstera Cuttings from Propagations
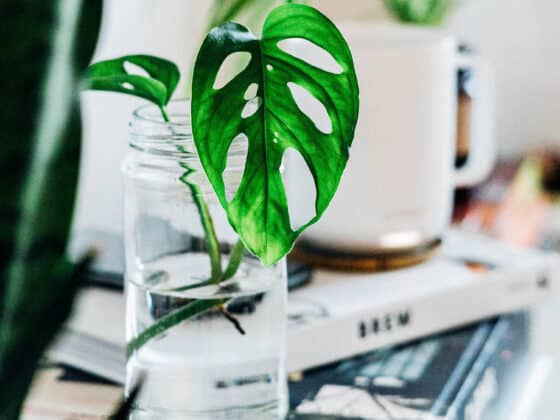
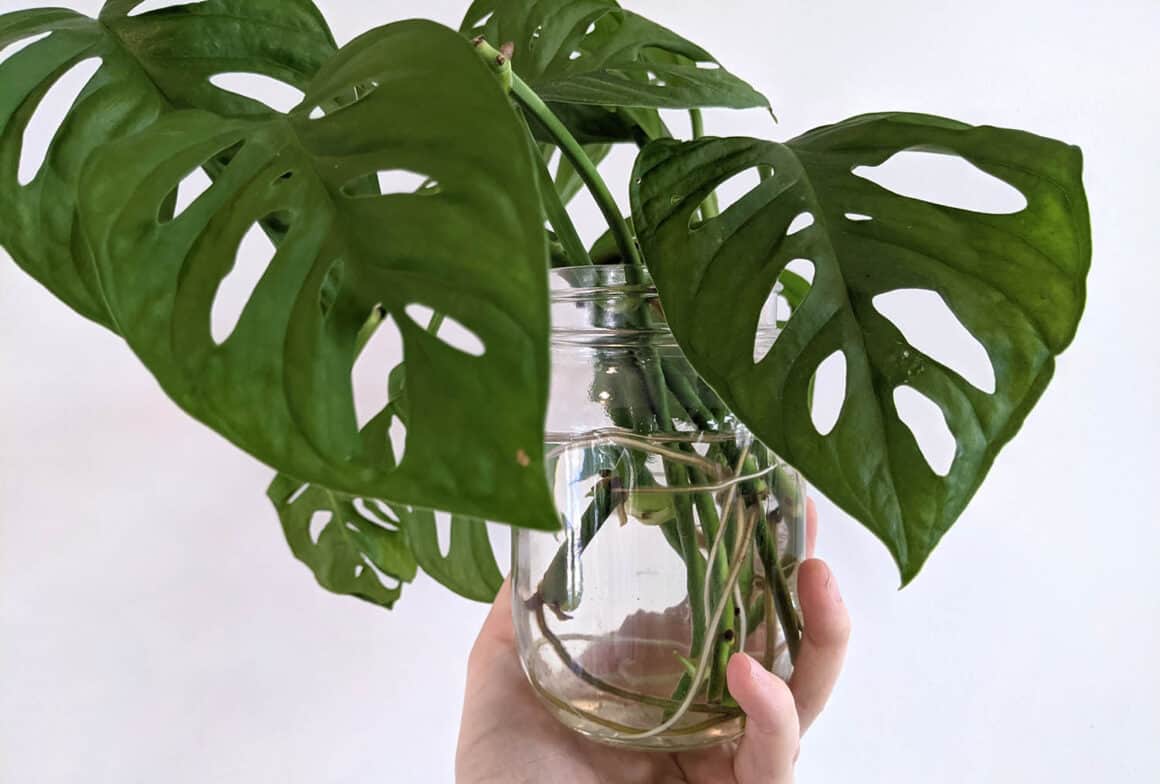
Some Monstera owners like to propagate their plants in water. And while there isn’t necessarily anything wrong with that strategy, soil propagation is often best for growing a healthy, long-living plant. For an in-depth look at how to propagate a Monstera Adansonii from cuttings, read our guide here, but I’ll give a quick overview below.
First, make sure that any cuttings you use for propagation are mature, with dark green, unfurled leaves. You will also want to use cuttings that have been snipped below the node (the bump where the leaf meets the stem). It is out of these nodes that new roots will form. Pick more than one stem, if possible, since this will provide the best chance of successful propagation.
As with any Monstera, always use well-draining soil and a pot that has a drainage hole. Insert a small hole in the center of the planter, just big enough to accommodate the cutting (or any delicate roots it may have, if you are transferring the cutting from water). Gently fill the hole around the cutting with soil, and pat down around the cutting to provide stability.
Since cuttings are like baby plants, it is especially important to follow the rules of Monstera care. With this in mind, be very careful to avoid any direct sunlight on the plant and consider a humidifier as a way to add moisture to the air surrounding the delicate cutting.
Furthermore, avoid fertilizer until the plant is more developed, since it would be easy to overwhelm the Monstera at this stage of development. For similar reasons, be particularly cautious about overwatering as the root system is just beginning to grow.
While the plant is so young, it may not be reasonable to expect dramatic growth immediately. However, with proper care, the plant will soon overcome any shock, and will begin producing healthy leaves. In no time, you will be on your way to introducing another beautiful Monstera Adansonii to your collection.
Final Thoughts
With excellent care, a Monstera can live for decades. Considering that they should be repotted every 1-2 years, it would be wise to get comfortable with the repotting process.
And while transitioning your plant to a new container may seem overwhelming at first, it is a great way to breathe new life into your Monstera. Providing fresh soil, nutrients, and space to thrive, repotting is an easy way to jump-start your Swiss cheese plant’s growth instinct.
With a little patience, you will soon see the rewards of your effort in the form of a lush, fast-growing plant that is certain to be the centerpiece of your home garden. Now, what are you waiting for? Get your planter and ready for a happy, healthy houseplant!