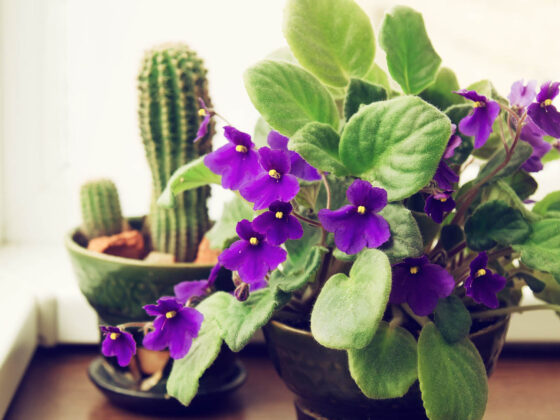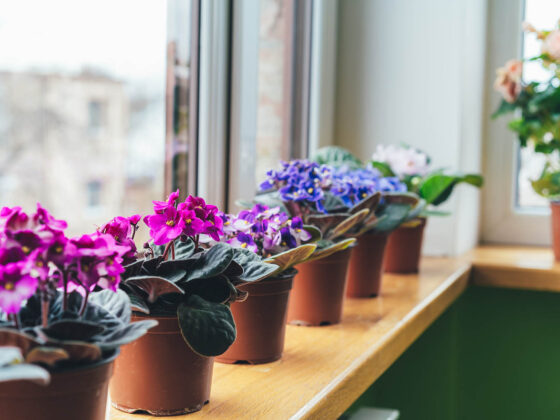
You started with one African Violet, but now you want more. This is a common experience – lots of people find that just one of these beautiful flowering houseplants isn’t enough. We’re happy to inform you that you can grow a new Saintpaulia from a simple cutting. This article will help you start an African Violet from a leaf and raise it into a full-sized plant.
Saintpaulias can grow from leaves or suckers that you split off from the main plant. To start an African Violet from a leaf, cut the end of the petiole at a 45-degree angle. Then plant it in a small pot of moist soil and keep it humid. Over the next 2-3 months, new foliage will grow next to the leaf.
Propagating African Violets from s uckers is similar, though in this case, you’ll peel and bury their central stems. Since these plants grow fast and require regular trimming, you should have a steady supply of raw materials. You can quickly turn one African Violet into a massive horde of plants! Let’s find out how.
How African Violets Reproduce
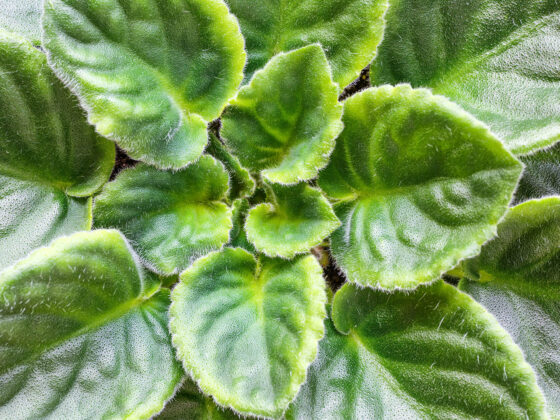
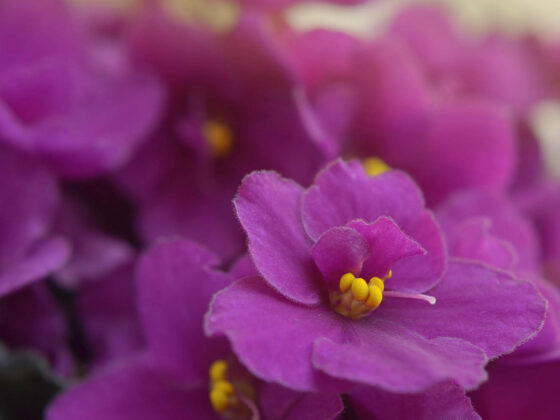
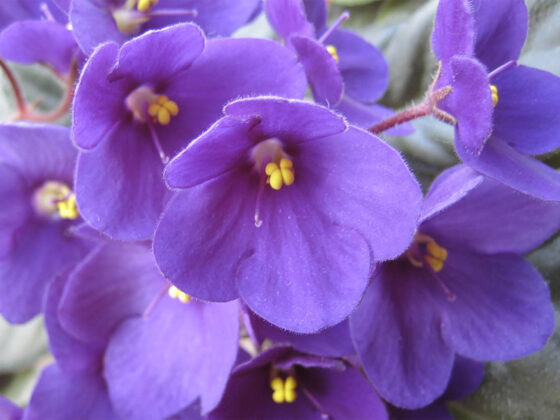
African Violets are best known for their bright, colorful blossoms. But flowering isn’t the only way these plants can reproduce. They also send out offshoots of new foliage that can grow into separate plants.
At first, these are just growths on the side of the existing African Violet. However, if something splits them from the main plant, they can take root and grow wherever they fall. Maybe that’s part of the reason African Violet leaves snap off so easily! Frequent breakage only increases the plant’s odds of spreading through asexual reproduction (aka cloning).

Why Grow African Violets From Leaf Cuttings?
The obvious reason to propagate your Saintpaulia from cuttings is to make more of them. Plucking a leaf, planting it, and waiting for it to grow is the simplest way to multiply African Violets.
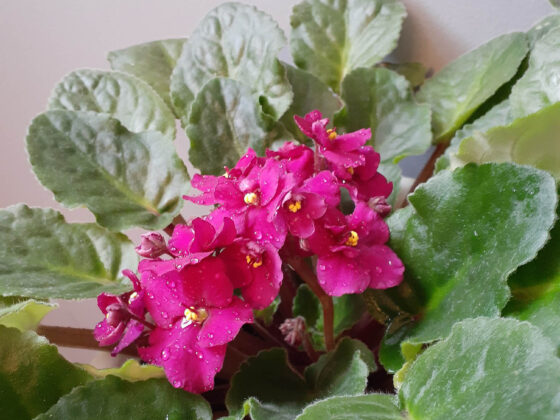
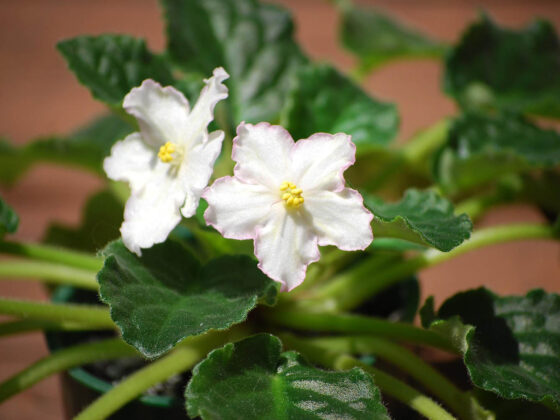
The other reason to grow African Violets from cuttings is to ensure that the new plants look like their parent. You can multiply Saintpaulias from seeds, but this shuffles around their genes. You can not guarantee that a seed will grow into an African Violet with the same flower color, leaf shape, or foliage pattern as its parent.
Cuttings, on the other hand, are genetically identical. You can pass on things like variegation and bloom color when you start an African Violet from a leaf.
The only exception is chimeric African Violets, which have stripes of different colors running down the flower petals. This effect happens because different cells within the plant have different genes. As such, you can’t guarantee that one particular leaf will contain the genes for chimeric patterning.
Preparing to Start an African Violet From a Leaf
African Violets bloom best when you trim them regularly. (Read about pruning African Violets in this article.) So it should be no challenge to find leaf cuttings you can use for propagation. Only the inner 3-5 rows of foliage on a Saintpaulia produce blooms. You should be removing the outer leaves every month, at least during the growing season.
Before you take the cutting or cuttings, have some pots at the ready. Small plastic pots, or even seed starting trays, are fine for this early stage. You can move your new African Violets into bigger containers once they’ve grown up a little.
If you have a lot of leaves to work with, you might want to place two or three in each pot. This will give better odds that one of them will grow into a viable plant.
African Violets prefer a slightly spongy potting mix that has good drainage and aeration. Our usual recommendation is to combine:
- 4 parts coarse perlite
- 3 parts coconut coir
- 2 parts vermiculite
- 1 part worm castings
This mix should hold a bit of moisture, but not so much that it gets waterlogged. Before adding it to the containers, get it slightly damp. You want it about as moist as a washcloth that you’ve wrung out thoroughly.
The only other tool you’ll need is a small, sharp blade. A long-handled craft knife works well for this.
How to Start an African Violet From a Leaf
Once you’ve assembled your materials, you can start multiplying your plant. Here’s our step-by-step guide to African Violet leaf propagation.
Step 1: Remove the Leaf
To harvest a leaf from your African Violet, pinch it at the joint where the petiole meets the stem. Then twist and pluck it off. As we mentioned, Saintpaulia leaves usually snap off quite readily. If the leaf is unusually tough or if the joint is hard to reach, you can use your craft knife.
Though you’re typically using older leaves, you should make sure they’re still reasonably healthy. A withered, dead African Violet leaf isn’t going to make a healthy clone. And you should never use leaves that show signs of pest infestation, disease, or rot.
Step 2: Trim the Cutting
Slice off the end of the petiole at a 45-degree angle with your knife or a small pair or pruning scissors. This increases the surface area from which new roots and leaves can grow. We recommend leaving roughly an inch of petiole attached, but it’s no big deal if it’s more or less.
Just make sure to disinfect the blade first. Otherwise, the cut could get infected and damage your plant. Good sanitizers include rubbing alcohol, hydrogen peroxide, and bleach diluted to 10% strength.
Many guides also recommend chopping off the upper end of the leaf. This encourages the plant to put its energy into root growth instead of expanding the original cutting. From everything we’ve seen, this only makes a small difference. But you can give it a shot if you want to maximize your cutting’s chances of taking root. Or try it both ways and see for yourself which works better!
Step 3: Plant the Leaf
Now you can bury the petiole in the soil. It shouldn’t be overly deep, since the baby leaves will have to push their way up from the lower end. Tuck just enough into the potting mix that your cutting will stay in place.
Some growers like to dab the end of the petiole with rooting hormone before planting it. This can speed up the growth rate, but it’s not strictly necessary. Another optional but helpful addition is cinnamon, which has anti-fungal properties. A small dusting at the cut end will help your clone avoid rot.
Step 4: Shelter Your Cutting
When you start an African Violet from a leaf, it’s very important to provide humidity. These tropical plants always appreciate moist air, but it’s especially helpful when they’re trying to grow new roots. Humidity also helps you keep your cutting hydrated without watering much. This reduces the danger of root rot.
One simple and effective way to maintain high humidity is to place a transparent container over your cuttings. Examples include:
- Plastic bags
- Bell jars
- Tall plastic food storage containers
- Clear bins with locking lids (you can put several cuttings at once inside and close them up)
You can also invest in a humidifier. After all, you probably won’t want to keep your African Violets under wraps for their whole lives. But the added moisture that a humidifier offers will always be welcome.
Find a spot where your cuttings will get a good amount of indirect light without sitting in the sun. An area close to a north-facing window is often a good choice. You could also place them 2-3 feet back from an east window, or 6-8 feet back from a southern or western exposure.
Our article on lighting for African Violets offers more detail. Just remember that young plants are even more sensitive to direct light than mature ones.
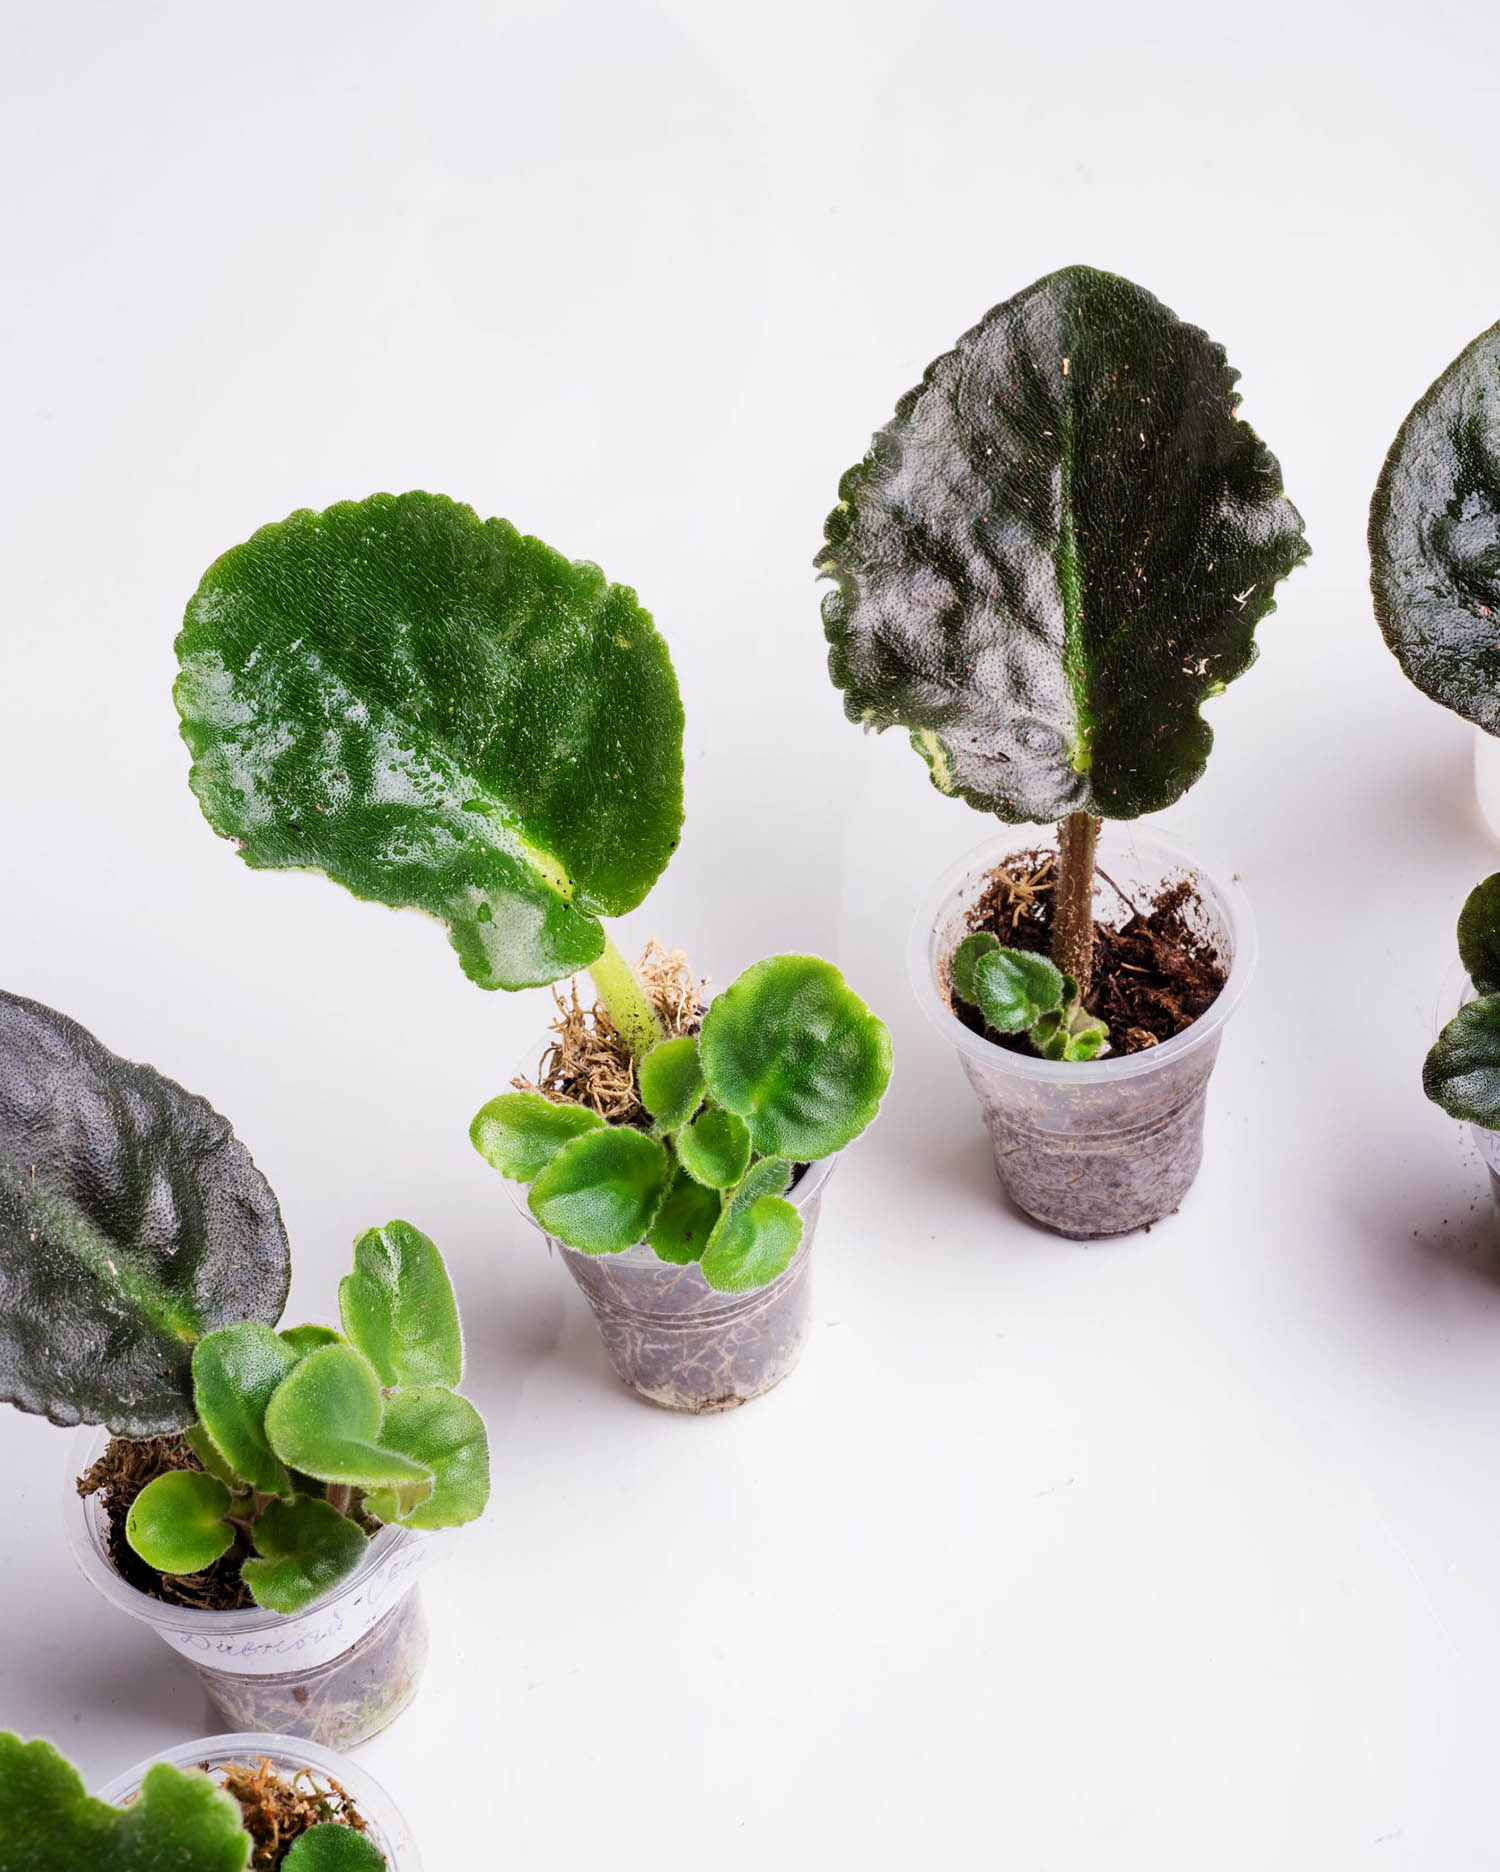
Step 5: Wait a Few Months
Give your African Violet clone some time to grow. You’ll typically see new leaves poking up from the base of the cutting after about 8 weeks. By 12-16 weeks, they should be strong enough to transplant into a slightly bigger pot.
This timeline can vary a lot. Some varieties of African Violet grow faster than others. And like most plants, they grow faster in the summer than in the winter, unless you use grow lights.
In general, you should wait until your cutting has grown at least 3 distinct new leaves, with smaller ones poking up in the center. You can give it even longer if you’re uncomfortable disturbing your baby plants. There’s no rush to transplant until the foliage is more than triple the width of the container. Err on the side of caution.
Step 6: Transplant
Once you feel safe moving your baby African Violet, you can transfer it into a new pot. Use the same kind of potting mix we described above. Don’t increase the size too much – Saintpaulias are most comfortable in cozy pots. Fill ⅓ to ⅔ of the new container with moist soil.
Now tip your clone’s pot over into your hand to remove the soil and roots. At this point, you may want to remove the original leaf. It’s done its job, and you can get rid of it if you want your little Saintpaulia to look more symmetrical.
If you’re a true propagation fanatic, you can even pop the old leaf into a new pot of soil and raise yet another fresh plant! It’s often possible to get three or four new African Violets from a single leaf cutting. Either way, be gentle when separating the old leaf from the new plantlet. Slicing it away with your knife is the simplest tactic, and the one least likely to damage the roots.
Place your baby African Violet in the new pot, then fill around it with more soil. Take the same precautions after transplanting that we recommended for the cutting. A bit of extra humidity and shade will help the plant get settled in the new space.
Propagating African Violet Leaves in Water
You can also start your African Violet cuttings in a jar of water. Oddly enough, this avoids the risks of overwatering. The new roots that form will be adapted to absorb oxygen from water. And the microbes that cause root rot can’t survive outside of the soil.
Plus, you can see the new roots and leaves growing in. This is cool to watch, and it lets you see exactly when they’re big enough to transplant. And the need for humidity control is reduced when rooting in water.
However, in our view, water propagation is rarely worth it. Your new African Violets will grow more slowly, and you’ll still have to switch them to soil eventually. Then they’ll need to shed their water roots and grow new ones that are better suited to the soil. Not all African Violets can survive this transition.
Follow the same guidelines about humidity and direct sunlight when moving African Violet clones from water to soil. It’s usually safe to transplant them once the roots are about an inch long.
Growing New African Violets From Suckers
Remember how we mentioned that Saintpaulias can branch off new plants? Those miniature foliage clusters are even easier to propagate than individual leaves.
A secondary foliage crown on an African Violet is known as a sucker or a pup. In most cases, indoor gardeners try to avoid or get rid of suckers. They can siphon off energy that your plant could otherwise use for making flowers. They also slow down the plant’s overall growth.
However, they’re very useful for propagation. So next time you’re pruning your African Violet, consider saving and planting the suckers instead of trashing them.
You should always use suckers when reproducing a chimeric African Violet. Removing a larger portion of the plant gives you better odds of getting a mix of cell types. So a sucker will usually display the same pretty pinwheel blooms as its parent. It’s not foolproof, but it’s much more reliable than leaf propagation.
How to Remove and Propagate an African Violet Sucker
Normal African Violet growth emerges from the center of the foliage crown. So you can spot suckers by looking for clumps of leaves poking out from the lower, outer edge. They tend to sprout at the joints between older leaves.
The best tool for popping suckers off your plant is, once again, your handy craft knife. Slice off the clump of leaves right where it joins the central stalk. You should be left with an itty-bit plant that has a small stem of its own. This little nub might be covered with brown, scaly spots. Scrape these off to help roots emerge from the green tissue underneath.
Plant the sucker in a little pot of moist soil, the same way you would with a leaf cutting. Then follow the same steps we outlined above. A transplanted sucker will generally start producing new growth even more quickly than a leaf cutting.
Promoting Suckering in Saintpaulias
Most people try to avoid letting their African Violets grow suckers. But you might want a few if you’re looking to create a large crop of clones, or if you have a chimeric African Violet. In that case, you can use the following method to create a whole bunch of suckers at once.
We’ll go ahead and warn you right now: this is an advanced technique. Don’t try it for the first time on a plant you’re attached to.
To get your African Violet to make more suckers, you’ll need to remove the central crown. Yes, this means you’re getting rid of the main growth point. And yes, that will make it much less likely to bloom.
Instead, a bunch of tiny new crowns will pop up from the cut. Once they develop enough, you can chop them off and replant them. You’re turning this African Violet into a sucker production factory.
If you’re careful enough when removing the crown, you may be able to save and transplant it. The best tools for slicing it off are, once again, your fingernails or your craft knife. Disinfect your knife or use some hand sanitizer, then chop through the stem. The cut should be just below the spot where the tiny leaflets at the center of your plant join together.
The tiny plantlets growing from the stem should be large enough to transplant in about 4-6 months. At a bare minimum, each one should have three distinct leaves, with smaller leaflets emerging in the center. When they’re ready, propagate them using our earlier instructions.
Important note: this technique is especially useful for reproducing chimeras. Growth from the main stem is more likely to contain a mix of genes than suckers from the outer rows.
Final Thoughts
With the right preparations, it’s easy to start an African Violet from a leaf cutting. It’s also an incredibly fun experiment! Give it a try and watch your collection grow. Just don’t be surprised when you end up with so many Saintpaulias that your friends stage an intervention.