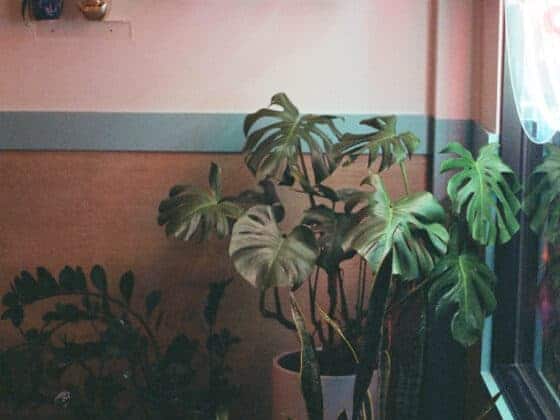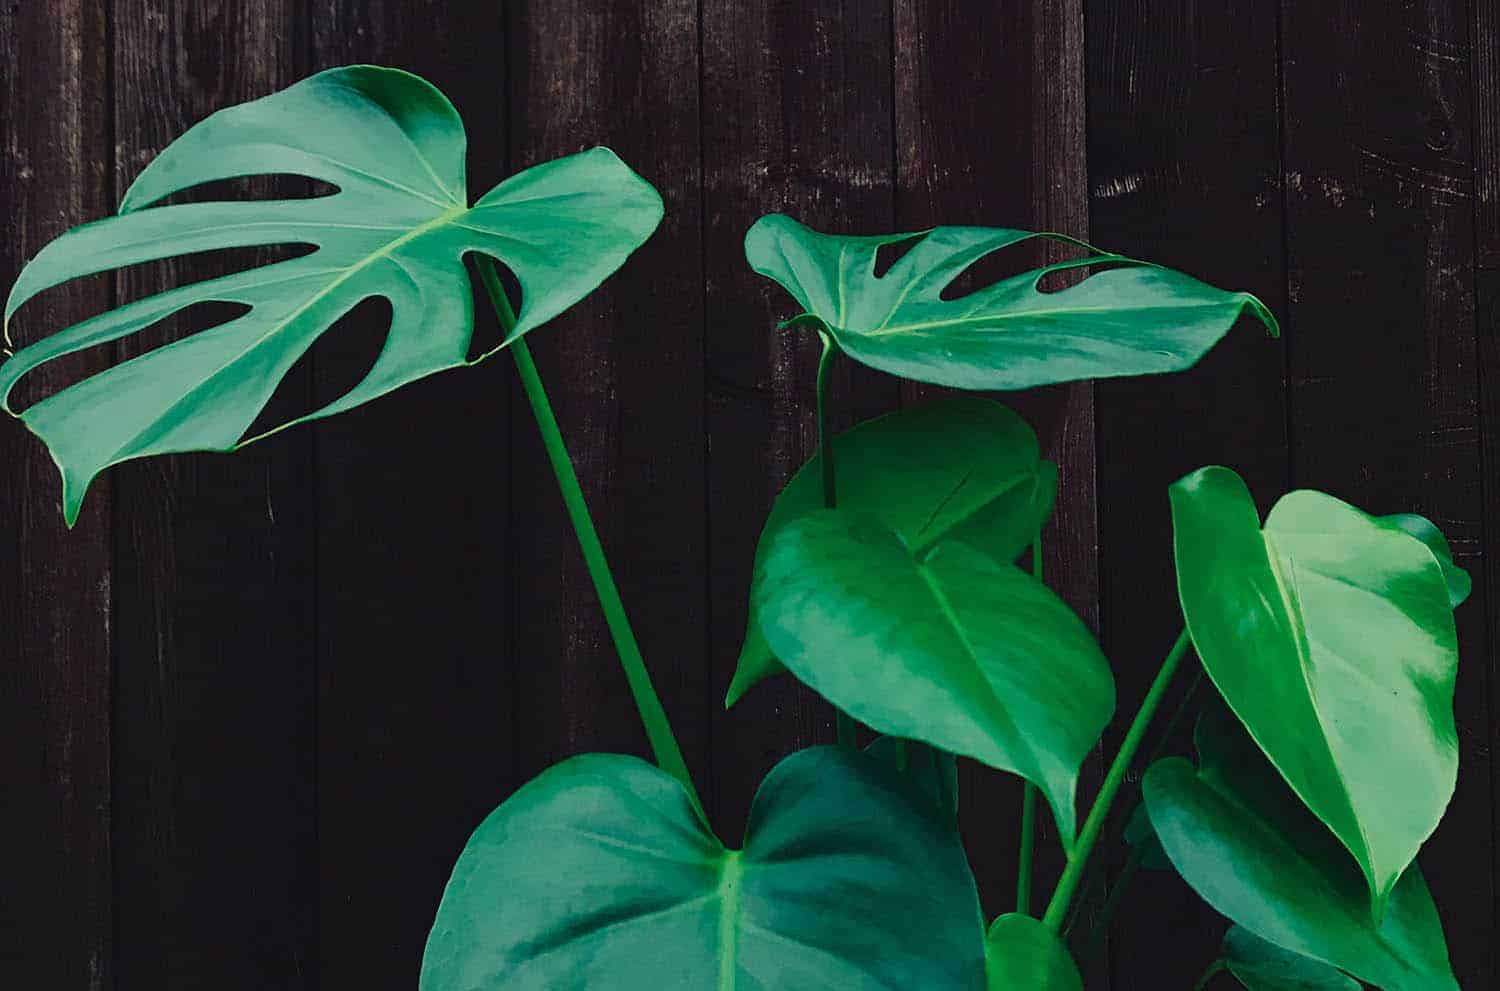
Monstera deliciosa can quickly expand to reach gigantic proportions – hence the “monster” in their name. These aggressive-growers can quickly exceed the capacity of their pots, especially in environments with ideal conditions. Knowing how and when to transplant a Monstera will help you ensure that your plant is getting the care that it needs regularly.
In general, Monsteras need to be repotted at least every two years because their roots will grow to the point that they can no longer thrive in their current container. Replanting ensures that the Monstera has plenty of space to grow new roots and access to fresh nutrients, which will help the plant continue to grow.
If this is your first time repotting a large houseplant, don’t worry. The process is straightforward and basically the same as with other smaller plants. Keep reading, and I will cover all of the ins and outs of repotting a Monstera deliciosa, including why they need to be repotted, how to repot a Monstera properly, and the best tools to use.
Why Do Monsteras Need to Be Repotted?
Like all plants, a healthy and happy Monstera will eventually outgrow the pot that it lives in. Giving it somewhere larger to hang out will encourage it to grow more, ensuring that your Monstera can continue to thrive in your home. A properly cared for Monstera can grow up to 8 feet tall indoors and produce plenty of cuttings for new plants.
Besides this, a Monstera deliciosa that’s left in a pot it has outgrown will eventually become rootbound. Rootbound Monsteras are plants that have grown so many roots that there is no room for the soil in their pots. While this won’t kill a Monstera, it will stop growing and, over time, won’t be able to absorb water through its roots.
Repotting is also an excellent opportunity to check your Monstera’s health and refresh its soil. Replacing the soil in its pot is important, even if you don’t size up the planter. Fresh soil reintroduces the nutrients that a Monstera needs to thrive. These nutrients are depleted from the soil as time progresses, which is why periodic fertilizing is recommended for almost all plants.
When Is It Time to Repot a Monstera?
There are several indicators that a Monstera is ready to be repotted, though they aren’t always obvious when merely looking at the plant. One major thing to key in mind is the length of time that has passed since the plant was last repotted: Monsteras should be repotted at least every two years. Two years isn’t a rule, though—each plant is different, and its needs should be a priority when deciding if it’s time to repot.
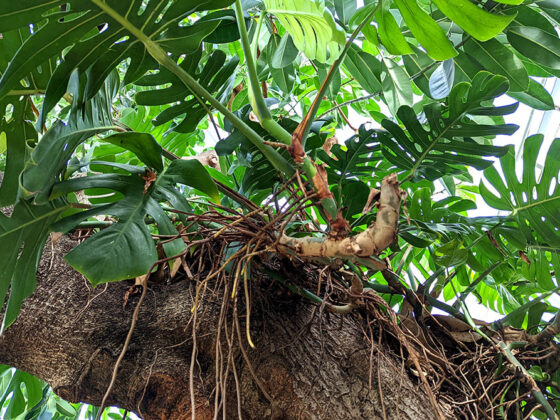
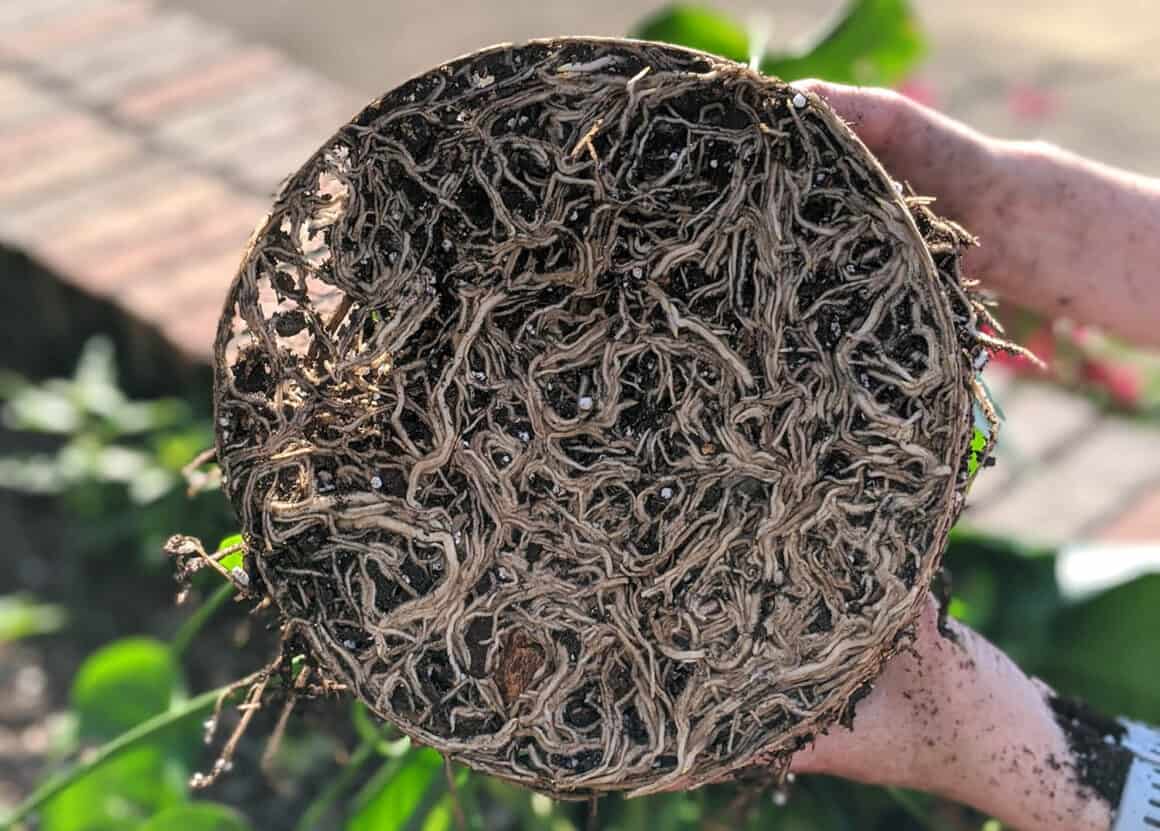
Besides the repotting timeline, any root overgrowth means that the Monstera deliciosa needs a new planter. This can take a couple of different forms, such as the roots growing out of the drainage hole, and can best be gauged based on how the roots look when the plant is removed from its pot and inspected.
Root overgrowth can also cause water to drain too quickly from the pot. If you’ve noticed that the water you pour into your Monstera runs out of the bottom fast, take a peek at the roots. They are probably coiling around themselves and haven’t left much room for soil.
We have an article devoted to being able to tell when a Monstera needs to be repotted here. It goes in-depth on the different signs that indicate a Monstera needs a new pot, so check it out if you have any questions about your Monstera’s condition.
Do Monsteras Like to Be Rootbound?
The idea of a plant “liking” to be rootbound is a strange one to me. While it won’t be detrimental to the plant right away, being rootbound is not ideal for a Monstera. Several problems can arise from a Monstera being left rootbound for a long time.
One of the most pressing issues that a rootbound Monstera can face is dehydration. A potbound plant’s roots tend to push the soil out of the plant’s container, displacing the dirt that usually holds moisture until the roots can absorb it. When this happens, the water runs out instead of soaking into the soil. Over time, this will hurt a Monstera and cause it to exhibit signs of underwatering, such as yellow and brown leaves.
Some people recommend leaving a Monstera rootbound to discourage growth in situations where space is limited. While this is an easy fix, it isn’t the best choice for a healthy plant. It is much better to prune the roots to continue to live in the same sized pot. Once pruned, the plant can be moved to an area with less sunlight to discourage growth. If you’re finding yourself wanting to keep your Monstera small, read this article, which will walk you through the process of pruning back your plant’s roots.
Best Time of Year for Transplanting
Repotting a Monstera can be stressful, both for you and your plant. So it is important to keep the time of year in consideration when preparing to transplant your Monstera to a new pot: plants go through periods of growth and dormancy. You’ll want to transplant during the growing season.
These periods usually coordinate with the time of year. Monsteras enter their growing season during the spring and summer, producing tons of new leaves, stems, and roots. Plant owners often have to adjust the care that they give their Monsteras during this time. In the summer, plants need more water and nutrients to keep up with the explosion of growth.
The best time of year to transplant a Monstera is in the early spring. Providing your Monstera with a new pot and fresh soil will give it the space and nutrients it needs to put out a bunch of new growth. It also gives your Monstera some time to adjust to its accommodations before it fully “wakes up” and starts getting ready for the warmer weather.
Transplanting is a stressful event, so planning to do it before your Monstera has fully come out of dormancy is a good idea. If the plant experiences transplant shock, having the energy to recover is vital. Transplant shock is why repotting in the winter, when the Monstera is dormant, should be avoided. The plant can’t respond as quickly and as effectively to an injury or disease.
In case of an emergency, transplanting a Monstera in the winter won’t usually harm the plant. If this happens, give your Monstera a little extra attention. Watching the plant, you will know right away if it begins to exhibit any signs of discomfort, like losing leaves. Watering it thoroughly after transplanting is also necessary, but remember that Monsteras tend to need less water in the winter months.
What Soil Should You Use For a Monstera?
Choosing the best soil for your Monstera should be based on what the plant needs. While Monsteras love rich, nutrient-dense soil, the soil you pick also needs to be well-draining. A soil that is too dense can bog down the plant’s roots, causing them to sit in soggy soil for too long. Besides preventing nutrient uptake from the soil, this can also lead to root rot. Root rot is a big problem.
The best option is almost always an organic potting soil labeled as quick-draining. These can be found online and in stores, so it isn’t hard to come by. If this isn’t an option for you, heavier soils can be mixed with a lightening agent, like perlite or peat, to assist with drainage. An off-the-shelf potting soil can also be mixed with an orchid or succulent mix for a similar effect. Personally, I like Black Gold’s Organic Potting Mix.

These aren’t ideal options but will work in a pinch. Be sure to watch your plant if you have recently switched potting mixes: Monsteras are quick to show any signs of discomfort. If this happens, always inspect how the roots respond to the soil. Try to check the drainage, too. Too much or too little drainage are indications that the soil is not working for your Monstera.
Mixing in a little bit of compost is also an option if you have some available. Properly made compost is full of great minerals and nutrients that act as a fertilizer for plants with the added benefit of being homemade. Be wary, however: compost can attract soil gnats that can be difficult to exterminate.
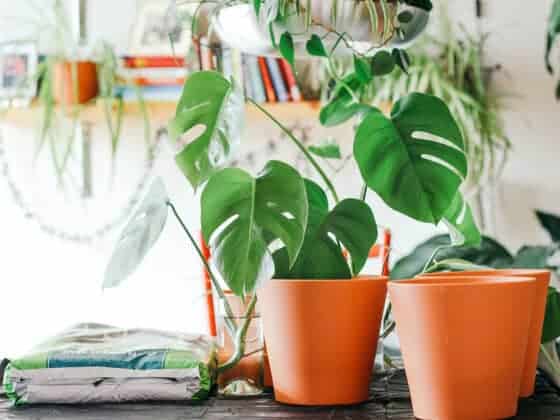
Which Containers are Best for Monsteras?
Picking the perfect pot for your Monstera almost always comes down to personal taste. There is no perfect planter composition, but there are some things to consider when choosing one.
There are several different types of pots currently on the market. Terra cotta, glazed ceramic, plastic, and concrete are a few options. There are also non-traditional planters like the ones made out of recycled mugs or dishes. These can all work well for a Monstera as long as they are the right size and have proper drainage.
For people that live in drier areas, plastic or glazed ceramic pot might be a smart investment. Monsteras like moisture and humidity (not too much, though!), and these types of planters can help to keep the plant adequately moist. On the flip side, a terra cotta pot can be great for heavy-handed waterers because the material actually wicks away the excess water from the soil. The same goes for concrete.
Drainage is far more important than the material you use. Most planters from nurseries and garden stores will have small holes drilled into the bottom for excess water to drain out. There can be one or several; the amount doesn’t necessarily matter, so long as the pot drains well when the plant gets watered.
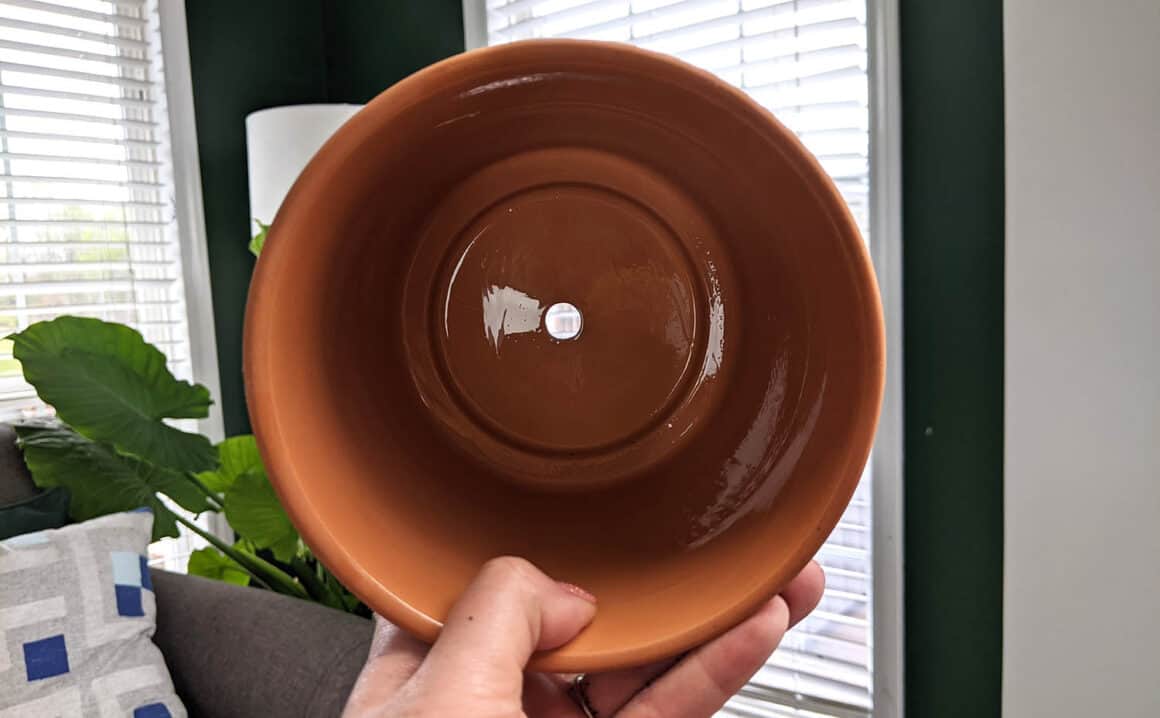
Found a pot you love that doesn’t have a drainage hole? Drill one yourself! Use a regular drill bit for plastic and metal pots, a masonry bit for unglazed ceramic, and a tile or glass drill for glazed ceramic. But be careful! Too much pressure could crack a pot, so be certain to take the proper precautions.
When deciding on a pot for transplanting, try not to go up more than one size. Your new pot should only be 2-3″ wider than the current pot your Monstera is in. The larger the plant, the bigger this difference in size can be. Try not to go much larger than a single size up, though.
Too large of a pot keeps your Monstera’s soil retaining more moisture than it should. This can easily result in overwatering because the top portion of the soil will feel dry despite the plant not being ready for another watering. Overwatering, done often enough, can lead to the plant’s roots developing root rot by encouraging fungus in the soil.
How To Remove a Monstera From Its Container
Smaller plants, Monsteras that you can easily and comfortably lift on your own, are pretty easy to remove from their pots. It is as simple as taking the Monstera to the prepared workspace, putting it onto its side, and carefully tapping the bottom until the soil breaks loose and the plant can slide out gently.
For large plants that require more than one person to lift, it’s important to have a partner or small team to help you. Doing this on your own can injure you and your Monstera.
With your assistant, lay the pot on its side on a prepared drop cloth or workspace and gently tap the bottom of the sides so that the soil breaks loose. While your partner is holding the Monstera so that it doesn’t get pulled, carefully slide the planter off. If the plant won’t budge, run a butter knife around the inside of the rim and try again. Avoid yanking on your Monstera at all costs.
How to Repot a Monstera Deliciosa
Before repotting a Monstera, make sure that you have all of the tools you need. These tools include a drop cloth or clean workspace, sharp, sanitized shears, a new pot, and fresh soil. Having a drop cloth will make cleaning up less of a hassle, especially if you don’t have a dedicated potting area. Shears are needed for pruning roots and old growth and should always be sanitized between uses so that pests and diseases aren’t accidentally introduced to your plants.
Once you have all of your supplies ready, fill the new planter about 1/3rd of the way full with fresh soil. Carefully remove your Monstera from its current pot. If your Monstera is especially big, be sure to get help so that you don’t get hurt or damage your plant.
Once removed, your Monstera can be placed into the center of the new pot so that its rootball is a few inches below the rim of the pot. Fill the pot with fresh soil, settling it as you go but being careful not to pack it too tightly. Soil that is too tightly packed can make it difficult for the Monstera’s roots to breathe.
After you’ve finished this, situate your Monstera in its original spot and water it thoroughly. This is very important. Moving your Monstera after repotting it can increase the likelihood that it will experience transplant shock. Putting it back in an area it is familiar with and conditions it’s used to will decrease the possibility of this happening.
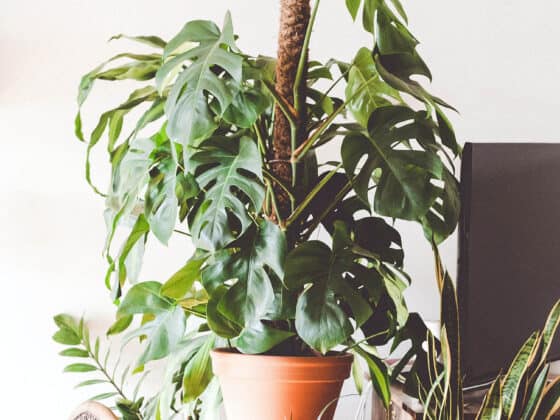
Adding a Moss Pole to a Monstera While Repotting
If your Monstera is big enough to need a support, such as a moss pole, the replanting process is mostly the same, just with one added step. Using the same supplies plus the moss pole, lay your Monstera on its side and gently remove it from its planter.
Once you have it removed, fill the new planter about 1/3rd of the way with soil and then firmly insert the moss pole all the way to the bottom. This is important because it keeps the pole from wobbling or falling. Then, place your Monstera close to the pole so that the rootball is a few inches below the rim of the pot. Fill the planter in with soil, being sure to pack it around the pole.
After this, your Monstera can be secured to the pole using pins or twine. This will help encourage it to grow with the pole. When securing it to the pole, be careful to not damage any parts of the stems or leaves, as this can leave the plant vulnerable to pests and disease.
Some Monstera keepers suggest pushing any aerial roots that can be easily manipulated through the moss pole. This is supposed to encourage the Monstera to take to the pole and help the aerial roots absorb more moisture. This isn’t necessary but can help tidy up the look of the plant if it has wild aerial roots.
For more information on training your Monstera to grow up a moss pole or trellis, read this article where we give step by step instructions.
Pruning a Monstera when Repotting
Monsteras need to be pruned often. Because they grow so much, they can become overwhelming to care for. Older and damaged growth also tends to die back, resulting in a Monstera that isn’t as pretty as it could be.
Repotting is an excellent opportunity to do some of this maintenance pruning. Pruning should be done in the early spring so that the Monstera has plenty of time to recover before it enters the growing season. It is best to use sharp shears that have been sanitized with a diluted bleach mixture or another agent.
Be careful to not overwhelm your Monstera by cutting back too much during repotting. Transplant shock can be a serious problem, and any kind of stress can increase the likelihood of that happening. Instead, focus on only removing problem areas on the plant, such as dead leaves or roots. For more information on pruning Monsteras, click here.
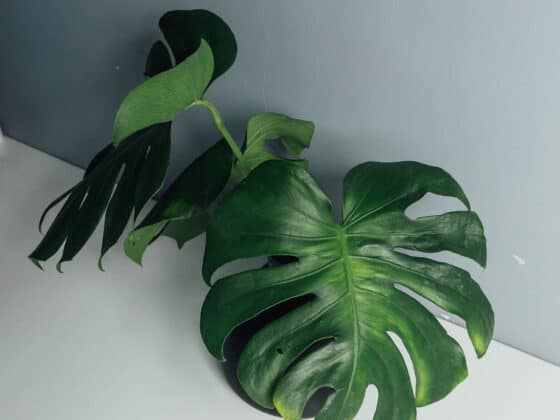
Potting Monstera Cuttings from Propagations
If you are potting a Monstera cutting that’s been propagated, the process is pretty similar to potting an already established plant. You should use a relatively small container, though, as too much space can encourage root rot to attack the sensitive, delicate roots of the baby plant as they grow.
If you have already rooted the cutting in water, planting it in the soil is as simple as filling the prepared planter 1/3rd of the way with soil, putting the cutting in, and adding the rest of the soil.

If you plan to place a cutting that hasn’t been rooted in soil, you’ll need a rooting hormone. Prepare the planter as if you were planting a seed, leaving a deep indent for where the cutting will go. Then dip the end of the cutting into rooting hormone and place it into the planter. Fill it in with dirt, packing it tightly enough to secure the cutting.
Cuttings should be given extra care when propagating. They are extremely sensitive and delicate, so too much of anything can be detrimental. Be careful when watering because overwatering can quickly lead to rot.
Should I Plant Multiple Cuttings in One Pot?
When it comes to propagating cuttings in soil, there is no one right way to do so. A single cutting in a small pot can be the perfect option for someone hoping to keep the plant smaller at first. Multiple cuttings planted into a single container can be a great way to start out with a bigger plant.
Some Monsteras available in nurseries come as multiple plants in a single pot that have grown close together and don’t have any problems. But there is always the risk of overcrowding a planter, resulting in poor airflow and weak plant development. Plus, a case of rot that might otherwise only affect one cutting can rapidly spread to all of the cuttings in a pot.
Keep all of this in mind when deciding to plant multiple cuttings in a single pot. For the purpose of producing roots, this shouldn’t be an issue. Just be sure to be careful when caring for the cuttings and keep an eye out for any signs of distress. Remove any wilting cuttings quickly. Any cutting that isn’t surviving has the potential to introduce rot to the other cuttings. Not addressing this right away can cause the loss of all of your cuttings.
It’s probably best to plant the cuttings individually once they’ve rooted. And while they may do well together as larger plants, a giant mess of Monstera deliciosas will be a nightmare to care for in a few years. Still, this is only a recommendation: experiment and decide what works best for you.
Putting It All Together
Repotting is an important part of plant maintenance and is suggested to be done once every two years. For an experienced plant owner, remember that replanting every two years is only a guideline. Trust your intuition when it comes to your Monstera. Each plant is different, and an exceptionally well-loved Monstera may need more frequent repottings than one that doesn’t grow as quickly.
While it’s important to provide your Monstera fresh soil every once in a while, you can often get away with going a little while longer by giving your plant a high-quality fertilizer that’s been properly diluted. This will only work if there is the proper amount of soil in the planter, though!
Repotting is also a great time to introduce a moss pole, even for a young Monstera. These can be made easily and with cheap materials, so don’t let the cost deter you. A Monstera can live without support, but giving it a proper one will allow it to live in a way that more closely resembles its natural habitat and help it reach its fullest potential.