When I started reading online about Pilea Peperomioides, it wasn’t long before I saw talk of people beheading or chopping their Pileas in half. At first, it sounded terrifying to me, the thought of chopping my beloved plant. Upon further investigation, I found there are a lot of benefits to cutting a mature Pilea in half.
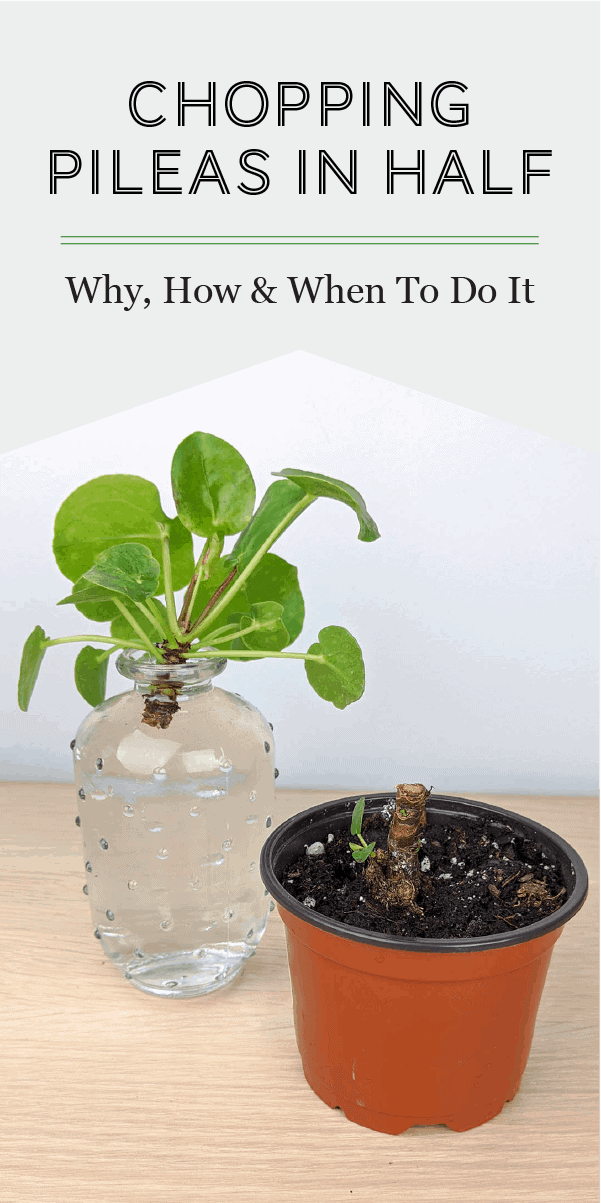
To cut your Pilea in half, find a green spot on the stem about halfway up your plant and cut it completely in two using a sharp, clean pair of scissors or knife. Root the top section of the plant in water, repot it in soil, and you’ll have turned your one Pilea into two.
Beheading your precious Pilea might seem drastic to you, but just like deadheading flowers causes the plant to produce more and more blooms, chopping a Pilea actually encourages new growth in the plant. Below you will find the top reasons for cutting your Pilea in half and step by step instructions on beheading a Pilea. Let’s get started!
The Chop
When people talk about chopping, topping or beheading a Pilea, they’re literally talking about cutting the plant in half. This is a great way to give an old and stagnant Pilea a new boost of life.
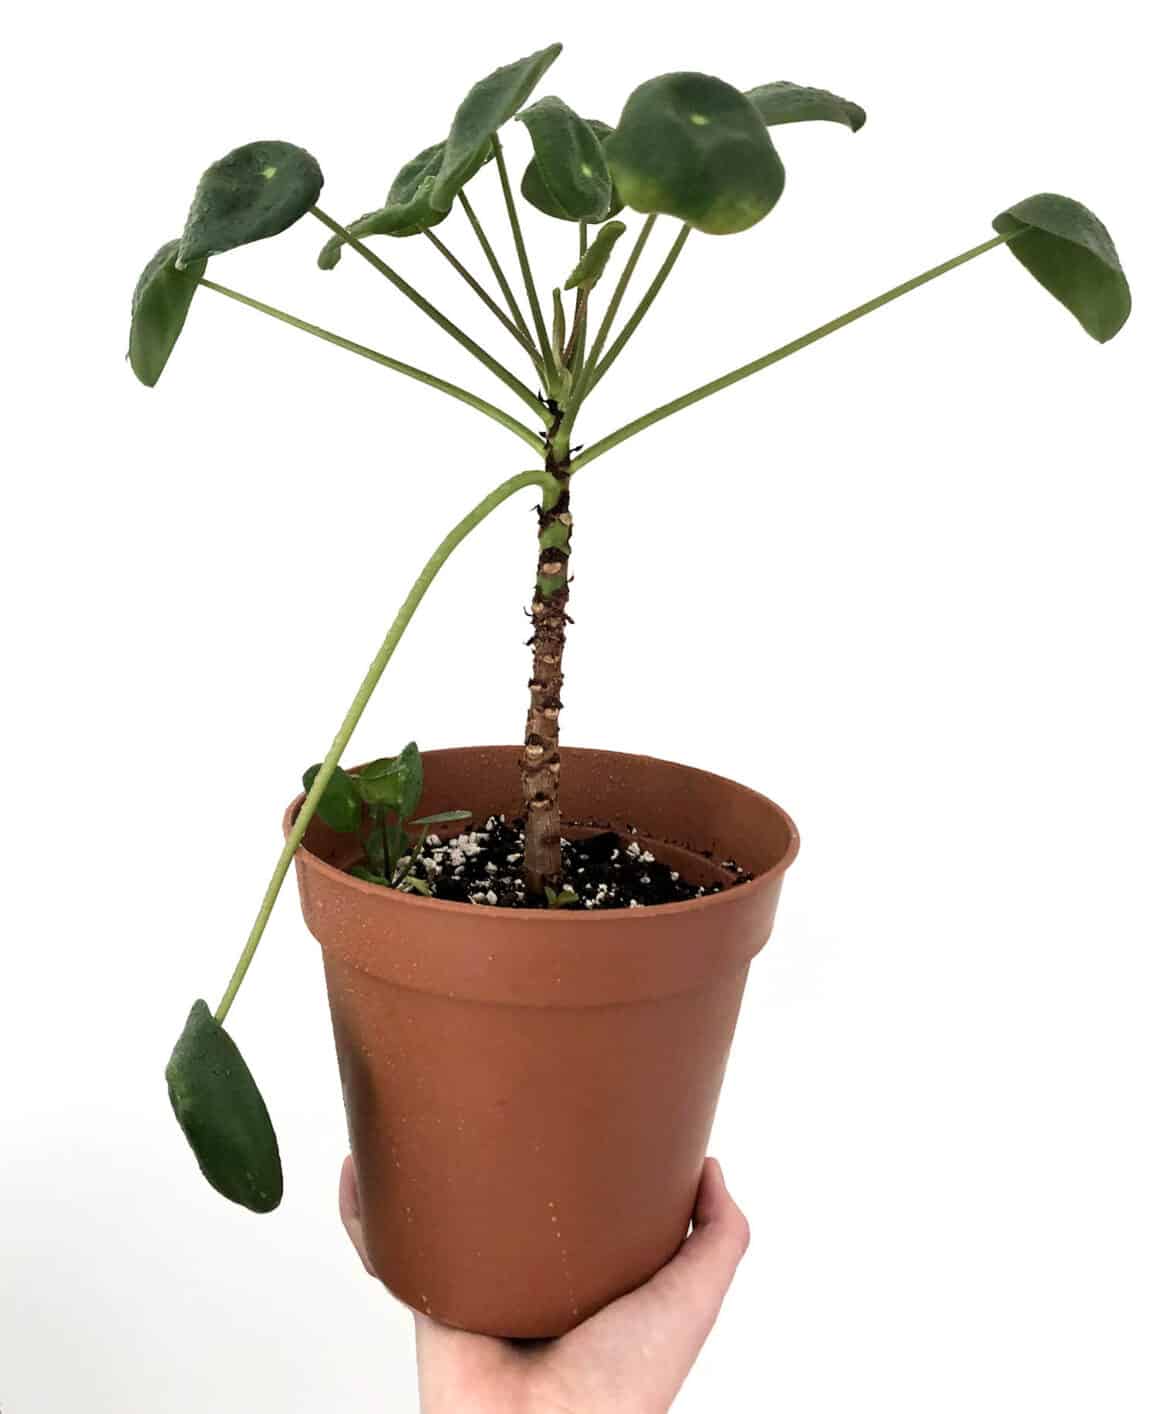
Only a mature Pilea can be beheaded. As the plant grows and matures, Pileas develop a central stalk that begins to harden, similar to tree bark. Because a young plant does not have much, if any, central stalk, they won’t be able to be cut this way.
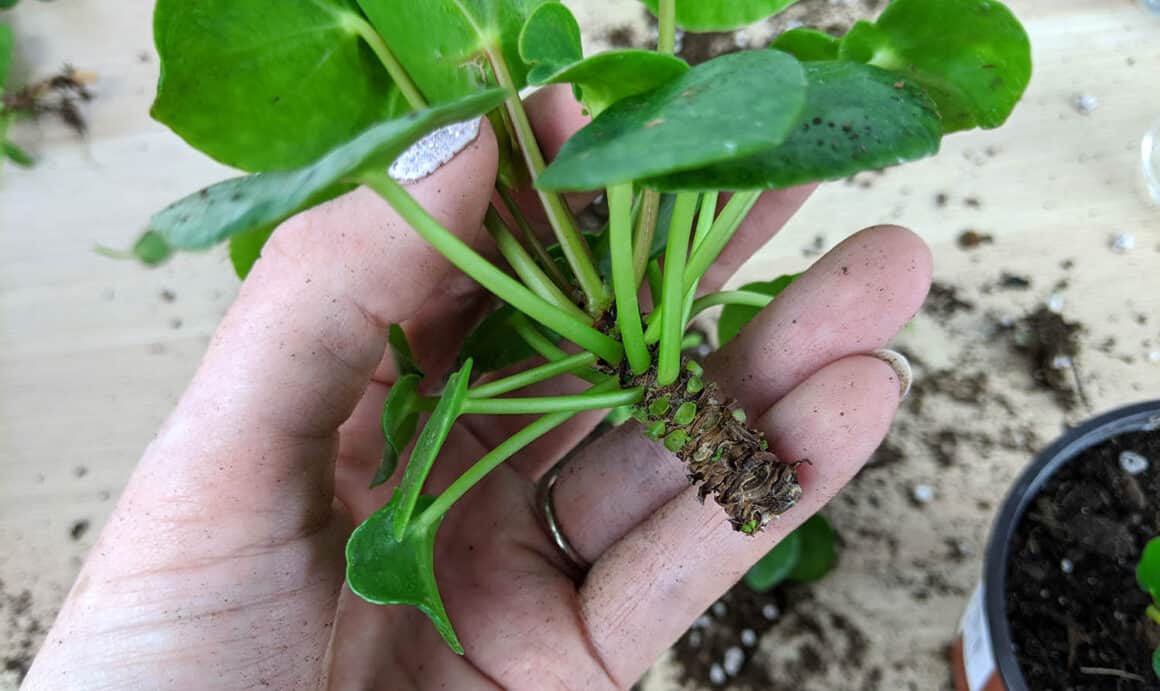
Before chopping your Pilea, check that the central stalk of the plant is thick enough to sustain life after being beheaded. Pileas whose stalks are four to five inches in height or taller are good candidates for the chop.
If you have questions about chopping your Pilea, or have been wondering why you would even do such a thing, keep reading as I outline the top four reasons I believe you should chop a Pilea in half.
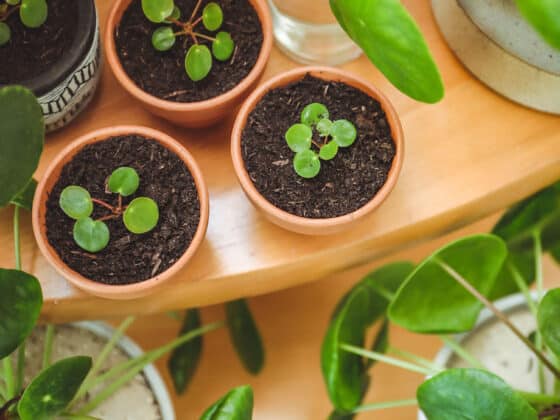
Reason #1 Propagation – Turn One Plant to Two
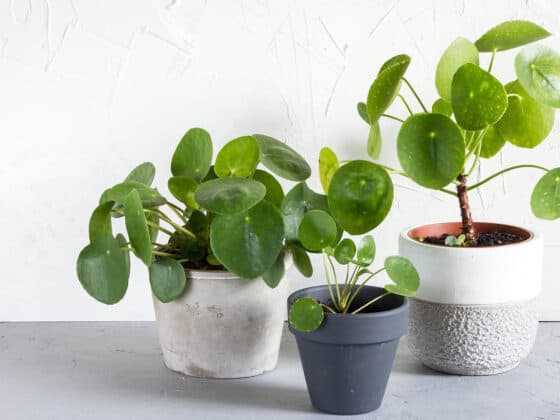
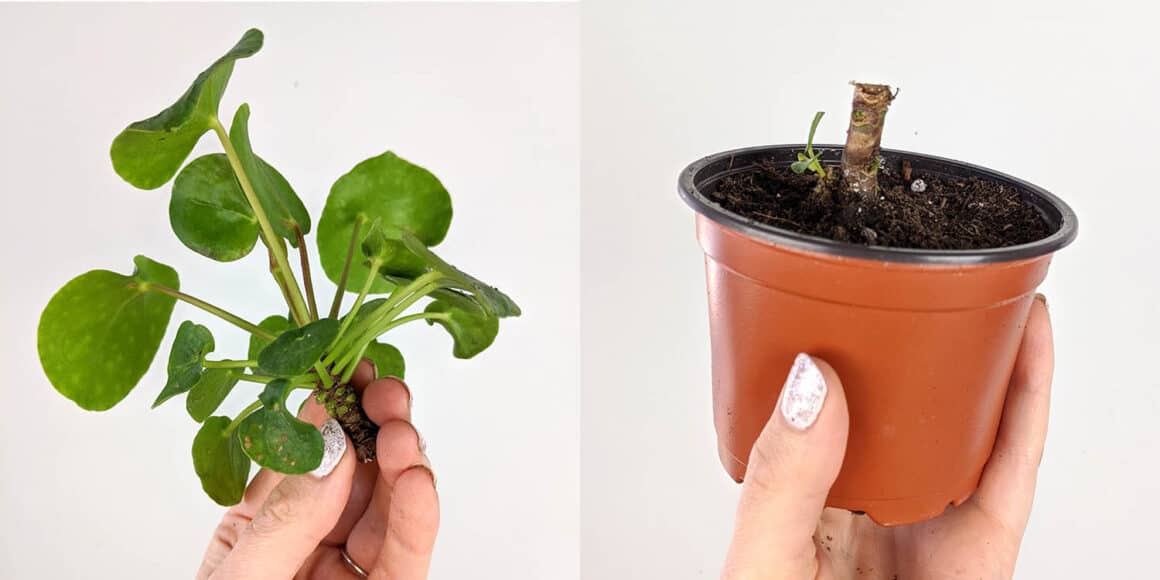
Propagating Pileas is a very simple process. Usually, it is done by removing pups, but chopping can be a way to get two larger healthy Pileas from one mature plant. When a tall Pilea is cut in half, the bottom portion will continue to live on, and the top portion can be repotted on its own, turning your one Pilea into two.
Reason #2 You Have a Leggy Pilea
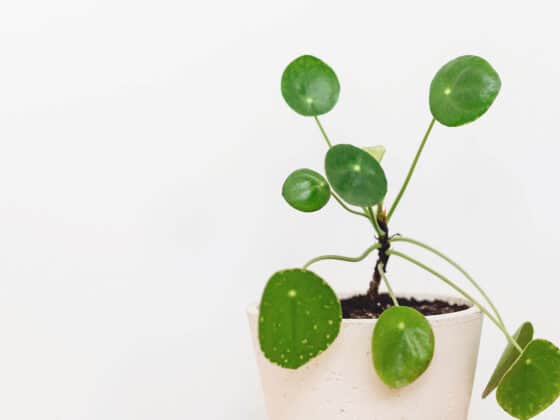
Pileas of all varieties are predisposed towards etiolation, or becoming leggy. A leggy Pilea is characterized by overly long, extended petioles (the stem that connects the central stalk with the leaf) and small leaves and is the result of the plant having to stretch and reach for more light.
When Pileas don’t have access to the light they need, they get sparse and spread out. If you have a leggy Pilea, the best bet for your plant may be to chop it in half and restart. When a Pilea is chopped, it will start to produce new growth which could help to fill in your leggy Pilea.
If you have a leggy Pilea, you’ll need to chop the plant and then move it to a new location. If your plant cannot get more bright light because it has been placed in the exact same spot as before, the result of the chop will be two leggy plants.
Reason #3 Your Pilea Roots Are Unhealthy
If you’ve overwatered your Pilea in the past, you may have damaged the root system of your Pilea. If the top portion is still healthy enough, it’s possible to chop the plant and then root the top portion in water before repotting it.
When root systems are damaged, the roots have difficulty absorbing oxygen, nutrients, and water from the soil and pushing it to the remainder of the plant. If you’ve examined the root system of your Pilea and have found brown, mushy, or dark-colored roots, chopping the plant in half and rooting the top portion may be your best shot at saving the Pilea.
Reason #4 Encourage New Growth in Leaves and Pups
If you have a Pilea that isn’t producing any new growth in the form of pups or new foliage, chopping your plant in half can give it a refresh and a boost of energy.
Cutting the stem of your Pilea will stimulate the growth hormones in the plant and encourage it to produce new leaves as well as reproduce in the form of pups. If you have a plant that has become stagnant, beheading the plant will bring it back to life.
What You’ll Need to Make the Chop
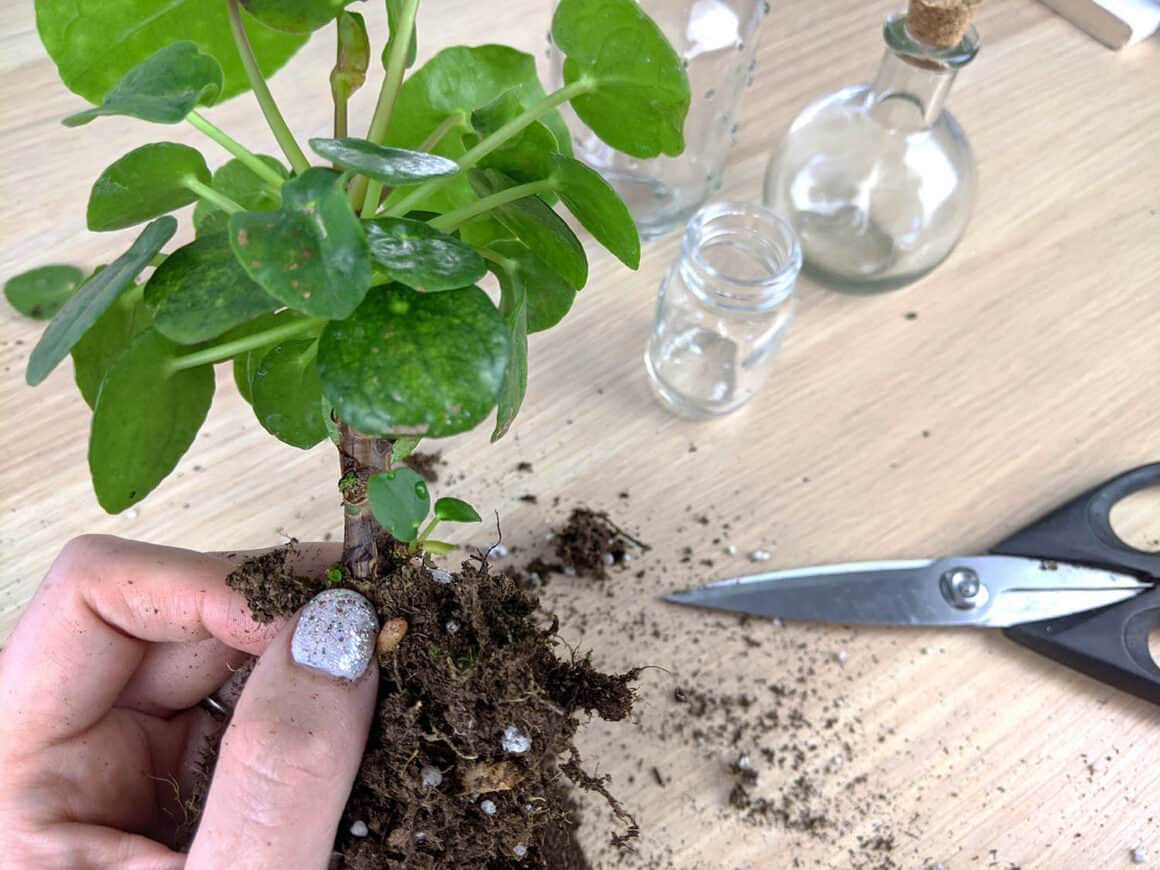
You should treat cutting your Pilea like it is a surgery for your plant. You wouldn’t want a doctor cutting into you with a knife he pulled from the junk drawer, and neither does your Pilea. To cut your plant, you’ll need to use a sharp and clean pair of scissors or a knife.
Remember that cleanliness is an important factor in pruning. Cutting the tissue of a houseplant can potentially expose it to disease, so be sure to use tools that are sharp and clean. You can disinfect scissors or knives for pruning between uses with a mild solution of bleach and water. I like to mix ten parts water with one part bleach.
How To Cut Your Plant in Half
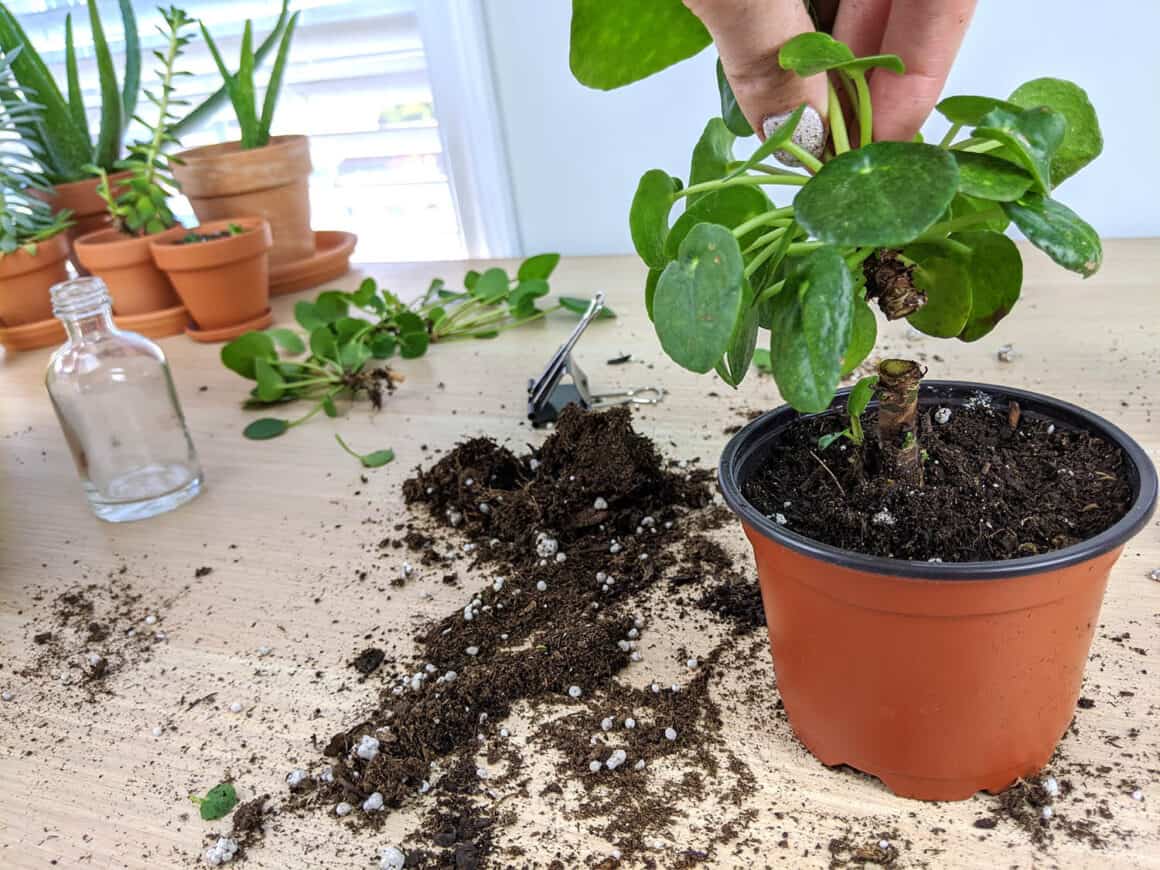
About halfway up the stem, choose a green spot to make your cut. I always try to leave a few leaves on the bottom portion of the plant as Pileas use their leaves to absorb light in the photosynthesis process. If you see new sprouts coming out on the bottom of the stem, you can choose to cut just above that for best results.
To remove the top of your Pilea, use your sharp and clean scissors or knife and cut the Pilea in half at the selected location on its stem. If you have it available, you can dip the cut stem of both the top and bottom portions of the beheaded Pilea into cinnamon. Cinnamon has been proven to have both antibacterial and antifungal properties and can help to protect your Pileas from fungi and pathogens.
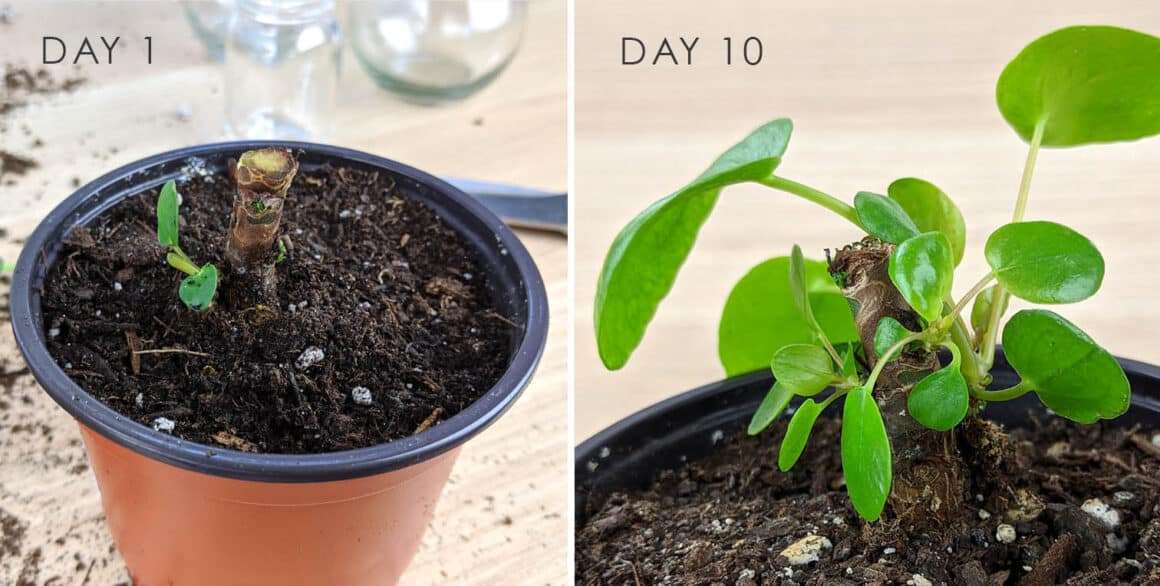
After chopping your plant in two, the bottom portion should begin to produce new growth in a few weeks time, assuming the roots are in good health.
The top portion can be rooted in water, and once the roots have reached two to three inches in length, the top can be repotted into its own container with quick-draining potting soil.
Should You Toss a Portion of the Plant?
In most cases, I would suggest you keep both halves of the plant. However, there are a few cases where you may not be able to save one of the portions of the plant.
If your Pilea has an unhealthy root system, the bottom portion of your Pilea may die. Root systems are most commonly damaged by overwatering, and an overwatered Pilea will need additional steps to keep it from dying. If you have an overwatered Pilea that you want to save, read this article all about the subject.
In most cases, the top portion of the chopped Pilea is worth rooting. Even if you are seeing damaged leaves and discoloration on the top, I would recommend plucking away the dead and dying foliage and trying anyway. The worst case scenario is that the top of your Pilea doesn’t make it, but it is always best to try.
Rooting The Top Portion of Your Pilea in Water
To root the top of your beheaded Pilea, simply place the cutting into a small bottle of water. Be sure that only the base of the stem is in the water. Do not submerge any of the leaves. Then, all you have to do is wait and watch your roots start to grow.

The type of bottle you use is up to you. I recently purchased some small, pretty bud vases that look like test tubes and beakers from my local Michaels craft store but have used old spice jars and small plastic water bottles in the past. The most important thing is to make sure that you can place your Pilea so that only the bottom tip of the stem will reach into the water.
Once your Pileas is in its water bottle, place it in an area of your home that gets bright, indirect light. Pileas cannot tolerate sunlight directly on their leaves. I like to put my Pileas on a table that sits about 3 feet from a bright, south facing window.
It is important to regularly change your water. It should be changed at least once a week, or when you notice it looks dirty. Be gentle with your plant while changing out the water as the small roots that will start to grow will be delicate.
How long will a Pilea take to root in water? If your plant is in its growing season, you should see it start to take root in a couple of weeks.
Replanting the Top Portion of Your Pilea in Soil
After your Pilea plant has developed roots that are two to three inches long, it is ready to be transplanted to a new container and planted in soil. Remember that if your Pilea is in its growing season, during the warmer months of the year, you will start to see new growth much more quickly.
Pileas need to be planted in a soil that is quick draining as they cannot tolerate sitting in soggy soil. I find that cactus and succulent soil blends work best. Specifically, I recommend this one. This soil can be purchased online from Amazon or can sometimes be found in your local lawn and garden store. Also, Miracle-Gro Cactus, Palm, and Citrus Potting Mix is another option I have used with great success. This soil blend is available in most stores where potting soil is sold.
The new pot you plant your rooted baby in should also facilitate drainage. It is always best to choose a container with a drainage hole for Pileas, as that helps the soil to dry out more quickly between waterings. Lots of people prefer to plant Pileas in terra cotta pots which also helps to draw the moisture out of the soil more quickly.
When your Pilea is planted in its new pot in soil, return it to a bright, sunny window but still be careful to place it out of direct light. Direct sunlight burns Pileas and can cause problems for even healthy, mature Pileas.
Do not be alarmed if your Pilea drops a leaf or two after it has been transplanted into soil. Moving Pileas can be a stressful transition for them and it is not unusual for a leaf or two to drop at this time.
What To Expect From Your Pilea Now
After a Pilea has been beheaded, the plant should start to produce new growth shortly. The bottom portion of the plant will usually start growing more quickly as it has a large root system. The top portion will take longer as it must grow roots before it can focus on growing foliage and pups.
If your Pilea was chopped because it had become sparse, leggy, or unhealthy in any way, you’ll need to discover what caused the initial problem and fix it, or you will find yourself with two leggy or unhealthy Pileas. For more information on diagnosing an unhealthy Pilea, read this article I wrote about the subject.