When I first started getting into houseplants, my mother-in-law showed me a neat trick to get a plant to root in water. Now I know the official word for that is propagation, and I use that same method to reproduce most of my houseplants. Pilea Peperomioides are super simple to propagate and water propagation is the easiest way to do it.
How do you propagate Pilea Peperomioides in water? To propagate, first you have to remove the plantlet from the mother. Once the plant is separated, you need to root it by placing the tip of it into a small bottle of water. Then, when the plant has 1-2” long roots, it is ready to be planted in soil.
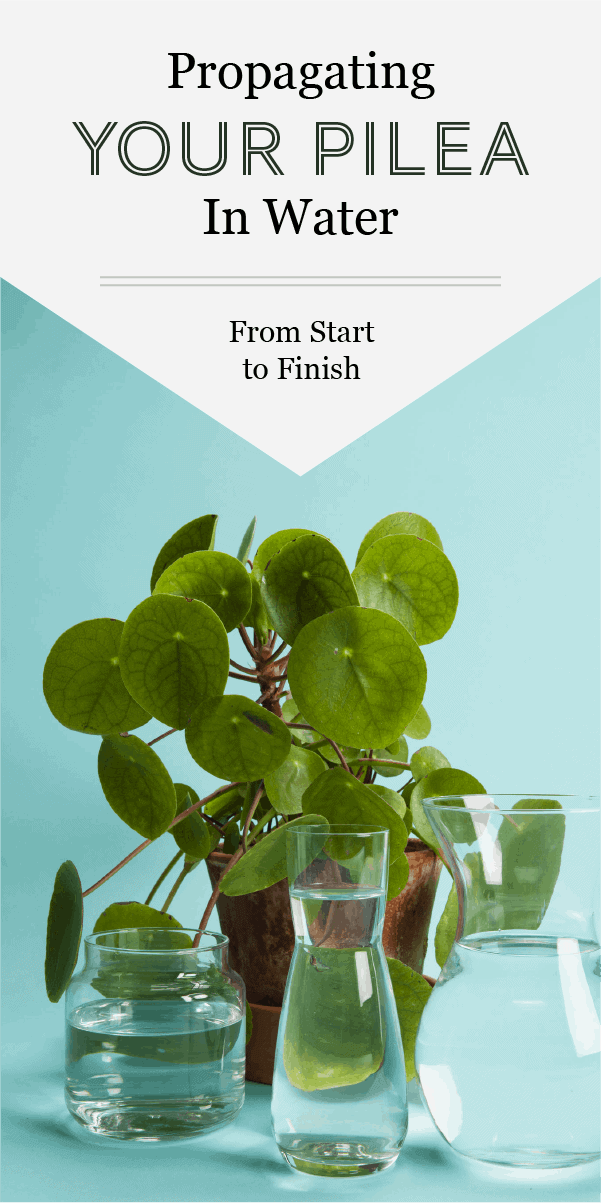
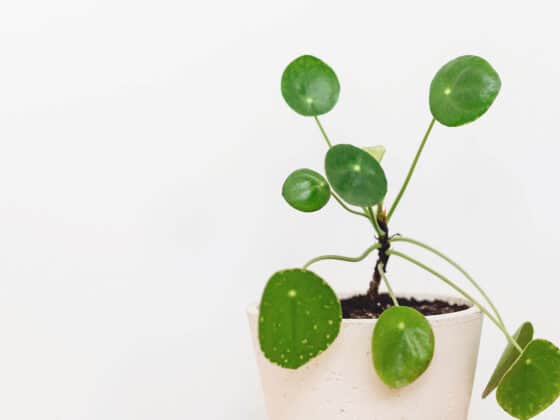
Water propagation is the simplest way to propagate Pilea Peperomioides, also known as the Chinese Money Plant, and is a fun process to watch for kids and adults alike. In this article, I’m going to walk you through the process step by step and teach you how to propagate Pileas in water from start to finish.
How to Propagate Pilea Peperomioides
There are a lot of different methods of propagation, and the method you choose will vary depending on the type of plant you want to propagate. Some plants are difficult to reproduce while some are very easy. Thankfully, Pilea Peperomioides is one of the easiest plants to propagate and share with others, which is why it is sometimes called the “Pass It On Plant.”
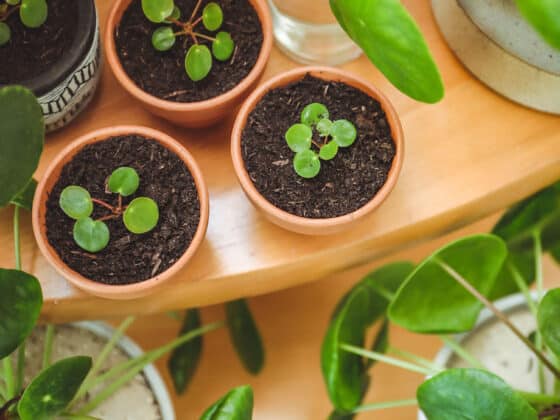
Pileas basically multiply themselves. They produce small plantlets, called “pups” or “babies,” completely on their own. To get another plant from your mature Pilea, all you have to do is remove one of the plantlets, root it, and replant it on its own.
Pileas produce two kinds of pups: Offshoot babies and rhizome babies. Offshoot babies sprout directly from the stem of the mother Pilea. Rhizome babies pop up in the soil near the mother Pilea and are connected to the mother under the soil by an umbilical cord-like rhizome. The way the plantlet is harvested varies depending on the type of baby.
When is the Right Time to Remove Plantlets from the Mother Pilea?
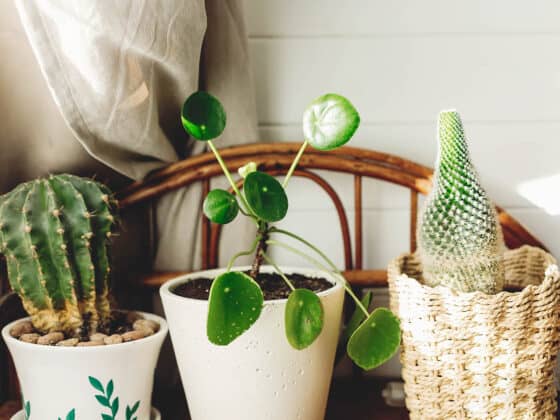
Once you start to see new pups emerging from the stem or soil of your Pilea, you may immediately want to propagate them and move them to their own container. However, just like with other species, the baby needs to stay with the mother until it is big and strong enough to take care of itself.
Pilea pups should only be removed once they are 2-3” tall. At that point, the plant will be big enough that it can handle the transition from one container to the next. When in doubt, wait a bit longer. The larger the new plantlet is, the better chance it has to survive on its own.
It is also important to note that the time of year makes a difference in your baby Pilea’s ability to grow and thrive on its own. All plants, including Pileas, have a growing season, or a part of the year where they grow more quickly and easily. Growing season for plants takes place during the warmest months of the year, from spring through early fall. During the colder months, plants become dormant and growth is slowed down dramatically.
Propagating Pileas is best done when the plant is in growing season. When your plant is in a state of active growth, the whole process of propagating and growing new roots will be faster and more successful. Any type of change, whether propagating, pruning, or relocating, will always have the best results when done during the plant’s growing season.
It is possible to take cuttings and propagate Pileas during the cold months of the year. However, if you are considering winter propagation, you should prepare yourself for a much slower process.
How to Take Pilea Cuttings
Harvesting Pilea pups is a simple process and varies slightly depending on which type of baby you are dealing with. Offshoot babies that spring from the mother stem have to be removed differently than the rhizome babies that pop up from underneath the soil.
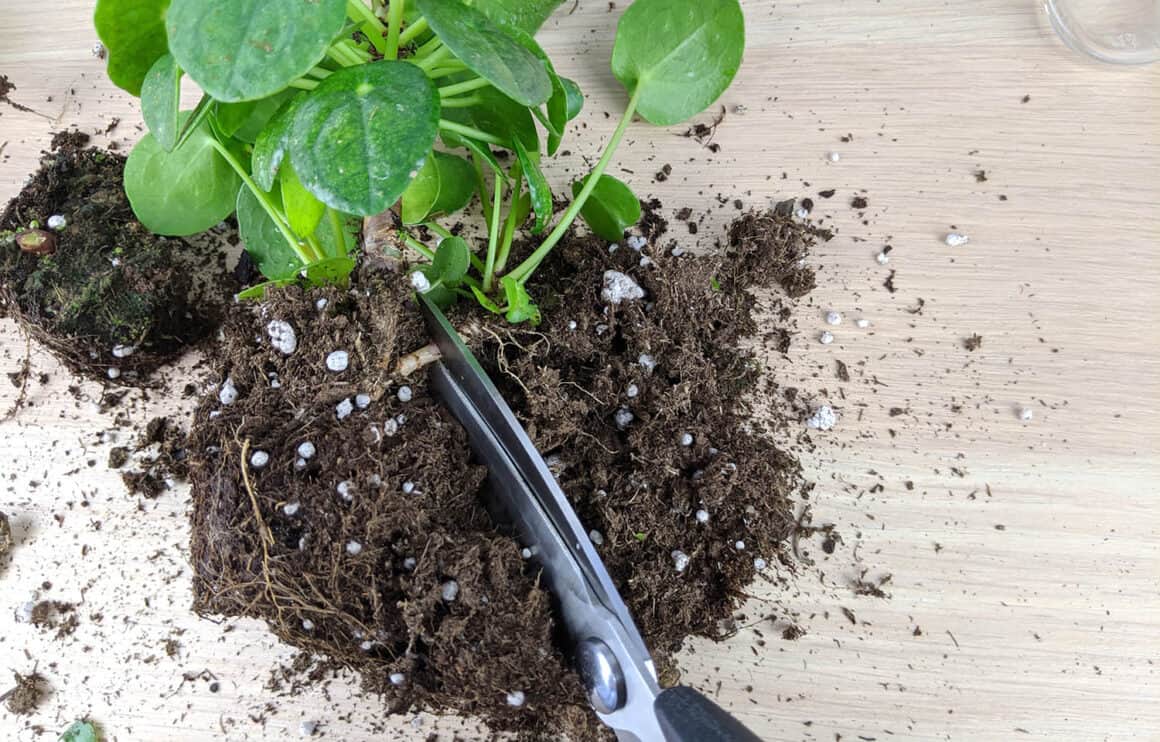
To take either type of cutting you will need a set of sharp scissors or knife. It is important that the tool you use is both sharp and clean as making cuts on a plant has the potential to expose the inside of the plant to fungus and other pathogens.
How should you clean the scissors or knife you use to take cuttings? Simply wash the tool in hot soapy water, being sure to remove all residue from the blade. If you want to be extra careful, wash it in a diluted mixture of 1 part bleach and 10 parts hot water. Now you are ready to take your cutting.
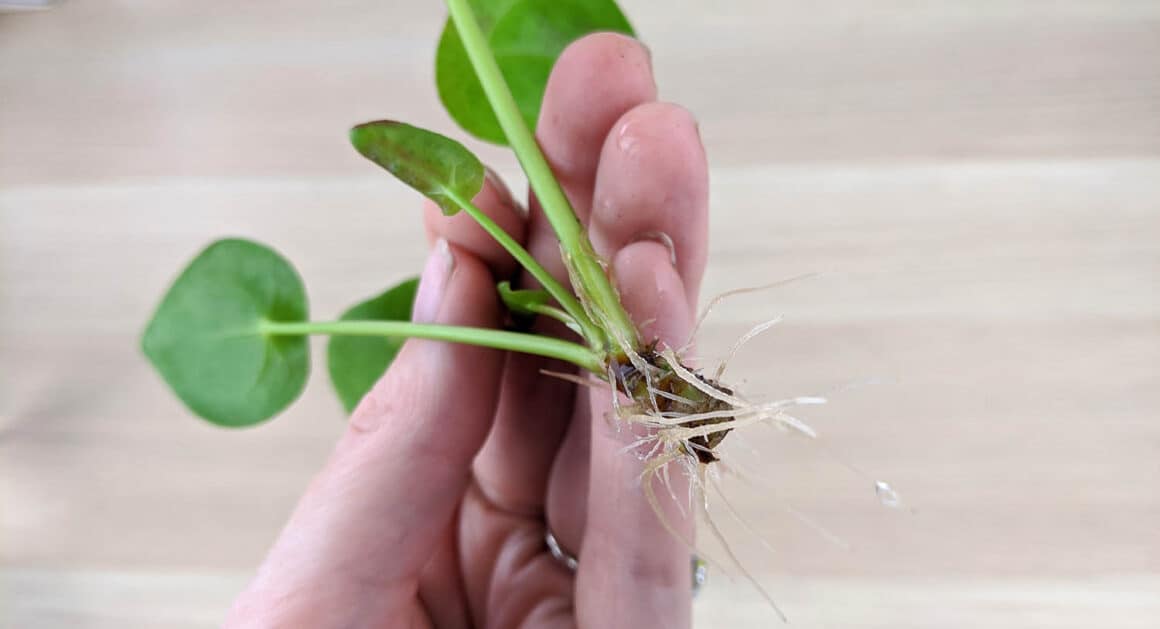
When an offshoot baby from your mother’s stem has grown to be 2-3” tall, it is ready to be removed from the main plant. To do so, use your sharp and clean scissors or knife and follow the plantlet all the way back to the mother stem. Once you’ve located the base, simply clip the new plantlet at the base and set it aside. This plantlet will not have any roots yet, this is where the water will come into play.
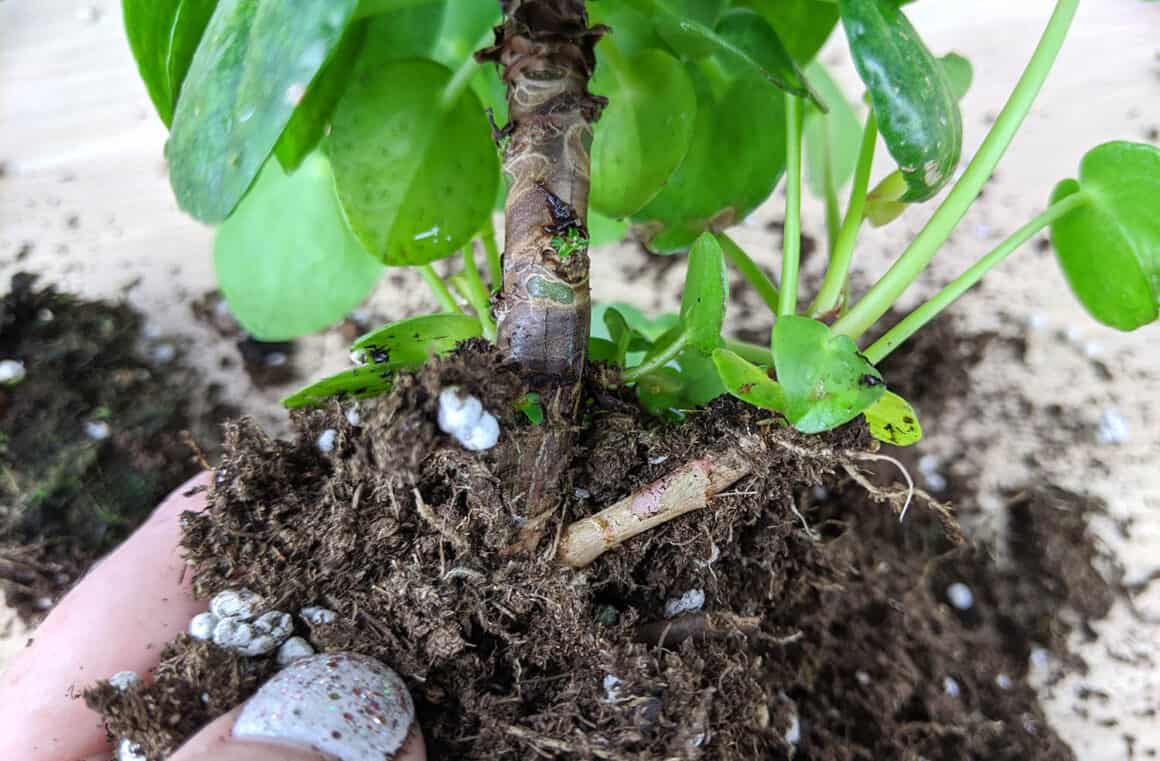
For rhizome babies that pop up from the soil near your mother Pilea, clipping is equally as simple. You can either choose to try to get some roots with your clipping or clip the stem and root in water afterward.
If you are planning to root in water, you can just follow the stem of the new plantlet down about an inch below its lowest leaf and clip the whole stem and set aside.
To try to maintain part of the root system, use your fingers to gently push the soil away at the base and dig up the small plantlet. You can use a small spray bottle to gently clear away some soil from the roots or use your fingers to do so. Once the plant is mostly removed from the soil you will have to snip the rhizome, similar to an umbilical cord, that connects the baby to the mother Pilea.
If you are nervous about damaging the roots to the mother Pilea, you don’t need to fear. If you follow the steps above with a gentle hand, both mother and baby should be just fine.
How to Root Pileas Pups in Water
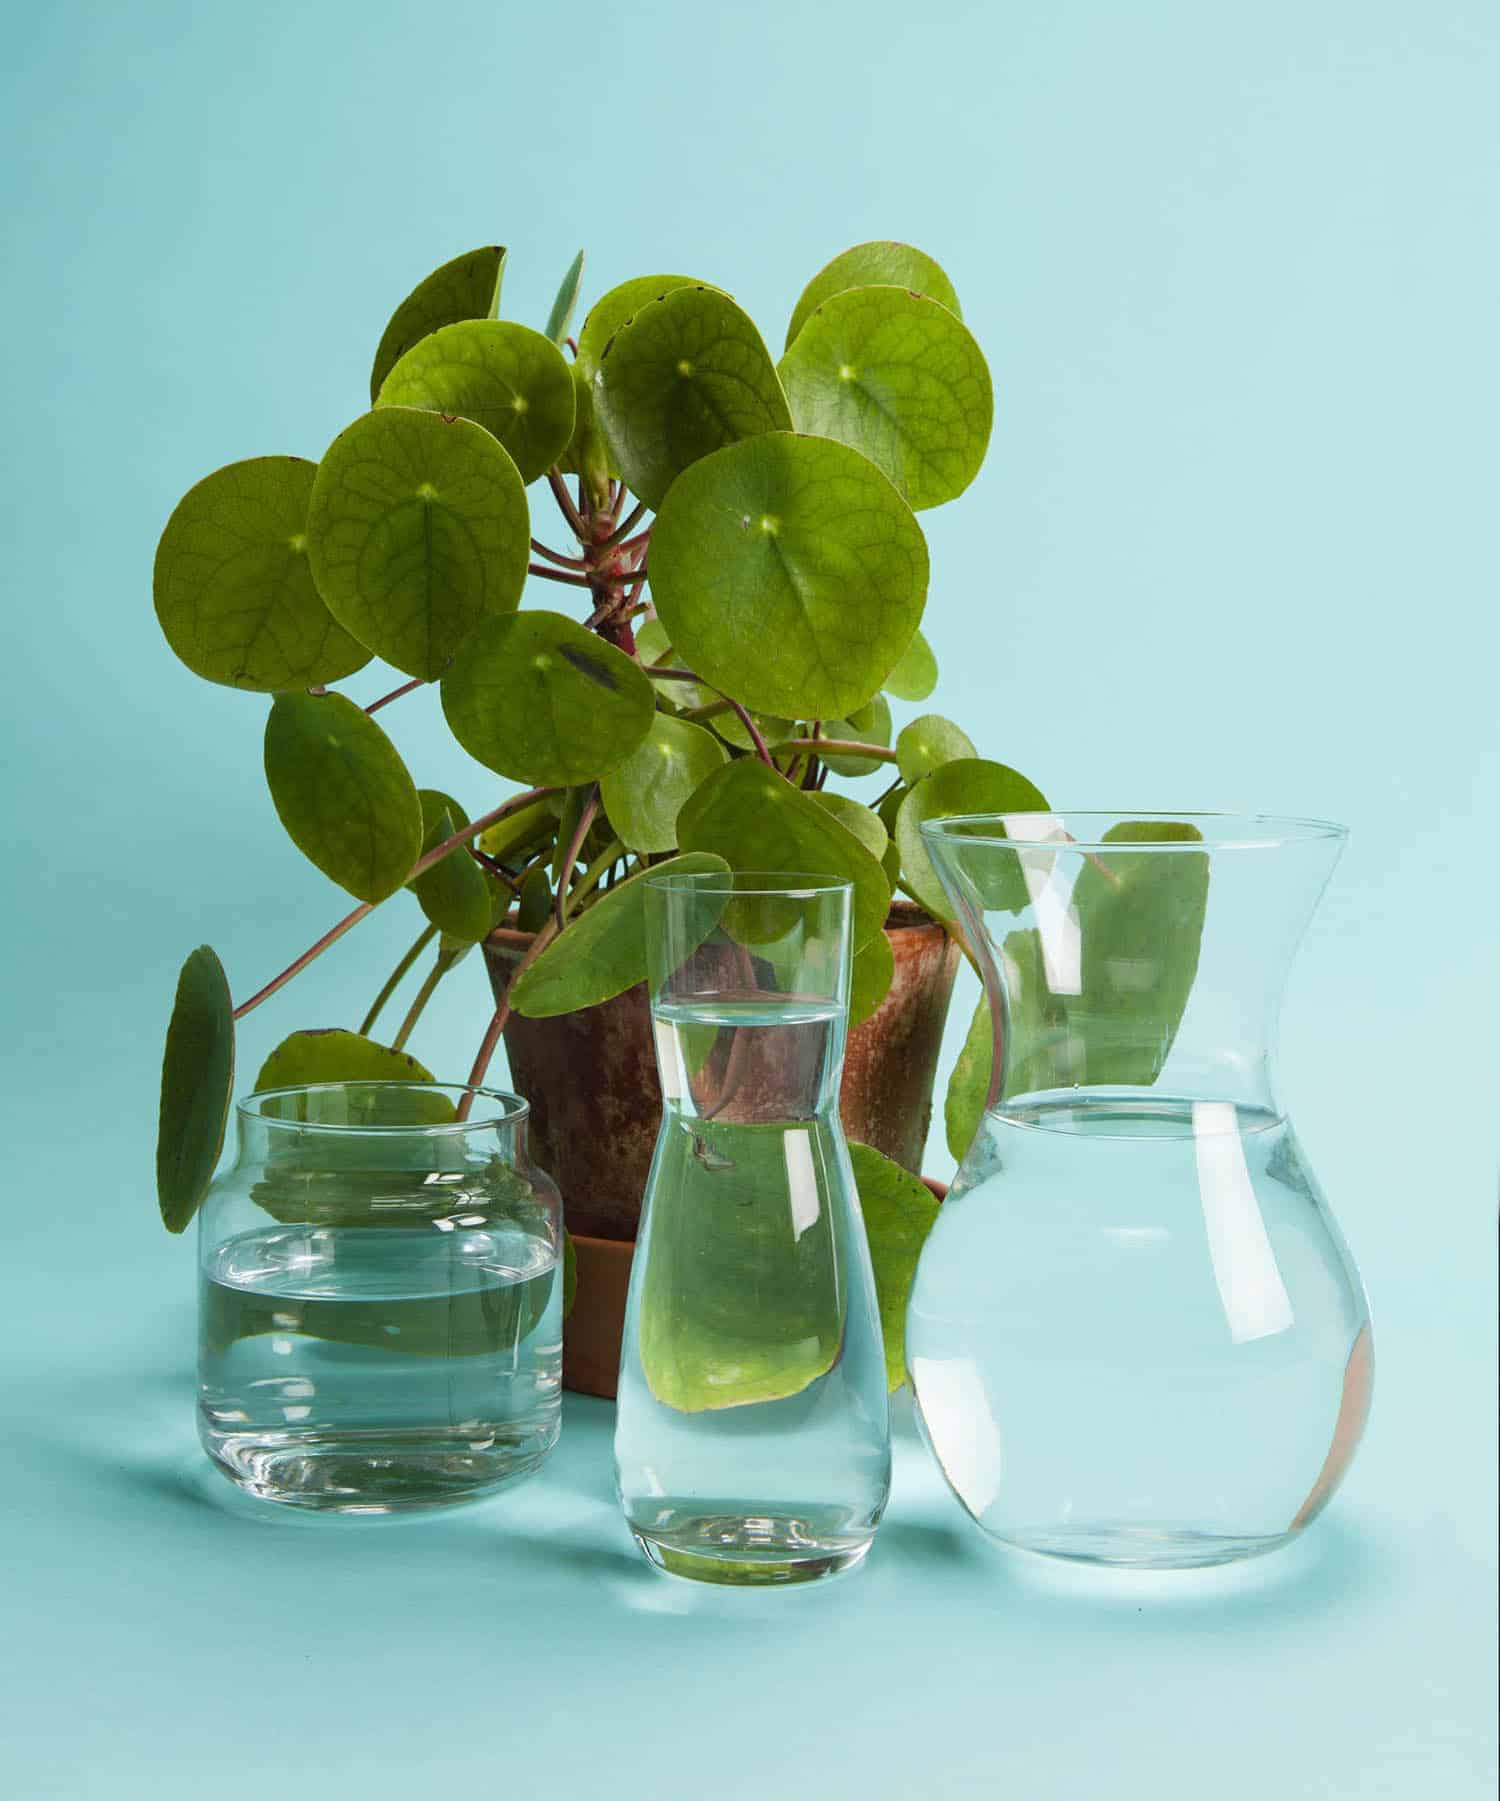
Does a Pilea root easily in water? Yes! The process is quite simple and usually very quick. To root your Pilea, simply place the cutting into a small bottle of water. Be sure that only the base of the stem is in the water. Do not submerge any of the leaves. Then, all you have to do is wait and watch your roots start to grow.
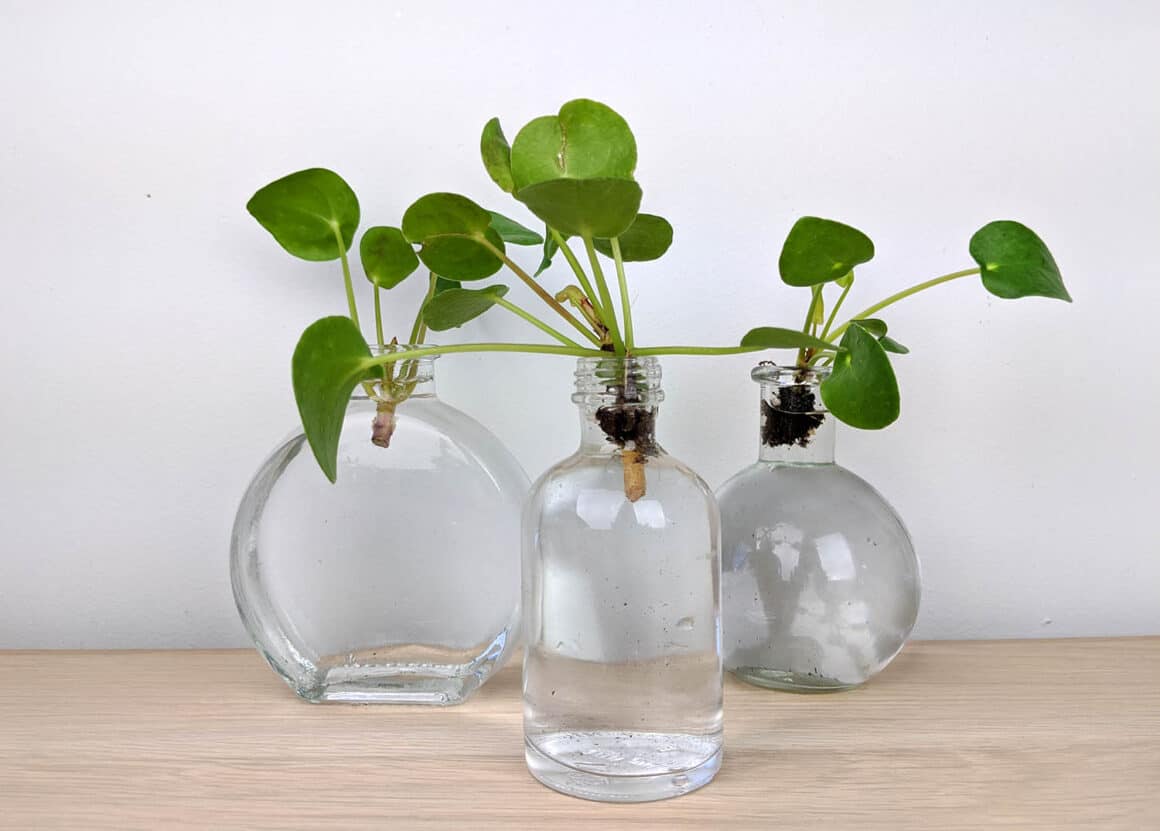
The type of bottle you use is up to you. I recently purchased some small, pretty bud vases that look like test tubes and beakers from my local Michaels craft store, but I have used old spice jars and small plastic water bottles in the past. The most important thing is to make sure that you can place your Pilea pup so that only the roots will reach into the water. To cut down on the chance of algae growing in your water, you can use a darker colored glass like amber or dark blue.
Once your new Pileas are in their water bottles, place them in an area of your home that gets bright, indirect light. Pileas cannot tolerate sunlight directly on their leaves and a new plantlet is at a higher risk for being scorched by the elements. I like to put my baby Pileas on a table that sits about 3 feet from a bright, south-facing window.
It is important to regularly change your water. It should be changed at least once a week, or when you notice it looks dirty. Be gentle with your plantlet while changing out the water as the small roots that grow will be delicate.
How long will a Pilea take to root in water? If your plant is in its growing season, a new Pilea pup should start to take root in a couple of weeks. If the plant is dormant in the colder months of the year this could take a month or two.
Planting Rooted Pilea Cuttings in Soil
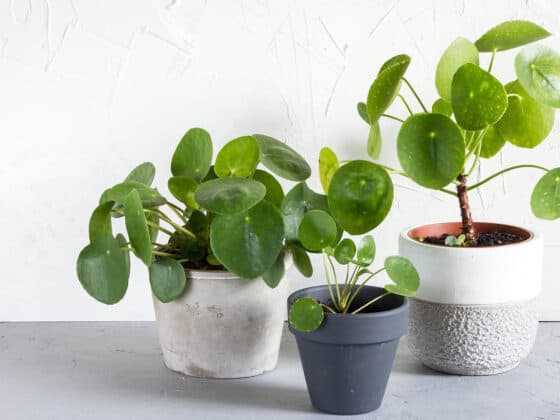
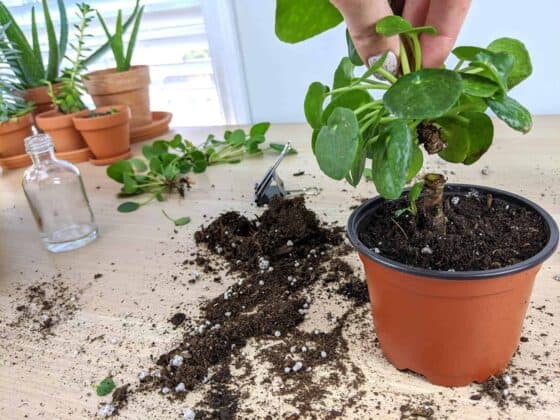
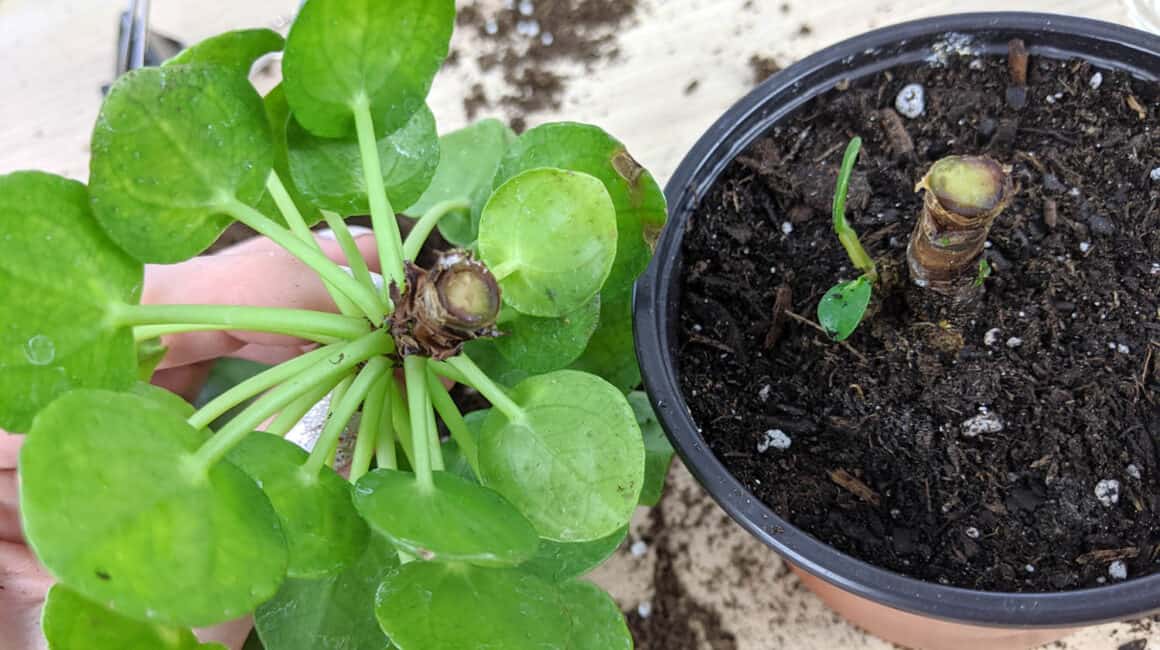
After your Pilea plant has developed roots that are an inch or two long, they are ready to be transplanted to their new containers and planted in soil. Again, remember that if your Pilea is in its growing season during the warmer months of the year, you will start to see new growth much quicker.
Pileas need to be planted in a soil that is quick draining as they cannot tolerate sitting in soggy soil for long. I find that cactus and succulent soil blends work best.
The new pot you plant your rooted baby in should also facilitate quick draining. It is always best to choose a container with a drainage hole for Pileas, as that helps the soil to dry out more quickly between waterings. Lots of people prefer to plant Pileas in terra cotta pots which help draw the moisture out of the soil more quickly.
When your Pilea is planted in its new pot in soil, return it to a bright, sunny window but still be careful to place it out of direct light. Direct sunlight burns Pileas and can cause problems for even healthy, mature Pileas.
Do not be alarmed if your Pilea drops a leaf or two after it has been transplanted into soil. Moving Pileas can be a stressful transition for them, and it is not unusual for a leaf or two to drop at this time.
For a step by step guide or repotting your Pileas, read this article.
Can Pileas Live in Water Forever?
I see this question a lot online: Can a Pilea live and grow in water? The answer is yes, to a point. Pileas are obviously able to root in water and can often have new growth of leaves while planted in water. However, eventually, if your goal is to have a large plant, your Pilea will need soil.
Some houseplants can thrive in water, but the ones I have had the most success with are plants with vining or creeping foliage that can hang down from the bottle. More upright plants do not do as well to live their entire lives in water.
As a Pilea matures over a year or two, the central stalk starts to harden like a tree trunk. The leaves that come out of that stalk grow towards the sun, and as we rotate them every few days, they develop the round, dome-like shape that they are known for. Without the firm base that roots potted in soil allow, a Pilea cannot become as large or full.
If you are interested in having a Pilea in water, you could always experiment by leaving some pups in water and planting others in soil. This would give you some Pileas that are tall and round and others that are smaller and compact.
For more information on growing Pileas in water, click here.
How to Encourage Pilea Pups
People love to propagate and share their Pileas. But what can you do if your plant is not producing many pups? How can you encourage your mature Pilea to produce more babies?
To encourage your Pilea to produce pups, there are a few things you can do. The best options are to increase its access to nutrients, light, or energy.
To increase your Pileas access to nutrients, you can fertilize the plant once per month during its growing season. However, it is worth noting that overfeeding a Pilea can be very harmful to your plant. For this reason, I use a balanced 10-10-10 fertilizer diluted to half strength. Read this article for more information on fertilizing Pileas.
If your Pilea is slow-growing, it may not have enough access to bright light. Pileas adore bright, bright areas and thrive best when placed a few feet away from a south-facing window that receives light all day long. If you do not have a location in your home that meets those requirements, consider purchasing a grow light and exposing your Pilea to that additional light for 12 hours each day. To see my recommendations on grow lights, click here.
Lastly, Pileas can be encouraged to produce more pups when they have the energy they need to do so. Plants are constantly pushing energy out in every direction, through their stems and roots and out to each leaf. Removing old, dying leaves from the bottom of your Pilea can free up some of the energy needed to create new growth in the form of pups.
For a more extreme option, you can cut the top off of your mature Pilea, root it in water, and replant it. This is a way that lots of people use to turn one unhealthy, slow-growing Pilea into two, new healthy plants. Lots of times, the bottom and top portions of your Pilea will start to produce pups after they have been separated and replanted.
Propagating Pileas in Water
Pileas are very easy to propagate. They can be cut, rooted in water, and replanted within 6-8 weeks from the initial cutting. Pileas can continue to live in water, but will not reach their full height or potential when doing so. If you’ve got a Pilea producing pups and you want to share them with a friend or simply want to add another Pilea to your collection, don’t hesitate to try out these methods for yourself!